What will be covered?
This is a slightly broader topic, so let’s summarize what will be covered in this “How to use” guide:
- Login and registration
- User settings
- Project creation
- Navigation in map and 3D view
- Plans and billing
In the following video, you can see the steps to create a SurveyTransfer account, set up payment and invoicing, and an overview of the user interface:

Login and registration
Creating a SurveyTransfer user account
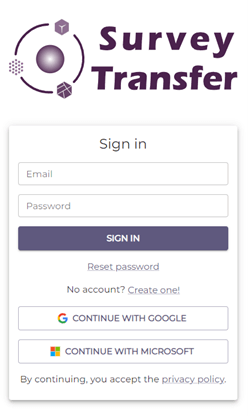
You can access the SurveyTransfer application at https://app.surveytransfer.net/. Here, you will find a login screen where you can log in or register. You can create your SurveyTransfer account with an existing Google or Microsoft account, or you can create one with an email address. When you register, the free version of SurveyTransfer will be automatically activated for you, which allows you to try our service with 250 GB of storage for 14 days.
Login with Google or Microsoft account
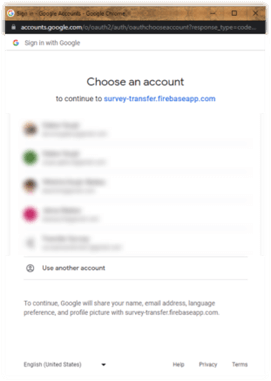
Logging in with Google or Microsoft is extremely simple. Click on the “Continue with Google” or “Continue with Microsoft” buttons and sign in to your account.
Login with an email address
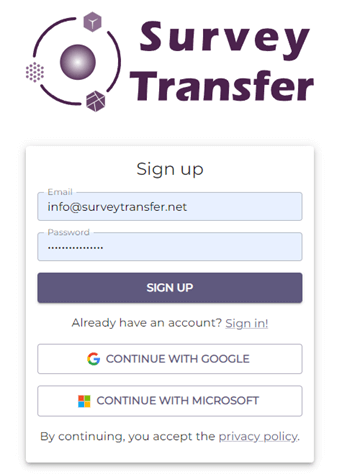
If you want to register with an email address, click on the link in the “No account? Sign up!” label. Enter your email address and a password, then click the Sign Up button. After that, you can log in.
User settings
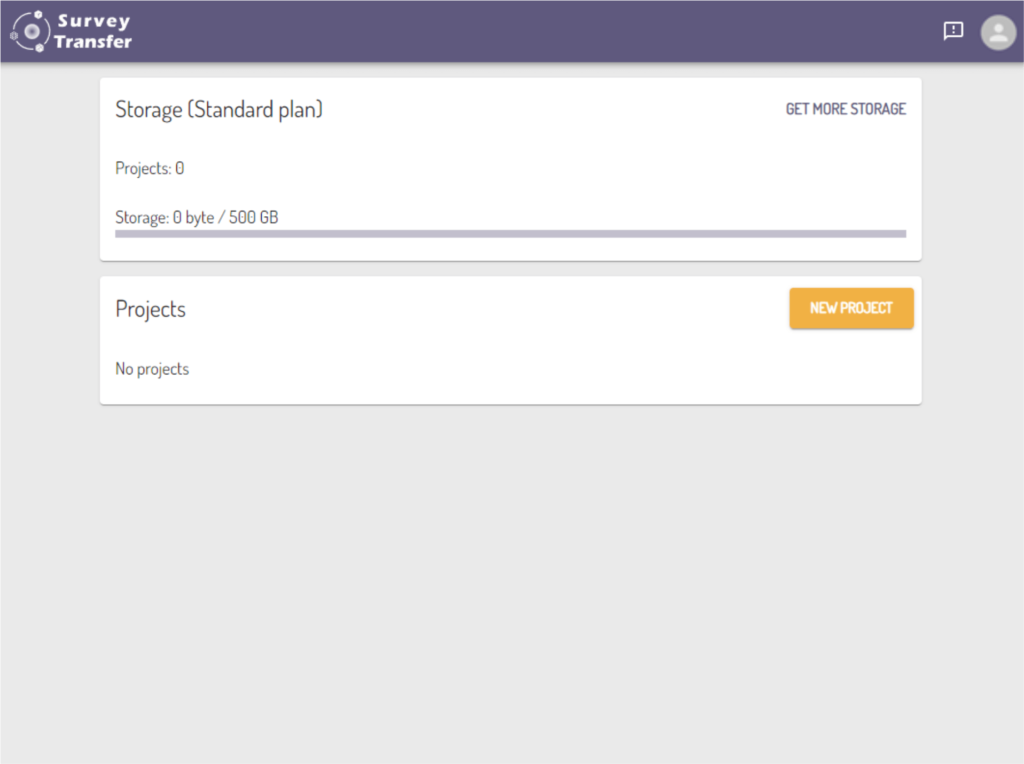
After logging in, you will see the main page of the SurveyTransfer application. Here, you can see the name of your current plan, plan quota (available storage size, the amount of storage used, and the number of created projects). On this page, you can create a new project or open the plans, but we’ll discuss these later on…
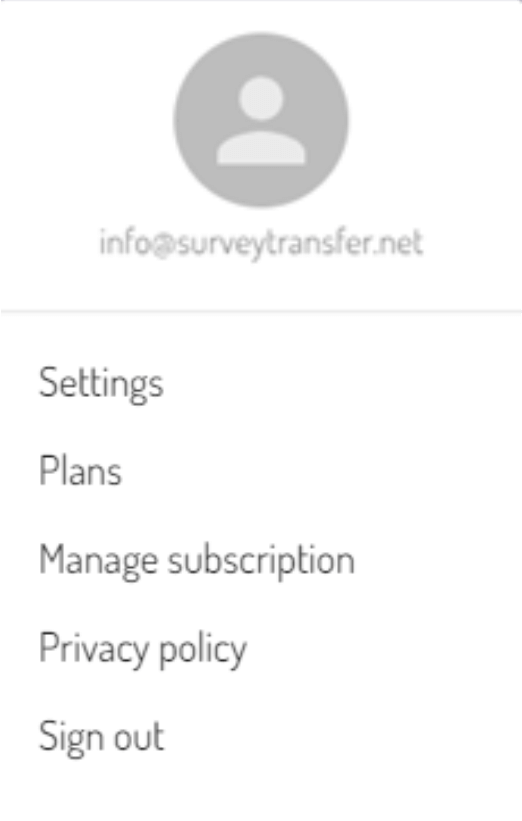
By clicking on the profile icon in the top right corner, you can access settings, plans, privacy policy, and you can log out. Among these, we will now focus on the Settings.
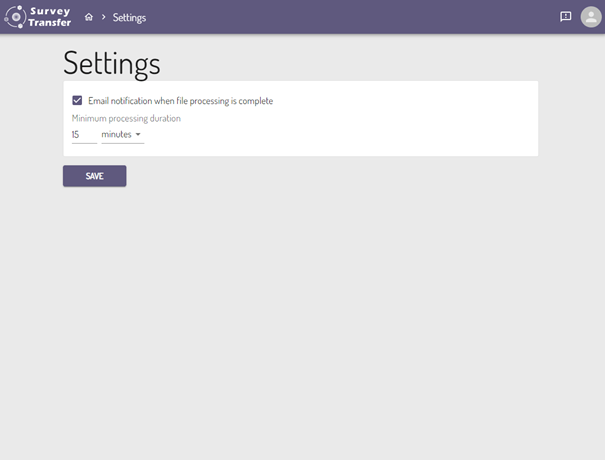
By clicking on Settings, as of now, you will find only one available setting, which is email notifications. This is a useful feature if you are uploading large files to SurveyTransfer and don’t want to wait there until the processing finishes. You can close the application, go about your tasks, and SurveyTransfer will automatically send you an email notification when the processing is complete and the files can be added to the web map or 3D view.
Under email notifications, you can also set the minimum processing duration after which you want to receive a notification.
In the email notification, you can find out clearly which file has been processed and within which project it is located. The project and file information provided in the notification will be in the form of links, allowing you to quickly access the result.
Project creation
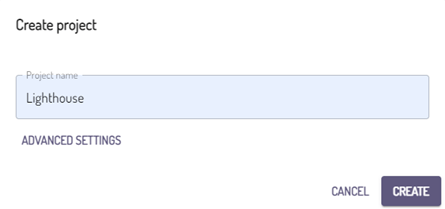
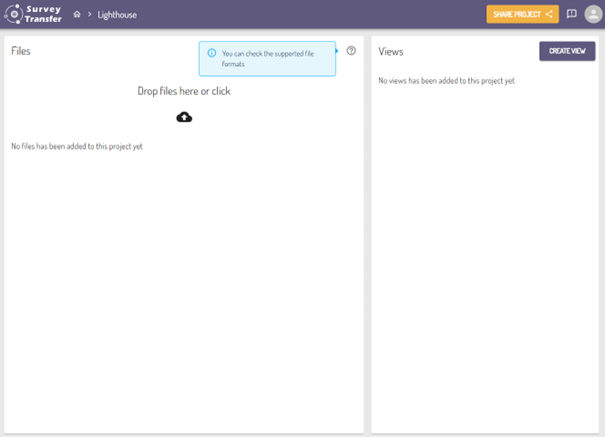
You can open the project creation form on the main page of the SurveyTransfer application by clicking on the “New project” button.
Here, in a popup window, you need to set a name for the project.
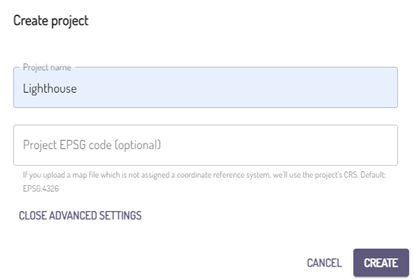
Under “Advanced settings,” you have the option to set the project Coordinate Reference System (CRS). This may be beneficial when using only one CRS within a specific project, and there may be files without an assigned CRS. In such cases, SurveyTransfer will automatically use the project CRS for the files that don’t have an embedded CRS. You can specify the CRS using the European Petroleum Survey Group (EPSG) code. You can click here to search among EPSG codes.
Pro tip: You can edit the project name and EPSG code at any time by clicking on the settings icon (![]() ) next to the project name on the main page.
) next to the project name on the main page.
Once you have configured all the settings, click on the “Create” button. SurveyTransfer will automatically open your project and prompt you to upload files.
Navigation in map and 3D view
In the following two subsections, we will explain how to navigate in the map and 3D views.
Navigation in map view
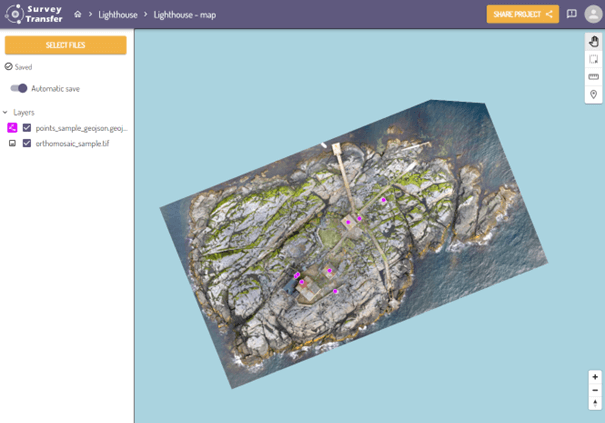
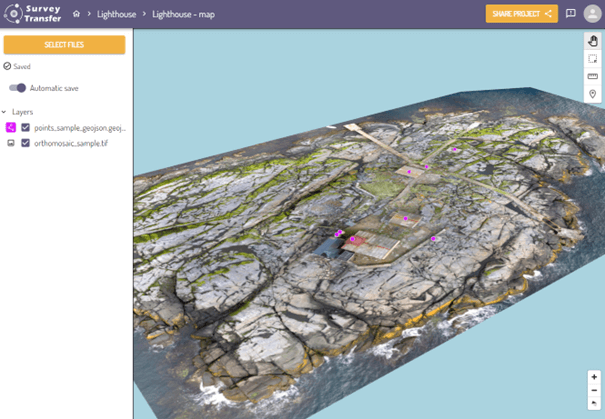
In the map view, you can drag the map, adjust the zoom level, and rotate the map. Let’s explore these interactions further.
On a PC, you can drag the map by holding down the left mouse button and moving the mouse. On mobile devices and tablets, you can achieve this by swiping with your finger.
To zoom in and out of the map on a PC, you can use the mouse scroll wheel or double-click with the left mouse button on the map. Additionally, on a PC, while holding down the Shift key, you can select an area with the left mouse button, and the map will zoom in on that area. On mobile phones and tablets, you can achieve this by pinching. The zoom level can also be adjusted using the + and – buttons in the lower right corner of the screen.
In addition to dragging the map and adjusting the zoom level, you can also rotate and tilt the view. This can be done by holding down the right mouse button and moving the mouse. When you do this, the icon indicating the north direction in the lower right corner of the screen will rotate accordingly (![]() ). The view can be reset by pressing the icon indicating the north direction.
). The view can be reset by pressing the icon indicating the north direction.
Navigation in 3D view
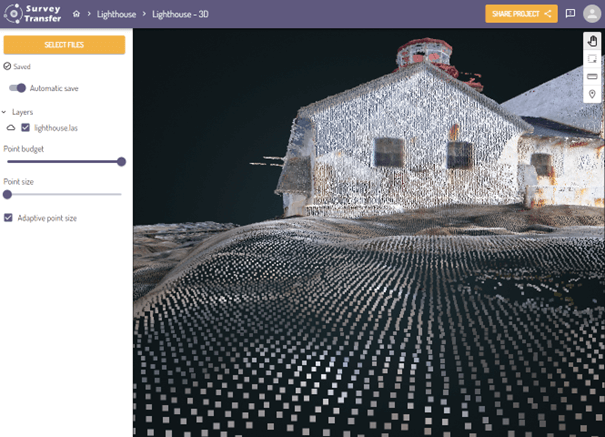
In the 3D view, you can drag the 3D model space, adjust the zoom level, and rotate the model space. Let’s explore these interactions further.
On a PC, you can drag the 3D model space up, down, left, and right by holding down the right mouse button and moving the mouse. On mobile devices and tablets, you can achieve this by moving three fingers on the screen.
To zoom in and out in the 3D view on a PC, you can use the mouse scroll wheel or double-click with the left mouse button on an object. On mobile phones and tablets, you can achieve this by pinching.
The 3D view can also be rotated and tilted. On a PC, you can do this by holding down the left mouse button and moving the mouse. On mobile phones and tablets, you can achieve this by swiping with your finger.
Plans and billing
Under your profile, by clicking on “Plans,” you can view the monthly and annual plans offered by SurveyTransfer. Here, you can see the plan you are currently subscribed to. The active plan is indicated by a gray background and the label “Active”. To upgrade to a larger plan and manage your invoices, you can click on the “Manage billing” button.
Subscribing to plans and managing your subscription
Good to know: You can start the free trial without the need to add a payment method.
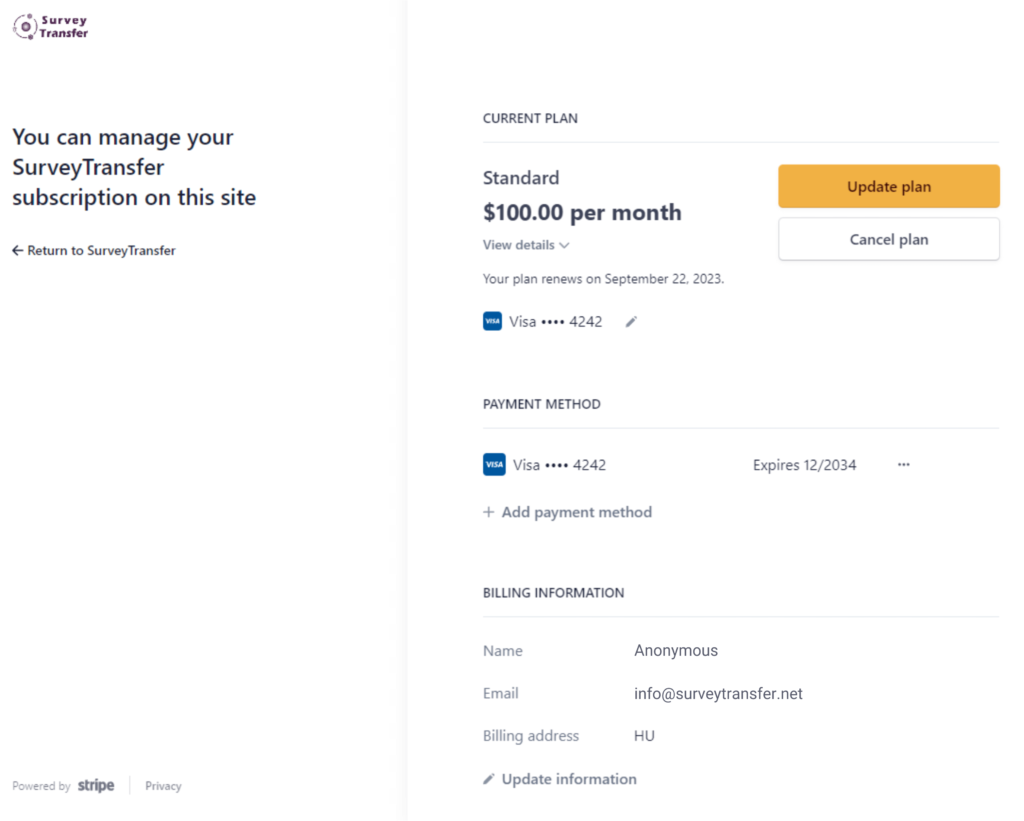
Within SurveyTransfer, by clicking on the “Manage billing” button under the Plans section, you will be redirected to the billing page.
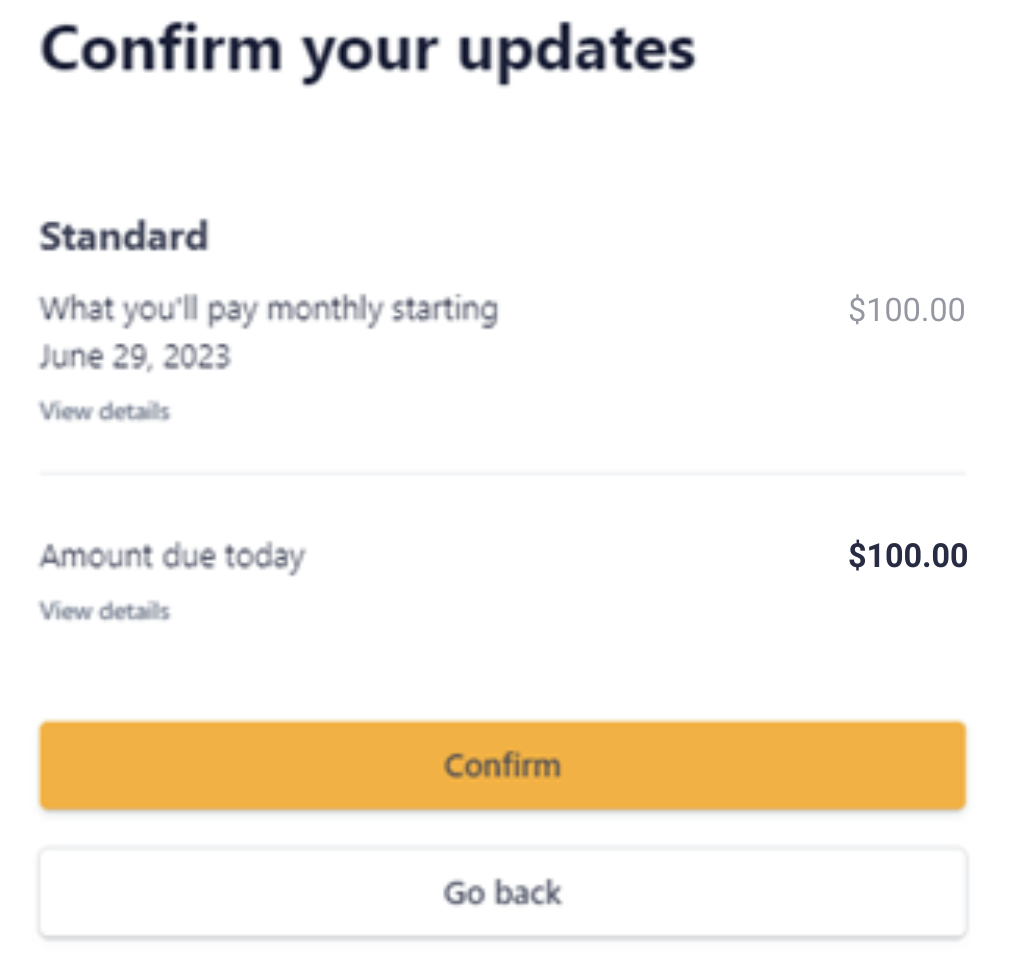
By clicking on the “Update plan” button, you can subscribe to a plan or upgrade your subscription. By clicking on the “Continue” button, you can proceed with the purchase, and then you can finalize the subscription by clicking on the “Confirm” button.
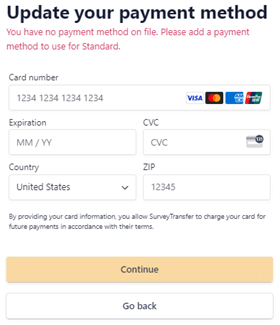
Afterwards, you will need to provide the details of the credit card you wish to use for subscribing to the SurveyTransfer service.
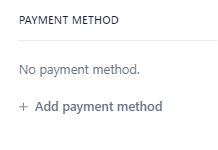
After pressing the “Continue” button and successfully completing the transaction, your plan will be activated. You can modify the provided card details at any time under the “Payment method” section on the payment page. You can also add a payment method and enter your card details before making the purchase.
Pro Tip: You will receive automated emails reminding you to upgrade or renew your plan.
Managing invoices
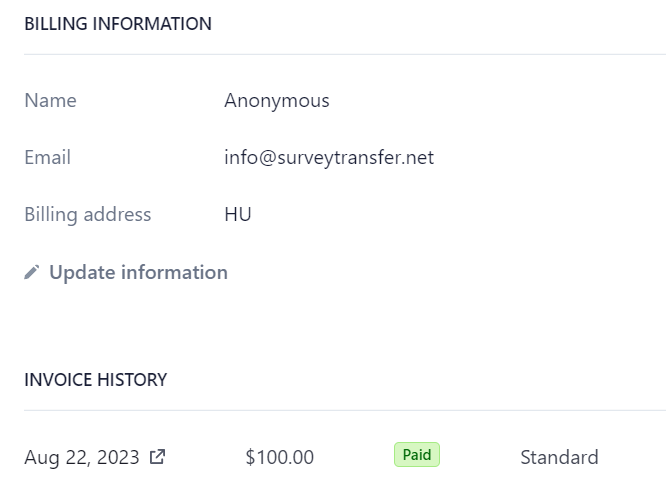
The “Manage billing” page includes the “Billing information” and “Invoice history” sections.
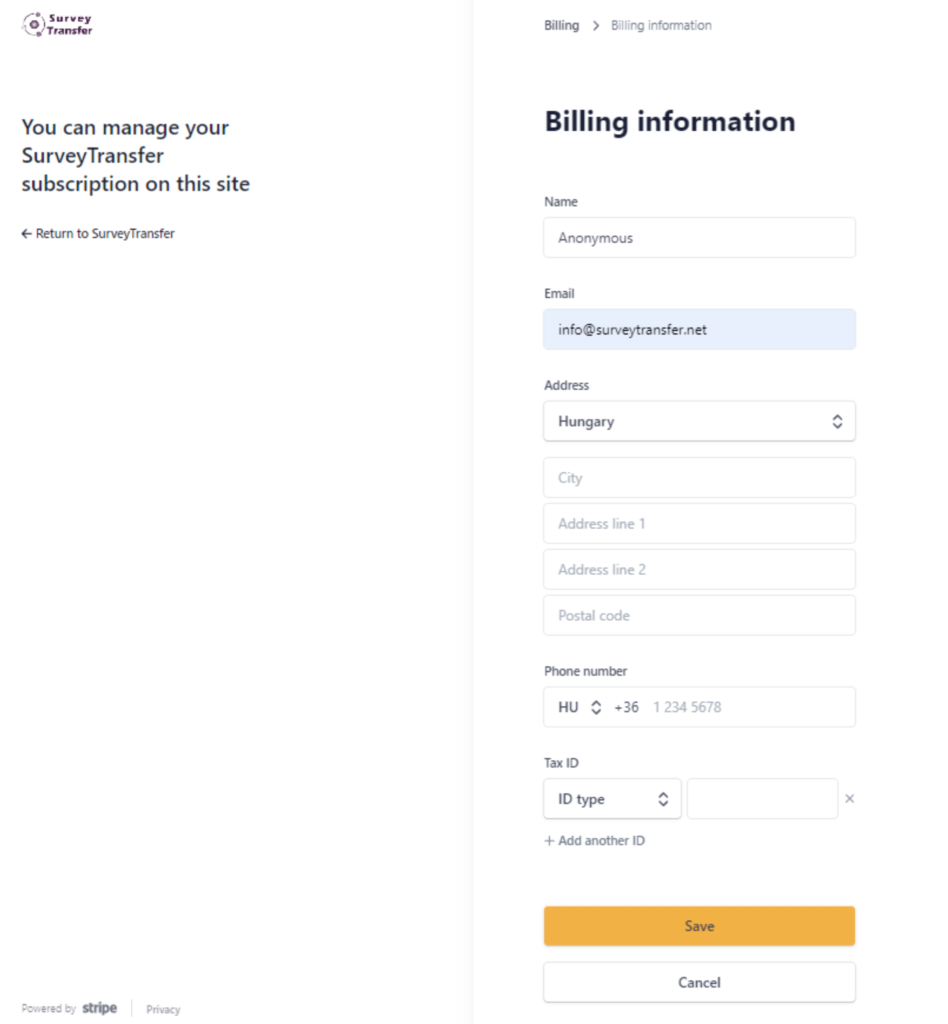
Under the “Billing information” section, you can click on “Update information” to edit your billing details. Use the “Save” button to save the entered information.
The “Invoice history” section is also available on the “Manage billing” page. Here, you can view your invoices.
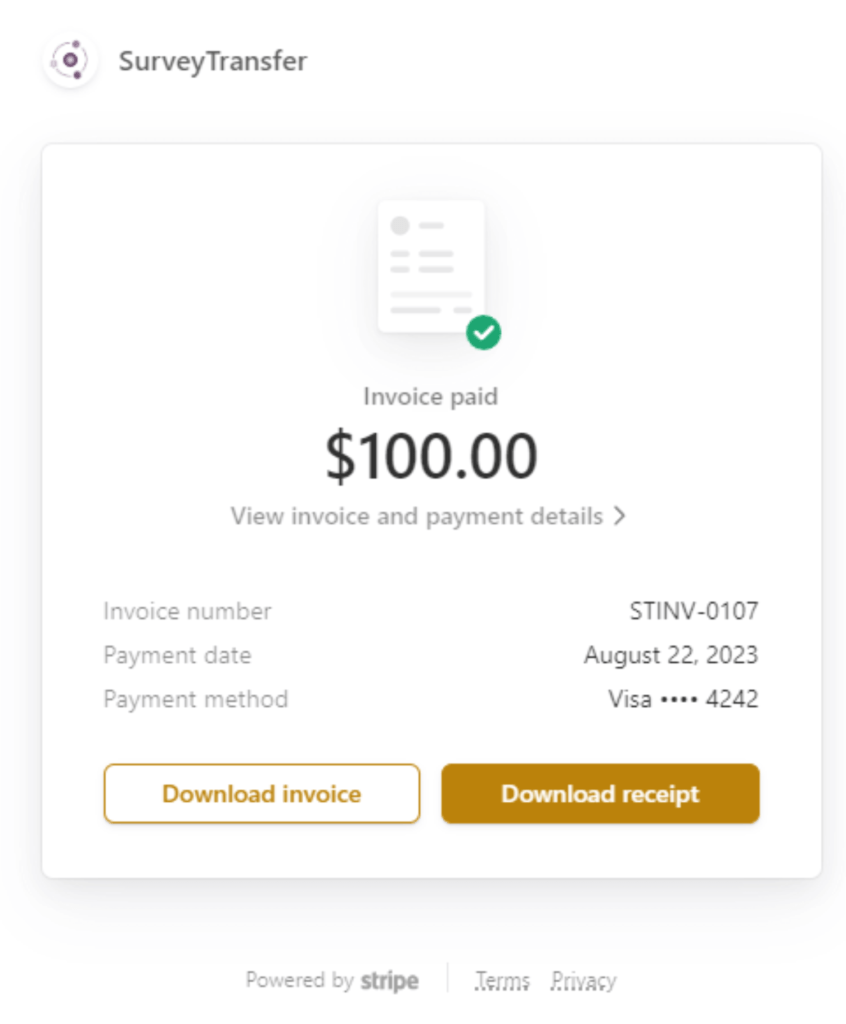
By clicking on a specific date in the list, you can download the invoice or receipt.
Pro tip: After a new invoice is generated, you will receive an email notification with the invoice details. You can also download the invoice from there.


