Why is it important to change the color of a point cloud? There can be several situations where a point cloud is created without real colors or even without coloring. Such a case may occur when using laser scanning technology. If, for example, a point cloud is colorless or black, it is impossible to discern the details of the geometry even with shading effects (e.g., Eye-Dome Lighting); only the contours of the dark shape will be visible. In this article, we will show the simplest way to change the color of a point cloud using the free CloudCompare software.
Change the color of a point cloud in CloudCompare software
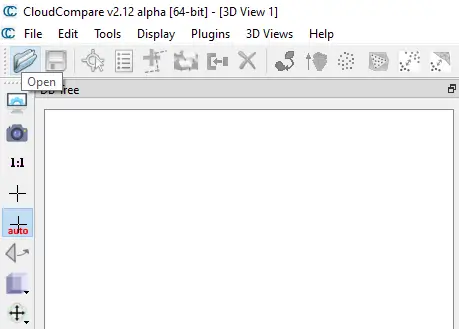
To change the color of a point cloud, first open the file to be examined. This can be done using the “Open” button on the ribbon or via the File/Open menu.
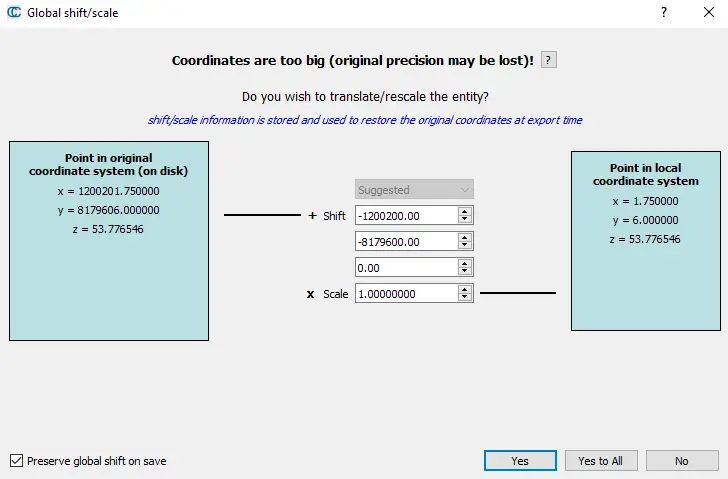
After opening the file, two windows will pop up. It is advisable to keep the default settings of the point cloud in the first window (“Apply All”). In the second window, click the “No” button, as this option will ensure that the point cloud retains its real-world geographic coordinates.
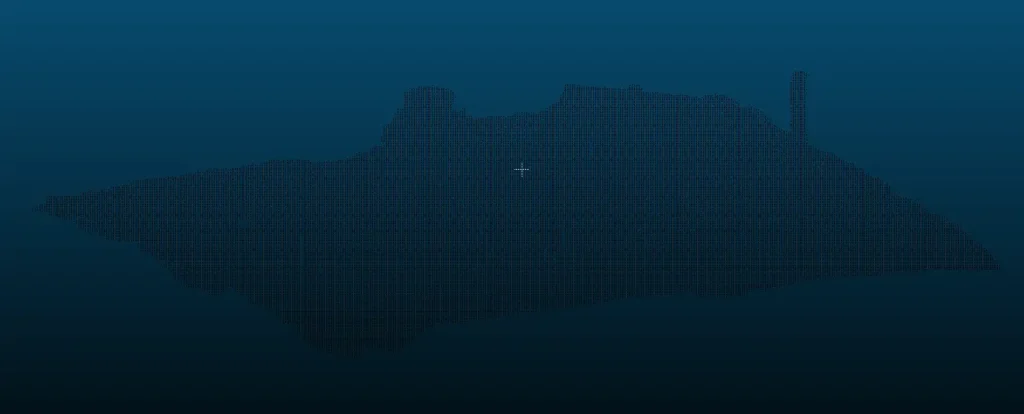
It is already apparent here that changing the color of a point cloud is quite important, as a colorless or monochromatic point cloud does not provide much visual information.
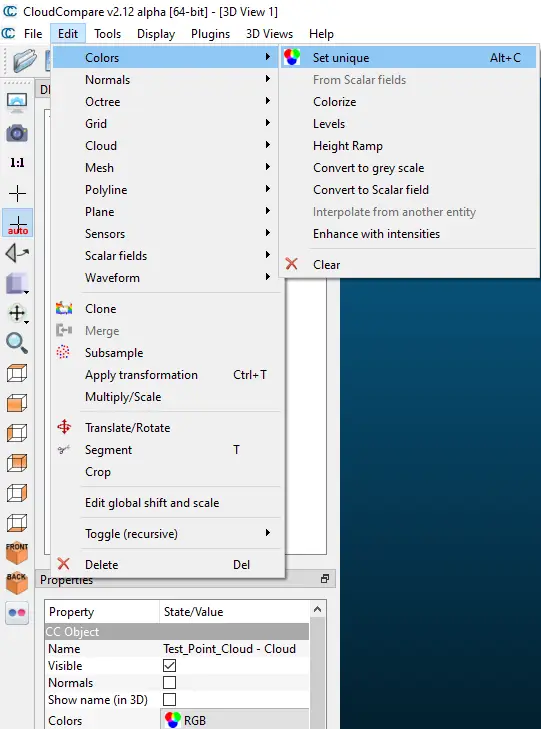
To assign a new color to the point cloud, all you need to do is select the point cloud in the layer tree and then choose the Edit/Colors/Set Unique option.
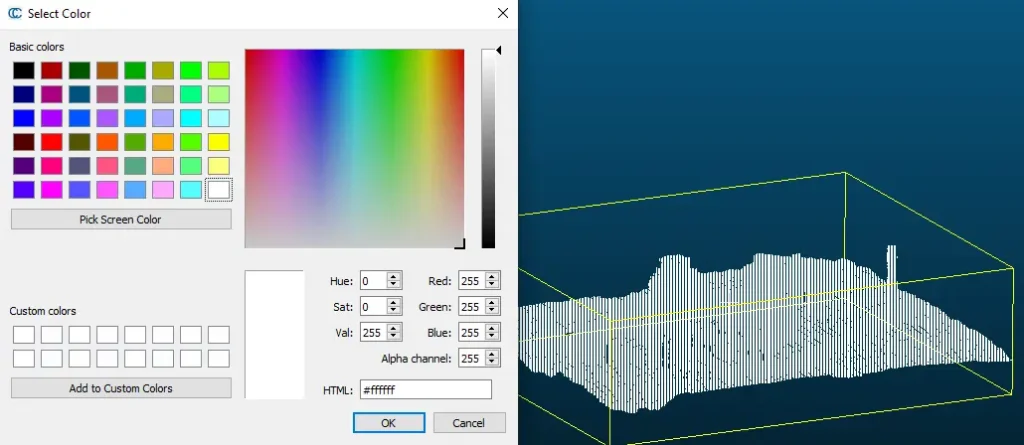
You can choose from predefined colors or specify custom colors using various color mixing methods (e.g., RGB). What color is recommended? A light color is suggested because, with a suitable shading technique, it will reveal the details more clearly. I will also show a good example of a shading technique later.
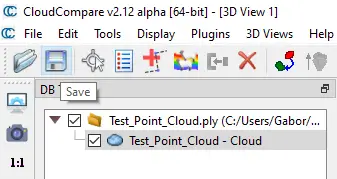
If you click the OK button, the color change of the point cloud will be completed. After this, you can easily export the point cloud to LAS and LAZ formats by clicking the “Save” floppy icon or using the File/Save menu.
Change the color of a point cloud based on elevation data in CloudCompare software
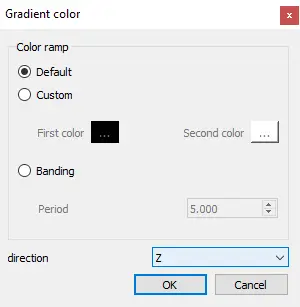
If you want to color the point cloud according to elevation, select the Edit/Colors/Height Ramp option.
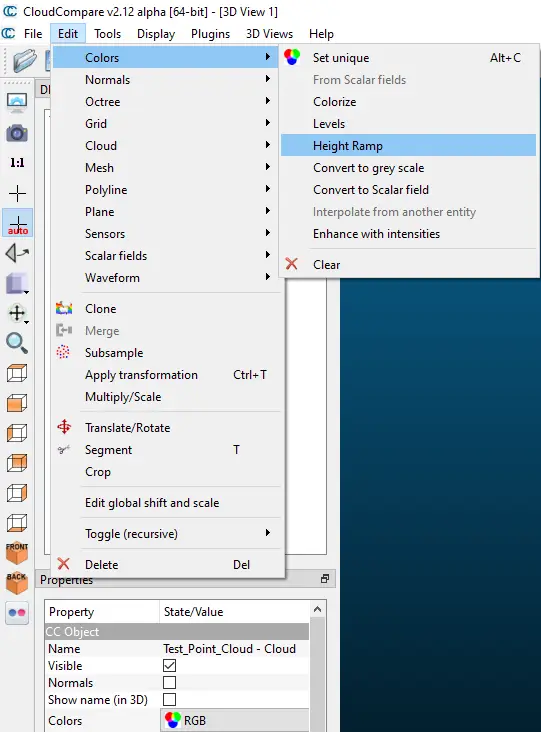
Here, you can specify which color palette to use for the elevation-based coloring and which axis CloudCompare should use as the reference.
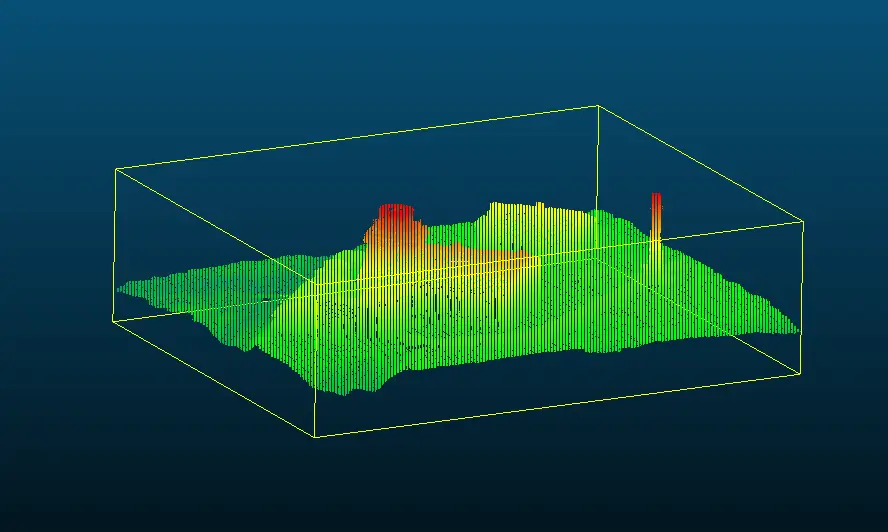
Using the default color palette, change of the color of a point cloud will yield the following result.
Shading and sharing a recolored point cloud on the web
After changing the color of a point cloud, the files can be uploaded to SurveyTransfer. Click here to learn how to upload point clouds to SurveyTransfer. The uploaded point cloud can be displayed in a new 3D view, where the “Eye-Dome Lighting” effect is available under the settings. This shading effect ensures that every small detail can be examined, even on a uniformly colored point cloud.
Without the “Eye-Dome Lighting” effect / With the “Eye-Dome Lighting” effect:
Of course, this shading effect can also be enabled for point clouds with multiple colors.
Using SurveyTransfert, you will be able to share the point clouds created this way (including the shading effect) with a simple link. Try it free for 14 days!
If you really liked what you read than you can share it with your friends. 🙂
Did you like what you read? Do you want to read similar ones?


