SurveyTransfer supports LAS and LAZ point cloud sharing.
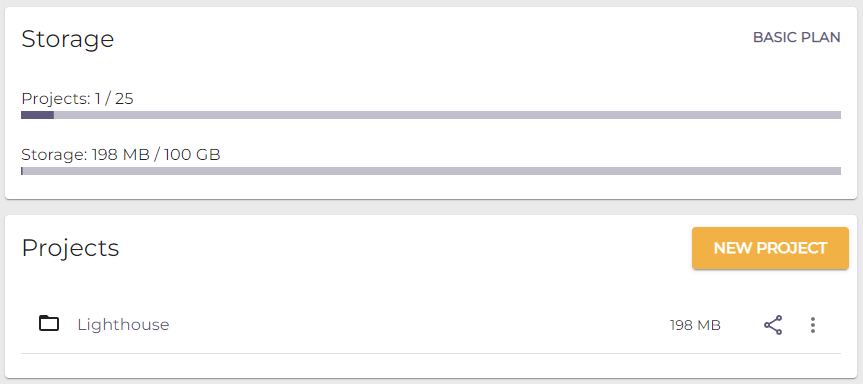
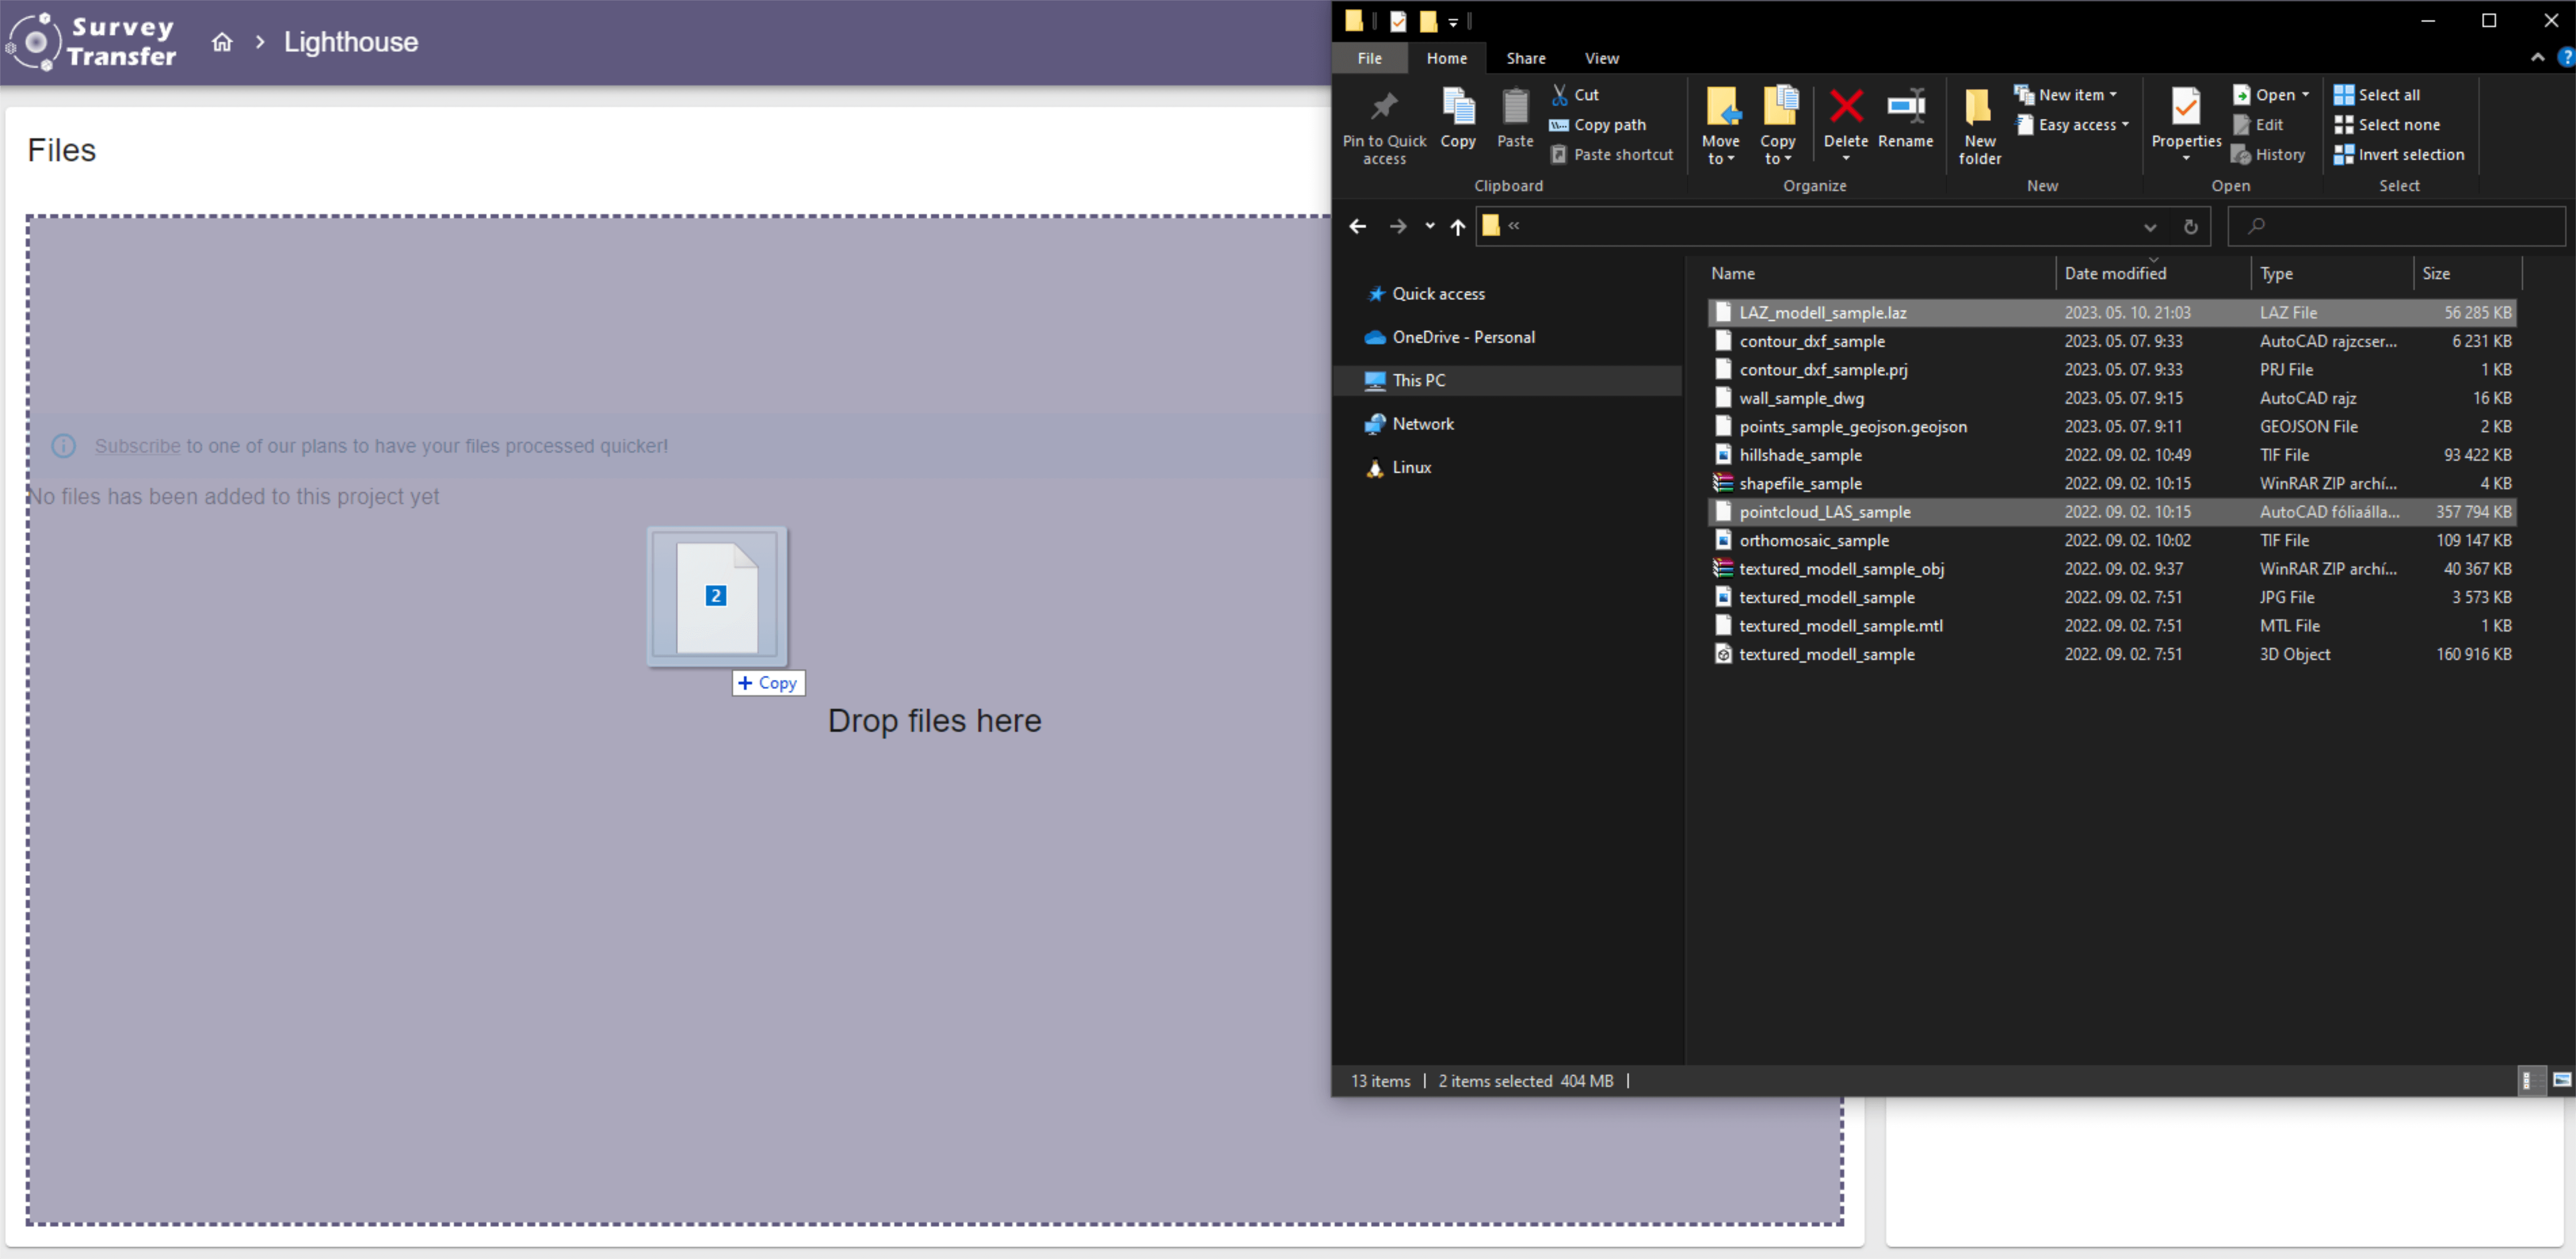
The first step of sharing point clouds is to upload the files. To do this, first log in to SurveyTransfer (you can read more about this here), create and open a project. Here you have two options to upload point cloud files. Using the drag-and-drop method, you can simply drag the point cloud (LAS and LAZ) files into the project:
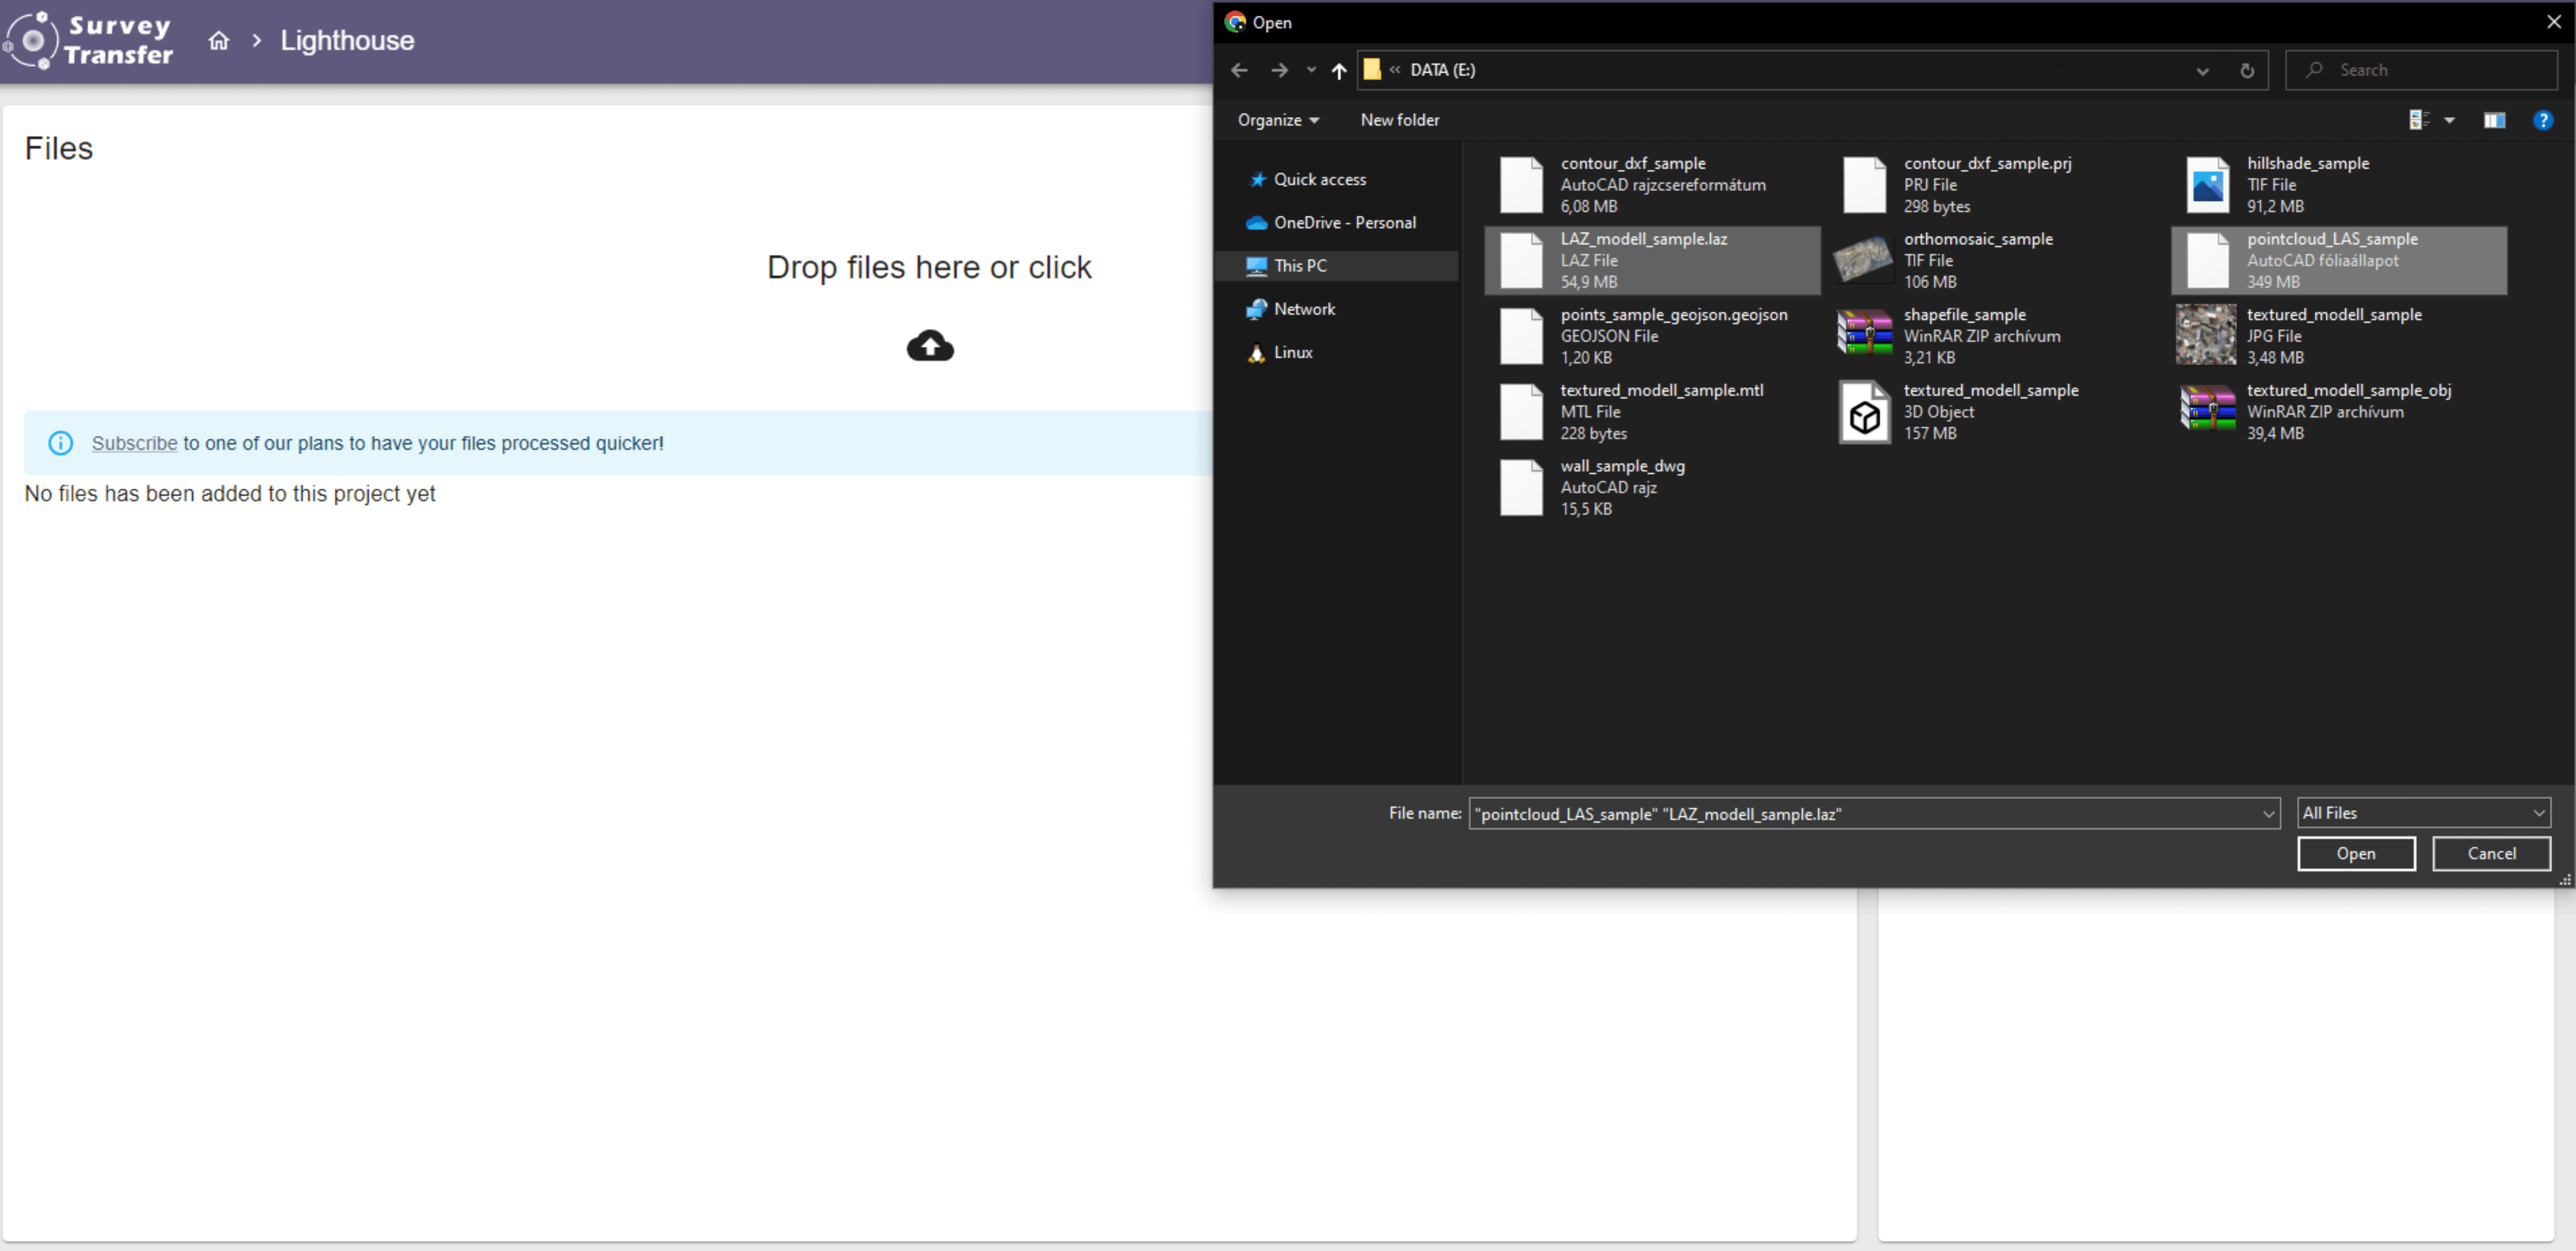
Or you can click on the upload section and browse for point cloud files.
It is important to highlight that you can upload multiple point cloud files at once. The progress of the uploads is shown in a small window in the lower right corner.
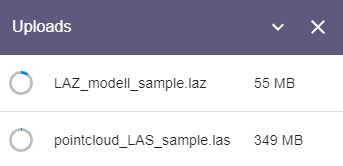
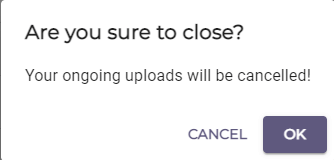
You can cancel the uploads with the “X” icon. You have to confirm the cancel action in a pop-up window.
With the downward-pointing arrow (![]() ), you can minimize the progress indicator window. This window gives you information on the progress of your uploads even after navigating away from the upload page.
), you can minimize the progress indicator window. This window gives you information on the progress of your uploads even after navigating away from the upload page.
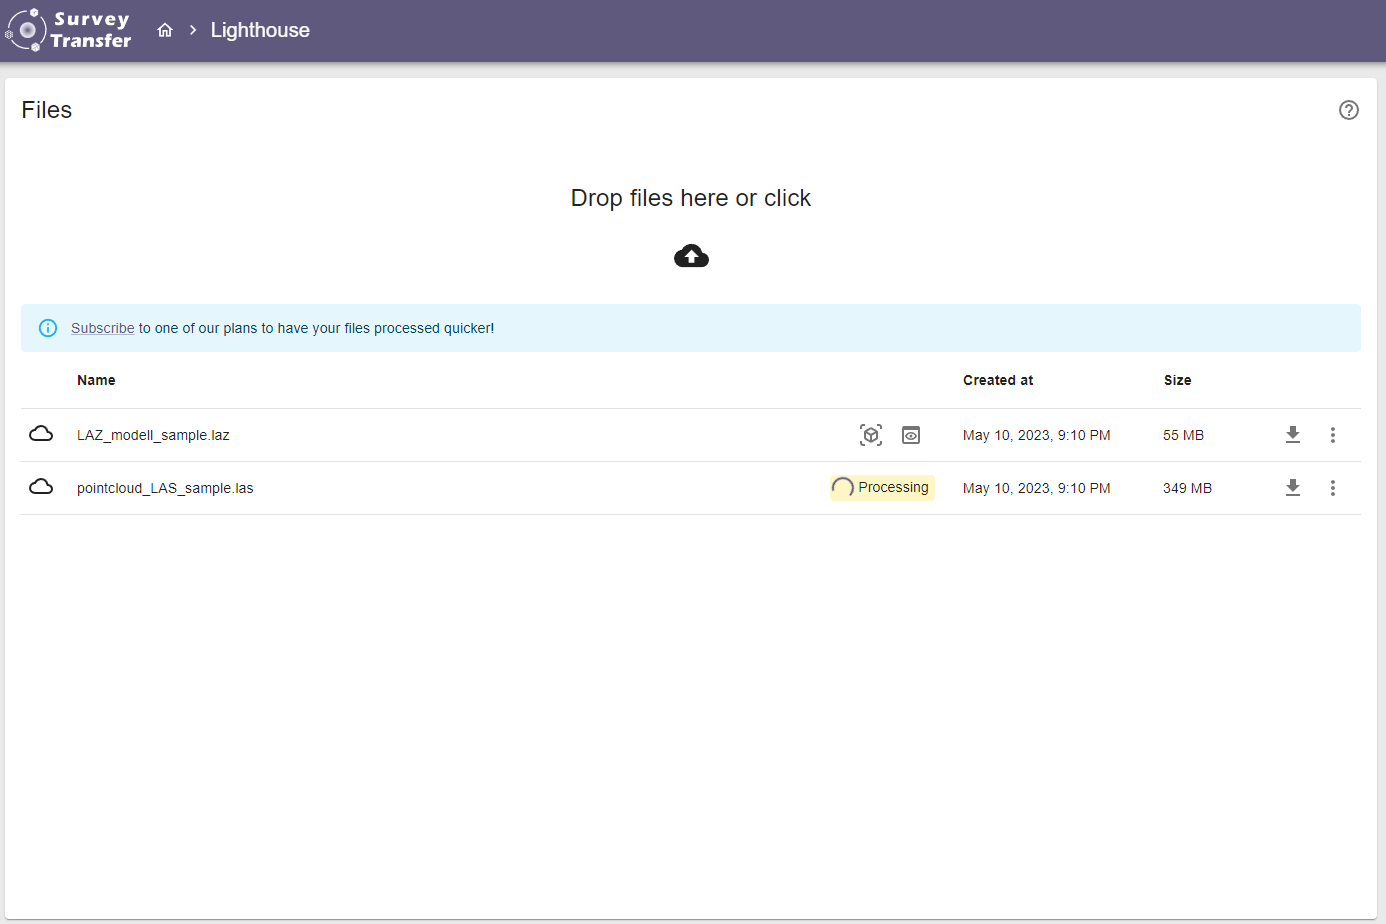
After the uploading has finished, SurveyTransfer automatically processes and converts the point cloud files (LAS and LAZ) for sharing on the web. The progress of the processing is indicated by a small icon next to the files.
Pro Tip: If your uploaded point cloud file is remarkably large and SurveyTransfer takes some time to process it, you don’t have to wait there for the processing to complete. You can enable automatic email notifications and we will send you an email when the processing has finished. Read more about this here!
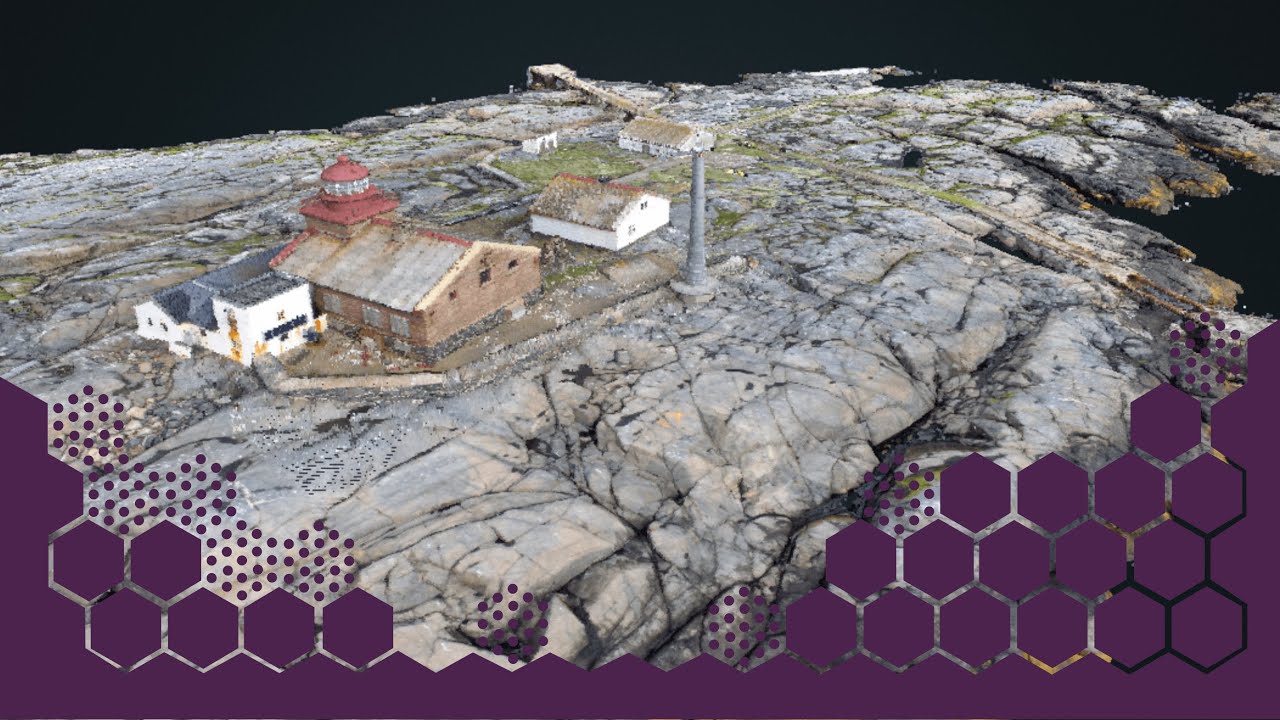
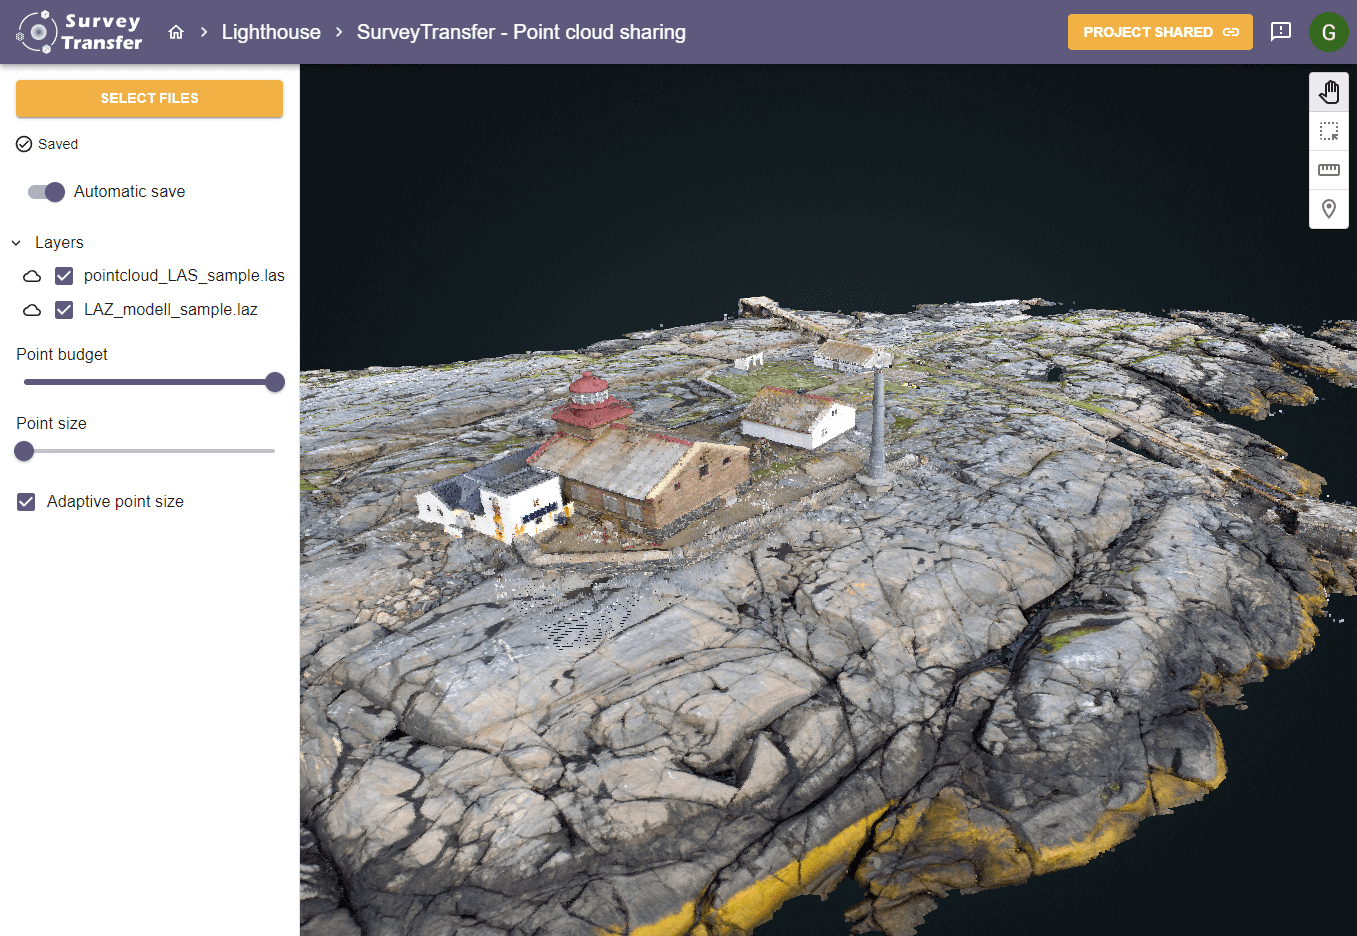
Handling point cloud files in SurveyTransfer
SurveyTransfer also has a Quick Preview mode (![]() ) in which you can open a specific point cloud file in 3D in a separate window. You cannot take measurements or add other layers in Quick Preview mode.
) in which you can open a specific point cloud file in 3D in a separate window. You cannot take measurements or add other layers in Quick Preview mode.
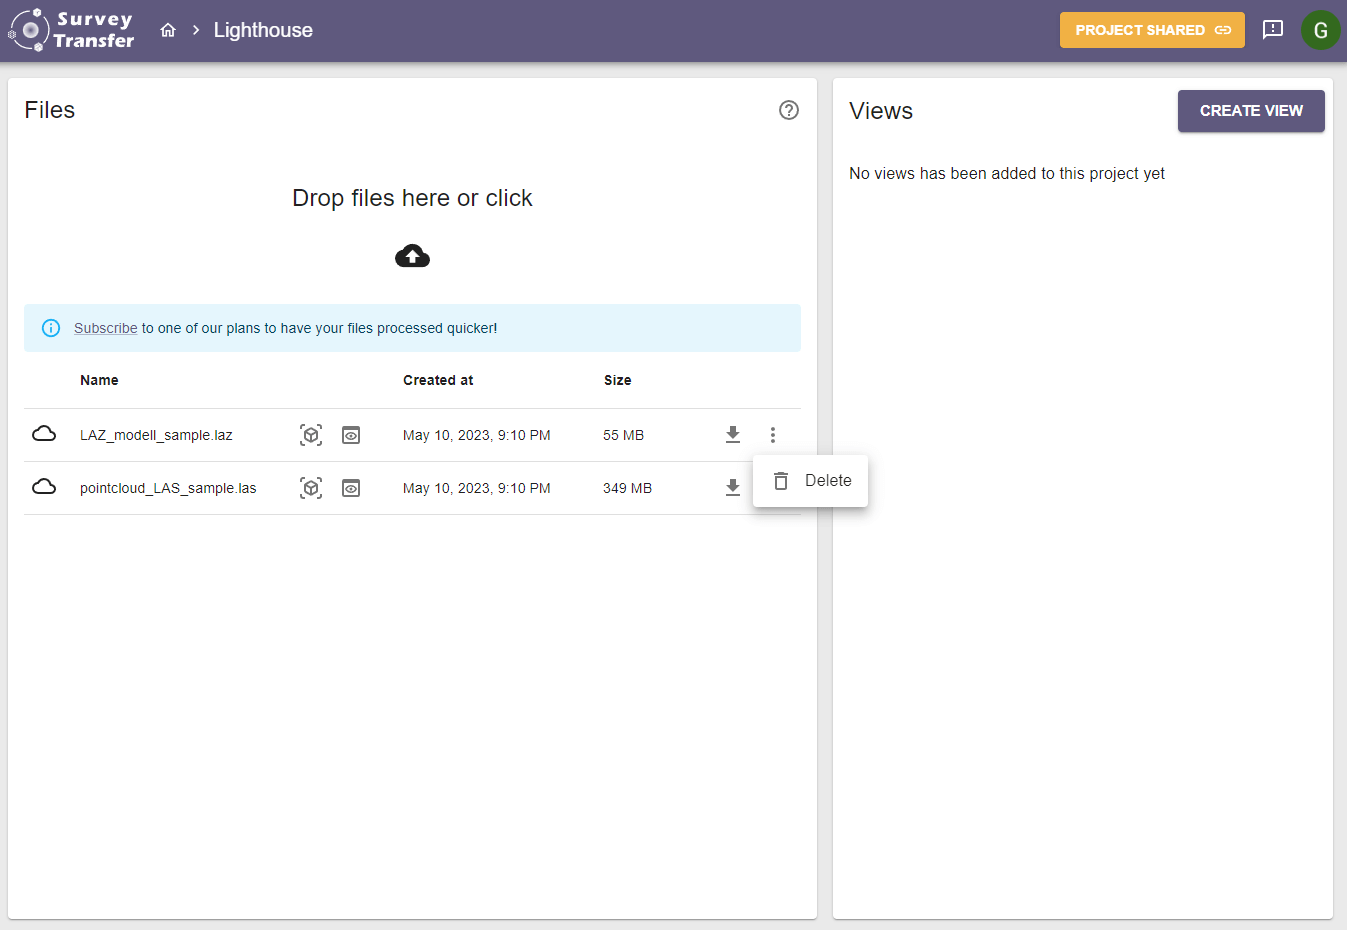
To be able to take measurements on the point cloud files (LAS and LAZ) or to share them with others, you have to add it to a 3D view. To do this, first go back to the project page using the breadcrumb menu:

Before point cloud file sharing: creating a 3D view
On the project page (where you uploaded the point cloud files), click on the Create View button, and create a new 3D view!
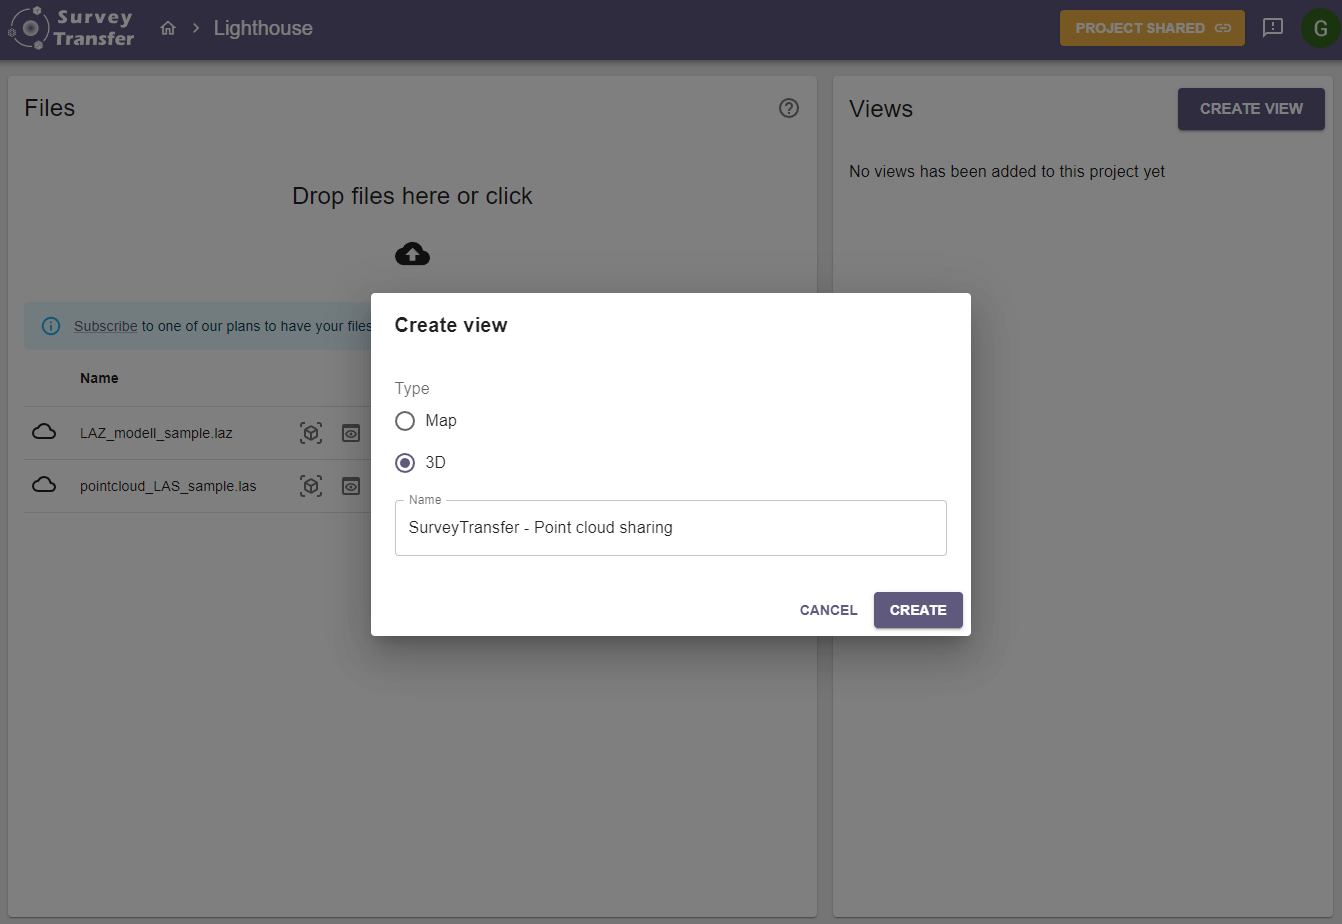
After this, a 3D view is created and SurveyTransfer asks you to add files.
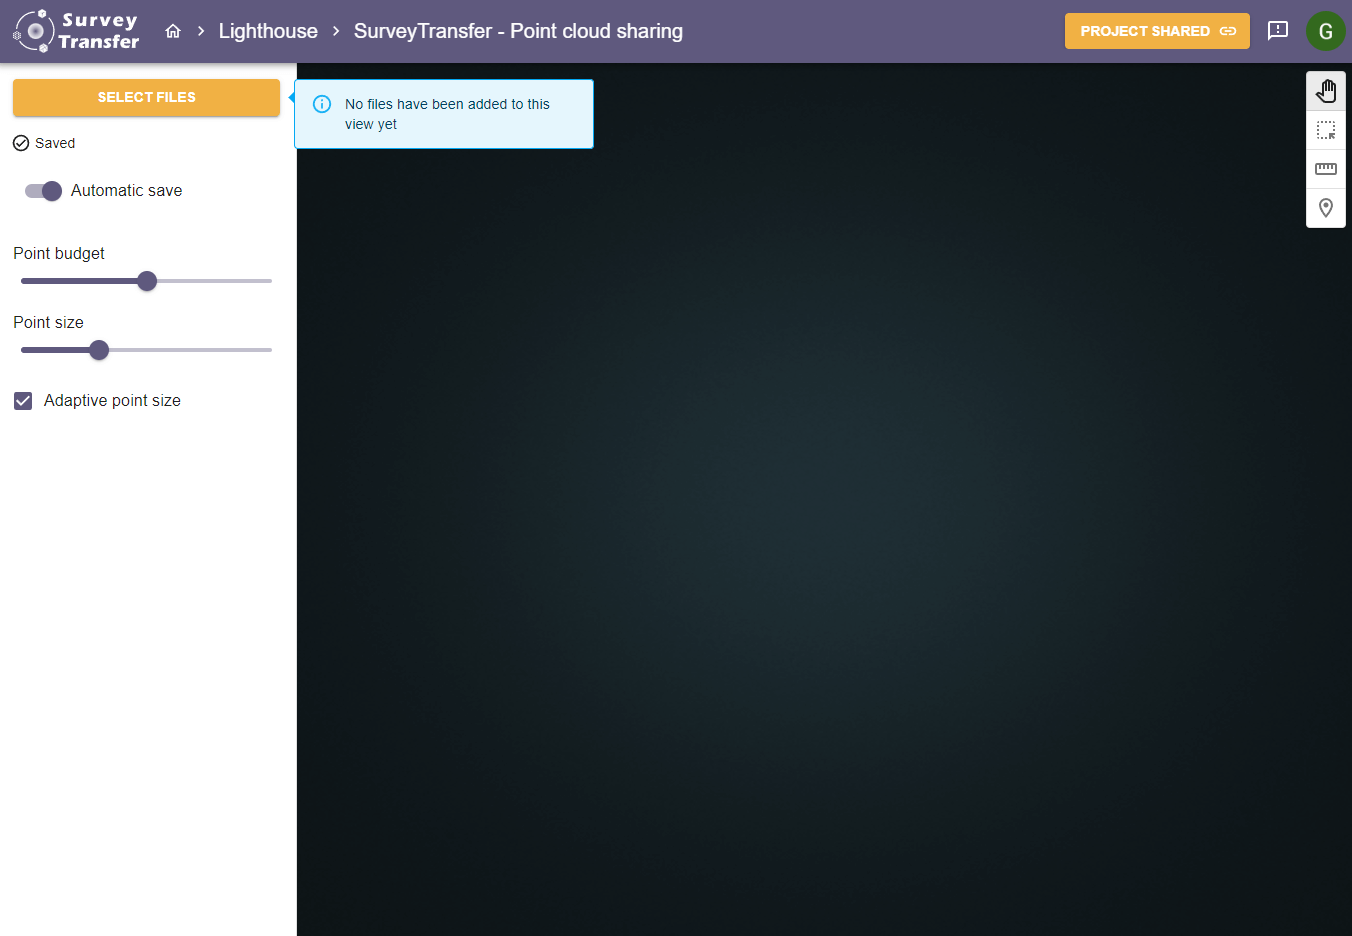
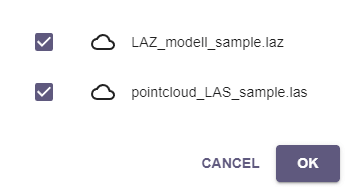
By clicking on the Select Files button, you can see all your files that can be displayed in 3D, in this case, the LAS and LAZ files. Choose what you need and then click OK.
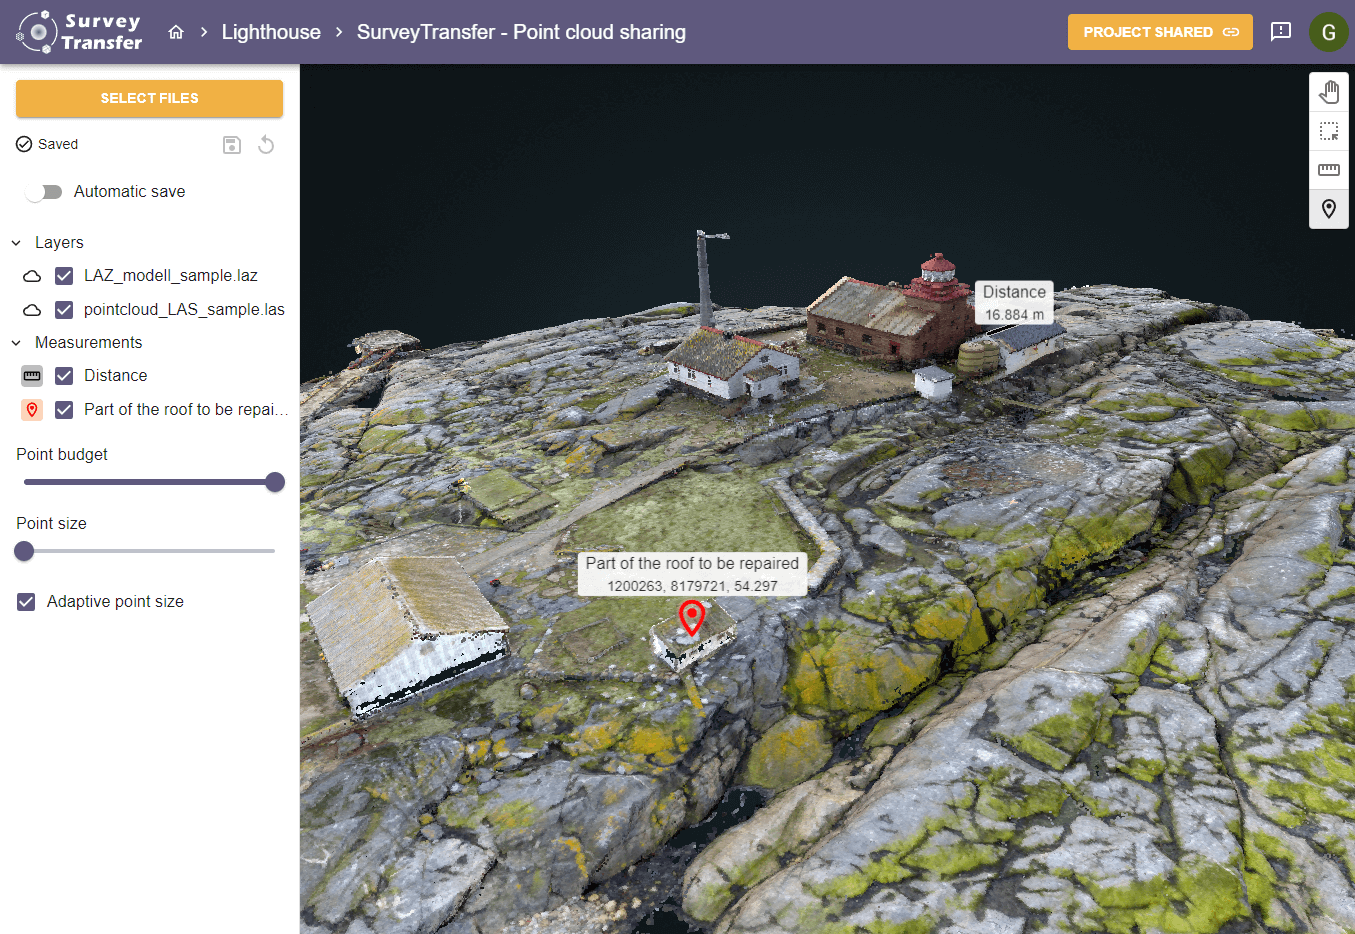
The 3D view zooms in on the geographic extent of the selected files. Further settings are available too, such as layer management and measurements.
Modifications made in the 3D view, such as moving the view, zooming, turning layers on and off, styling or reordering layers, placing points, taking length, and area measurements, can be saved. Saving can be automatic (default) or manual. If automatic saving is enabled, anything you modify is immediately saved. If this feature is turned off, you can manually save (![]() ) and restore the previous state (
) and restore the previous state (![]() ) as well.
) as well.
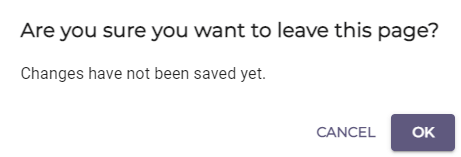
If you use manual save mode and try to navigate away after changing something, SurveyTransfer will ask you if you are sure to leave the page without saving. Your changes will not be accidentally lost thanks to the warning.
Sharing point clouds with SurveyTransfer
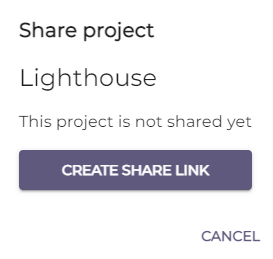
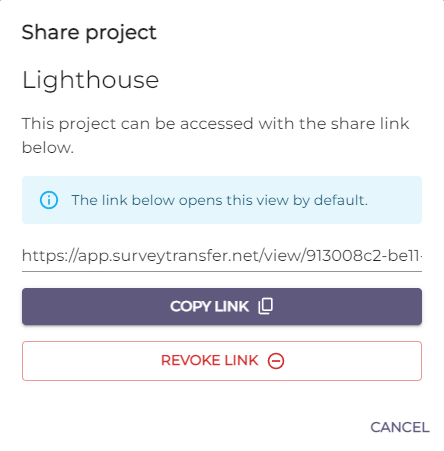
After you have finished designing your 3D view, you can share the project. You can share the created 3D view (and thus the LAS and LAZ files) either on the project page or on the 3D view page using a link. You can generate a shareable link with the Share Project button in the top right menu. Clicking the button will open a pop-up window where you can generate the project share link by clicking the “Create share link” button.
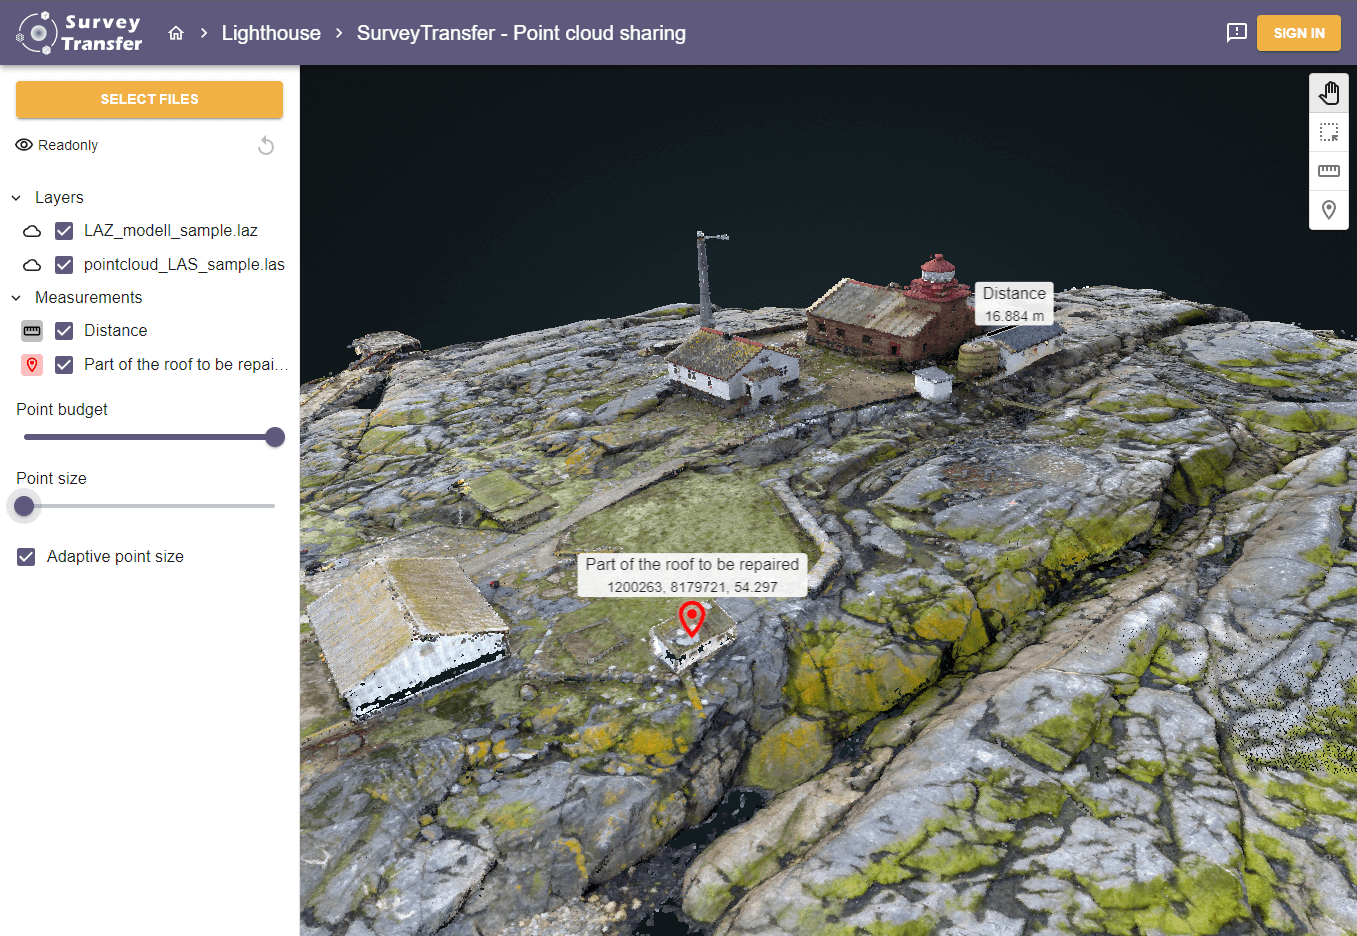
Pro Tip: If you copy the link in the 3D view, the user who opens the link will first see that 3D view. This user cannot modify the 3D view you have created. They can navigate back to the project page and they can open other views too. If you copy the share link on the SurveyTransfer project page, the user who opens the link will first see the list of files. From there, they can navigate freely and open the saved views (maps and 3D views). With the shared link, the raw point cloud files can be downloaded from either the file list or the map.
Once you have generated the share link, you can copy and send it to someone. If you later decide not to allow access to the project with this share link anymore, you can revoke the link with the “Revoke Link” button.
sharing follow-up
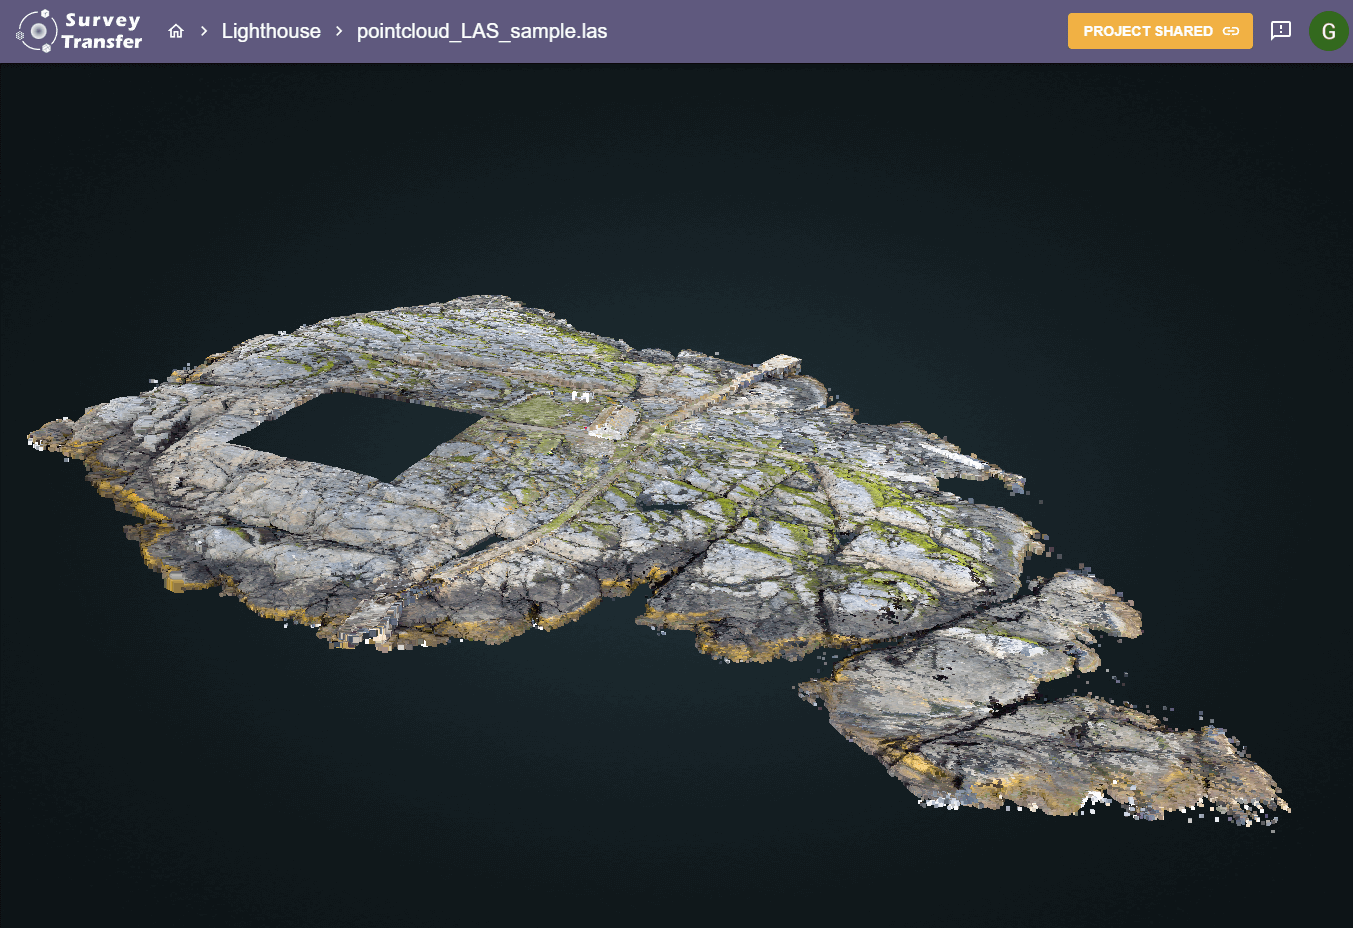
If someone opens the link you have sent them, they will see the 3D view with the point cloud files (LAS and LAZ) as shown below:
If you have shared a project, the share icon will change from ![]() to
to ![]() .
.