
We have been writing a lot about photogrammetry recently. Articles about general presentation, ground and drone (aerial) surveying, or even creating 3D models. Since we have presented both the theoretical and practical side of photogrammetry, in this article we show the specific case when we create an orthophoto mosaic map, DSM (Digital Surface Model), DTM (Digital Terrain Model), point cloud, 3D model created with WebODM (Open Drone Map).
The output files of the WebODM photogrammetry process can be large point clouds, orthomosaics, digital elevation models (DEM) and 3D models. These can be difficult to share with the client and colleagues. It is strongly recommended to use the SurveyTransfer data sharing software! For more information, visit the website of the software manufacturer by clicking HERE.
What will you need? Obviously drone photos with adequate quality and overlay. We will use an open-source software for processing, which is WebODM (Open Drone Map). I will describe ODM installation step by step later.
If you don’t have drone images with which you can try the process presented in the article, click HERE and use the same images we used.
Where are the images from? The images shown in our example are from AgEagle Aerial Systems Inc. (formerly SenseFly). The Norwegian Torbjørnskjær lighthouse and the entire island were surveyed.
PREPARATION OF WebODM -AS NEEDED
This chapter was necessary because while testing WebODM I got several errors, and the processing was interrupted. I dug into the topic, and it turned out that for some reason the image processing algorithm does not support high resolution and large images. For me, the process couldn’t handle 7152 x 5368 pixel, 120 DPI, nearly 11 MB images. Although WebODM has a built-in image resizing module, it also couldn’t process these images… I thought that if this error occurs to me, then maybe you can also run into it, so I will share the solution with you. 🙂
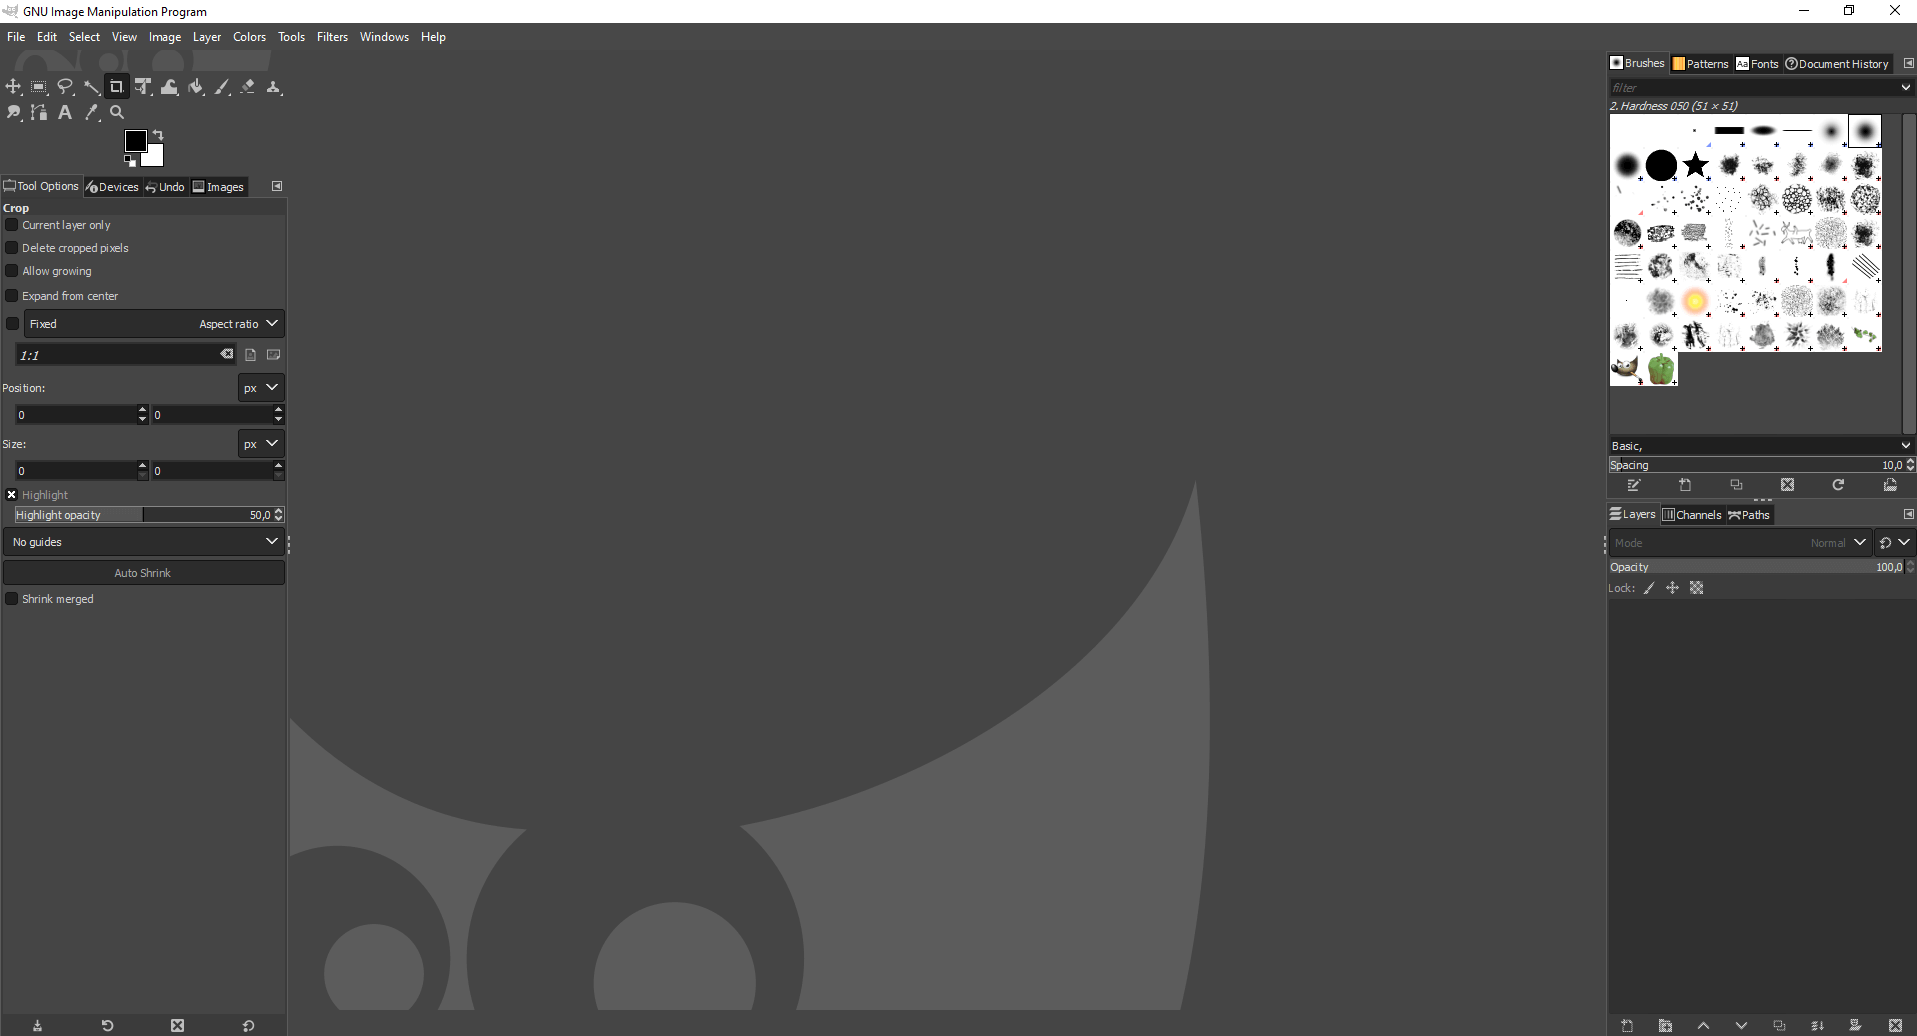
I solved the outlined problem with a free, open-source image editing software, GIMP. Install GIMP, it’s dead simple, so I won’t go into detail.
Fortunately, you don’t have to waste time manually resizing the images one by one or writing code to automate them, because that’s what the Batch Image Manipulation plugin is for. Install that as well, then launch GIMP. You should see the following image.
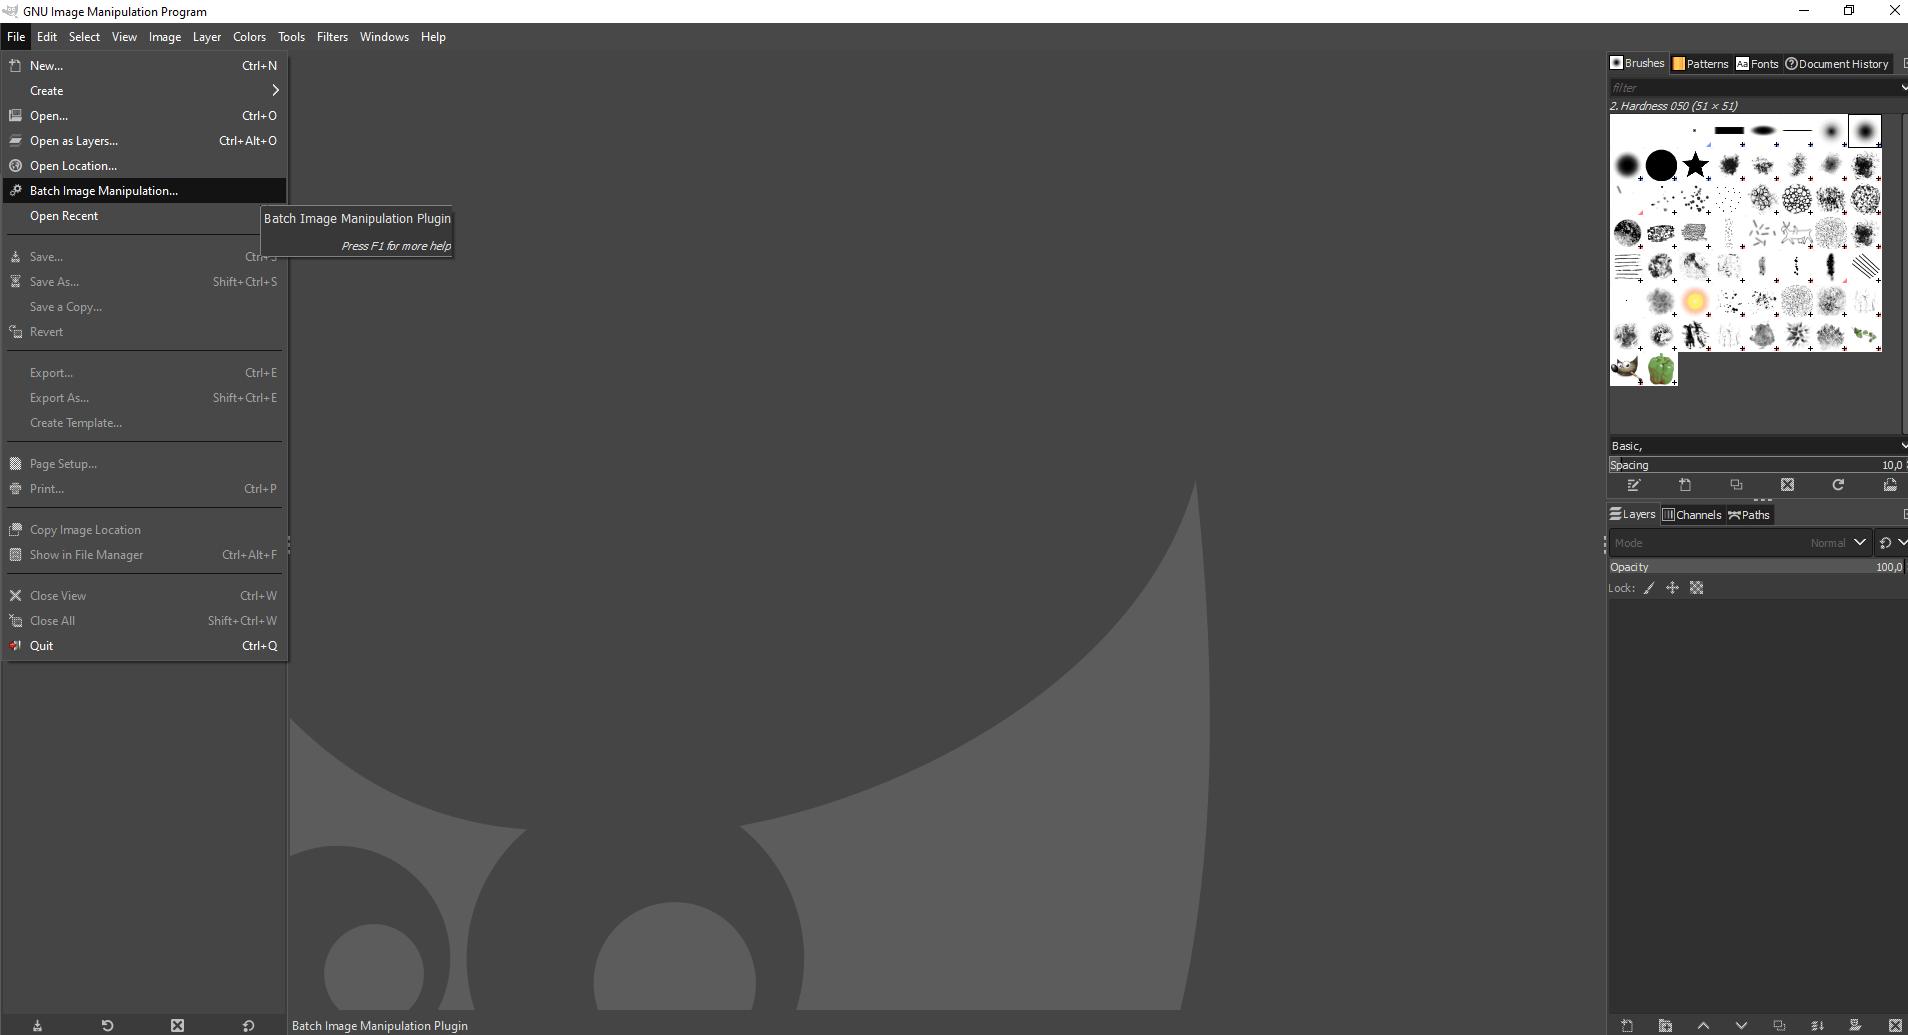
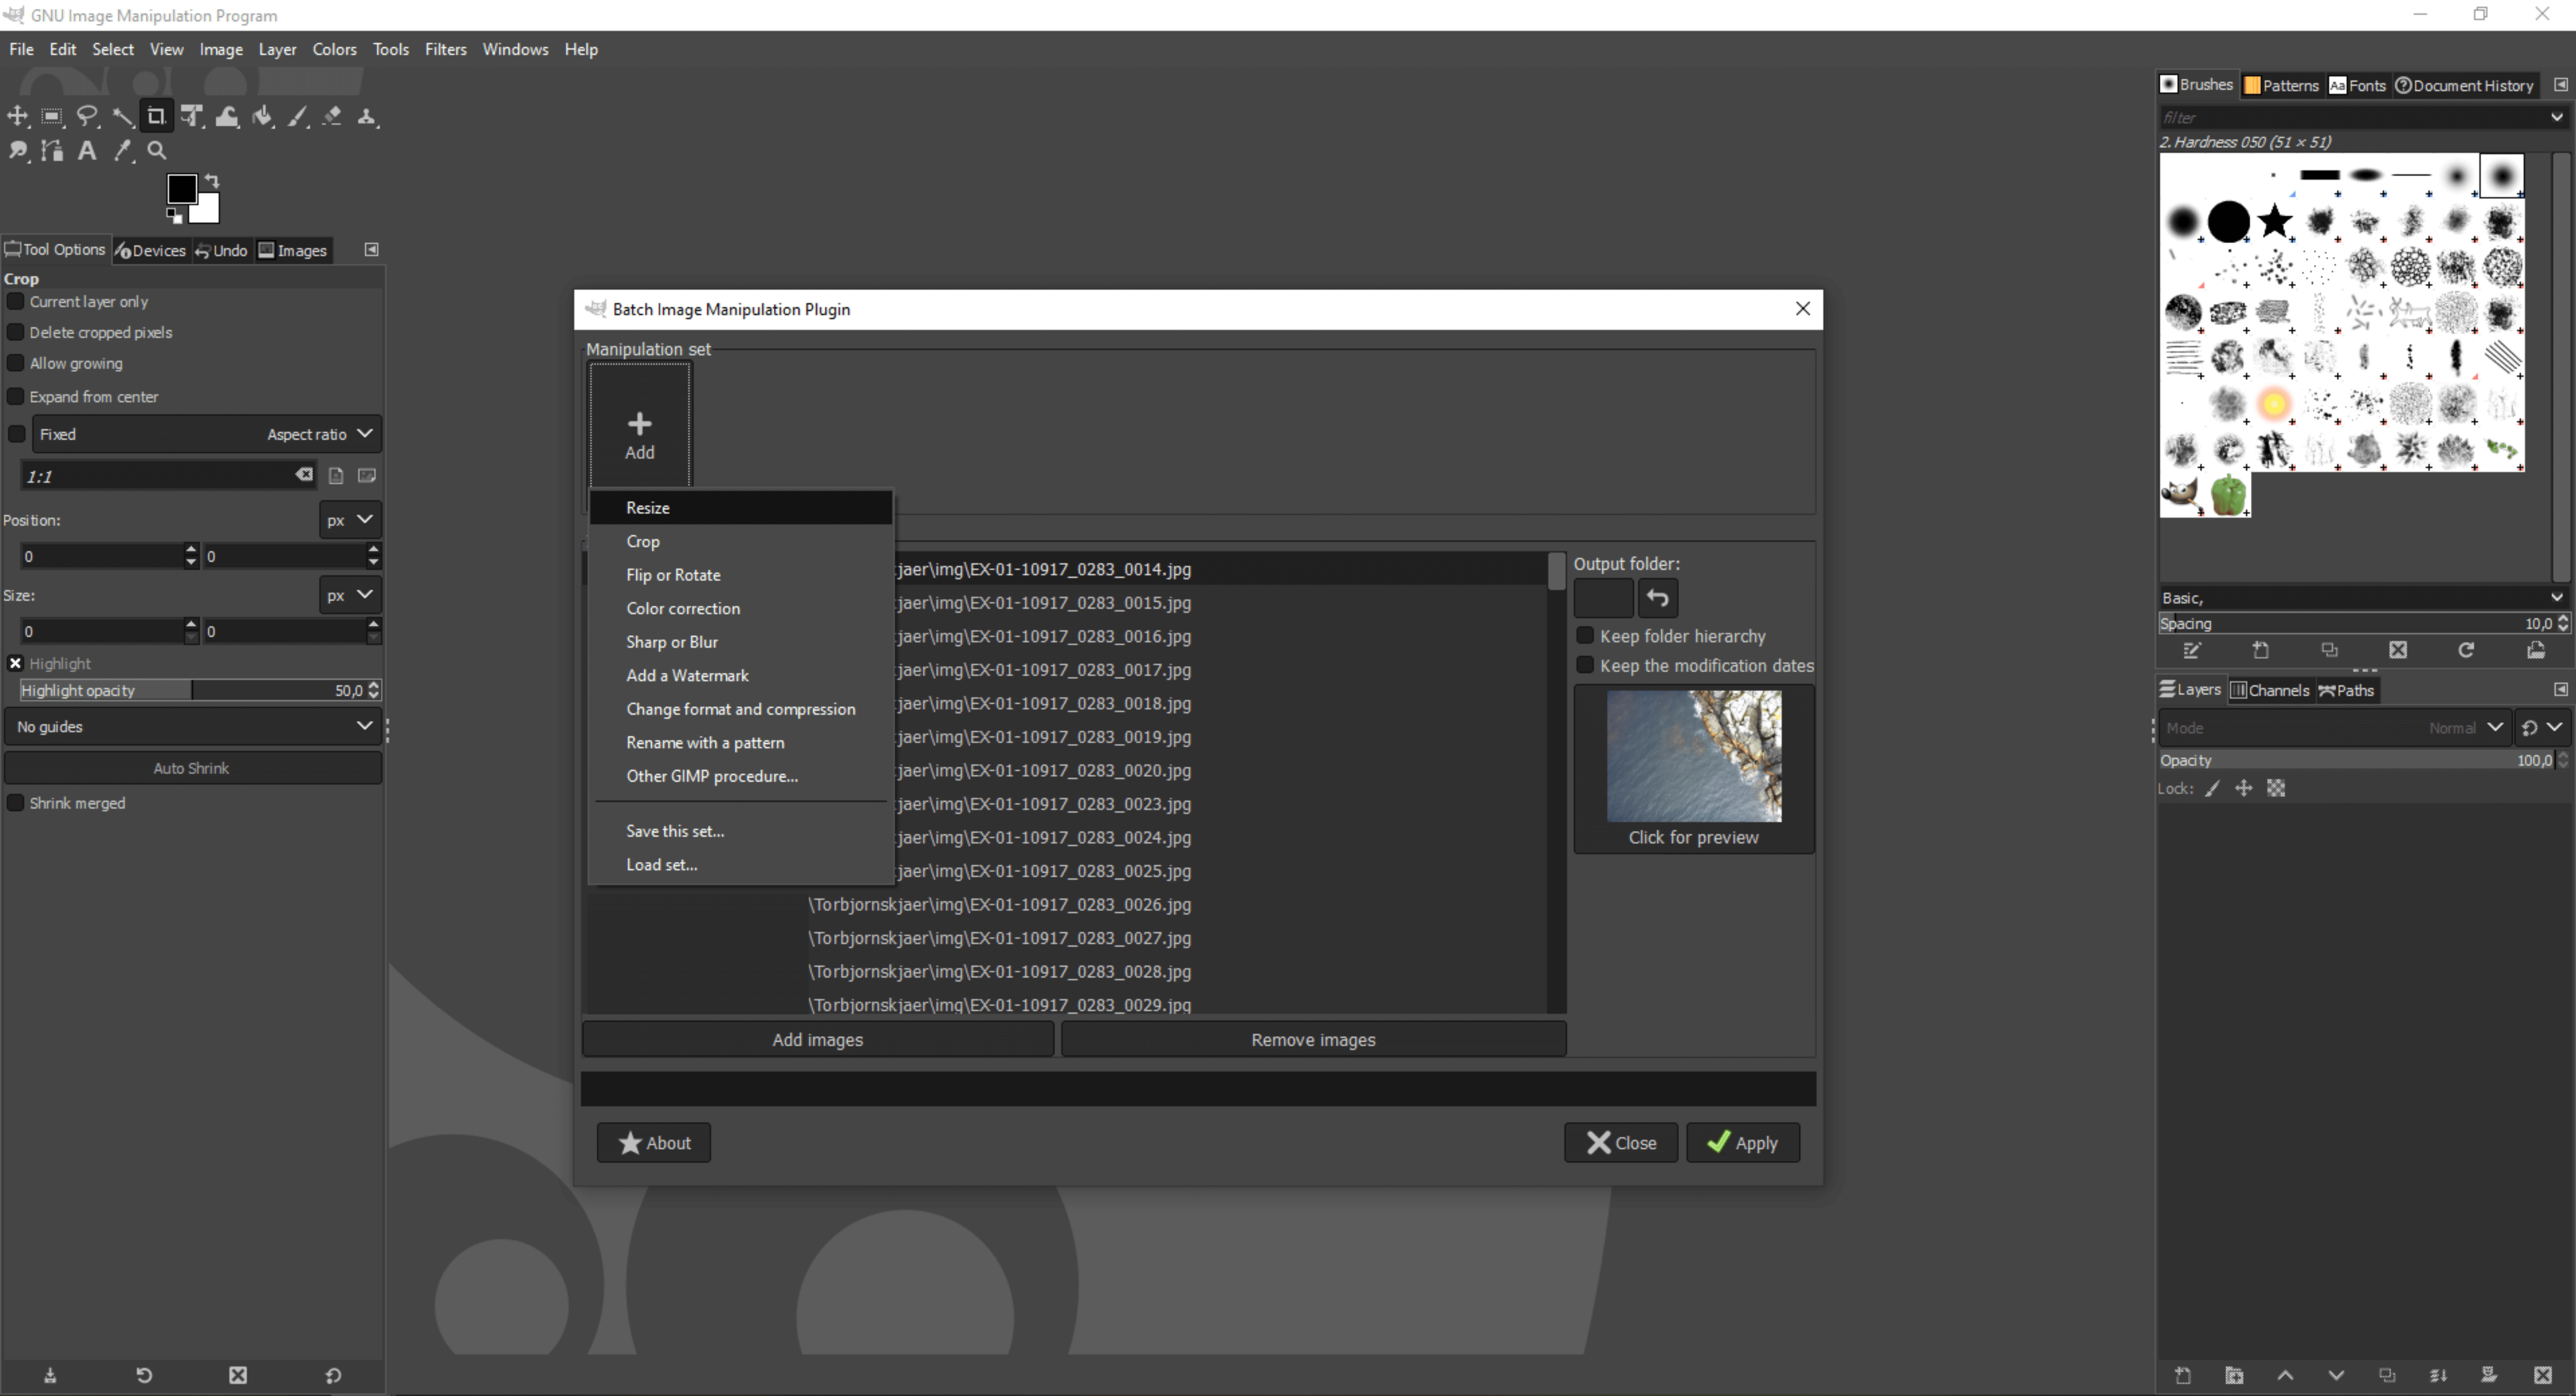
Under the “File” menu, select the “Batch Image Manipulation…” option.
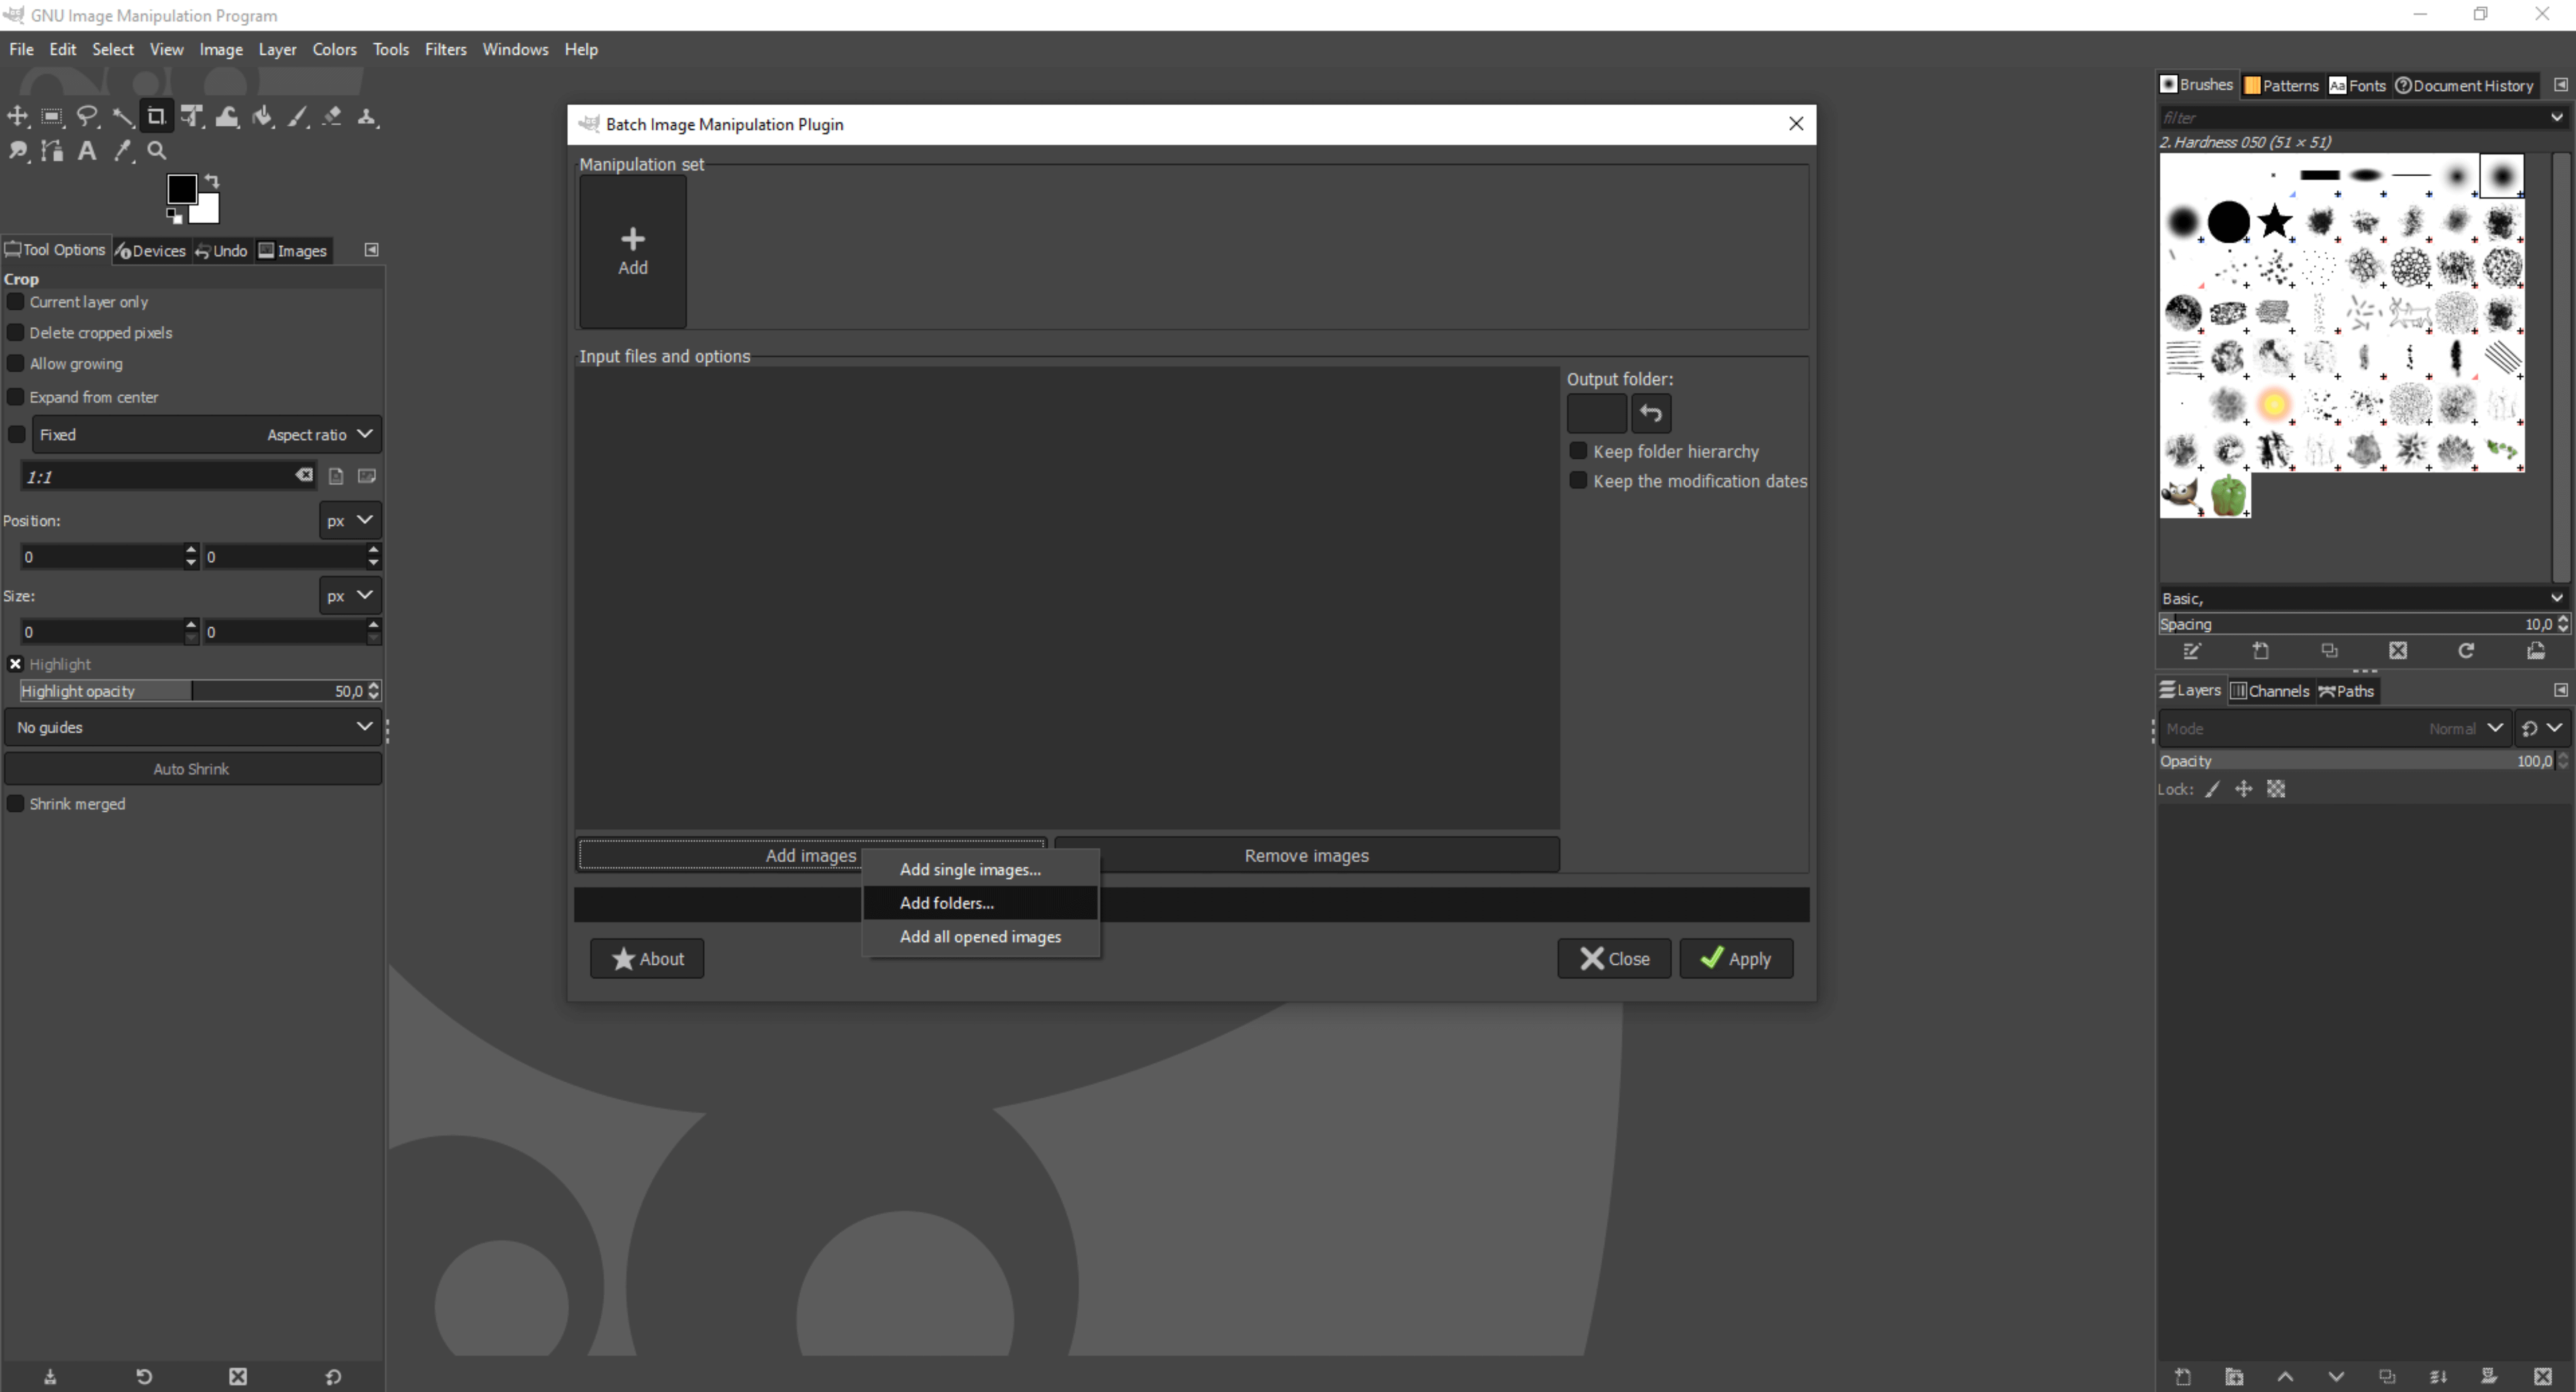
In the pop-up window, click the “Add Images” button, then select the “Add folders…” option.
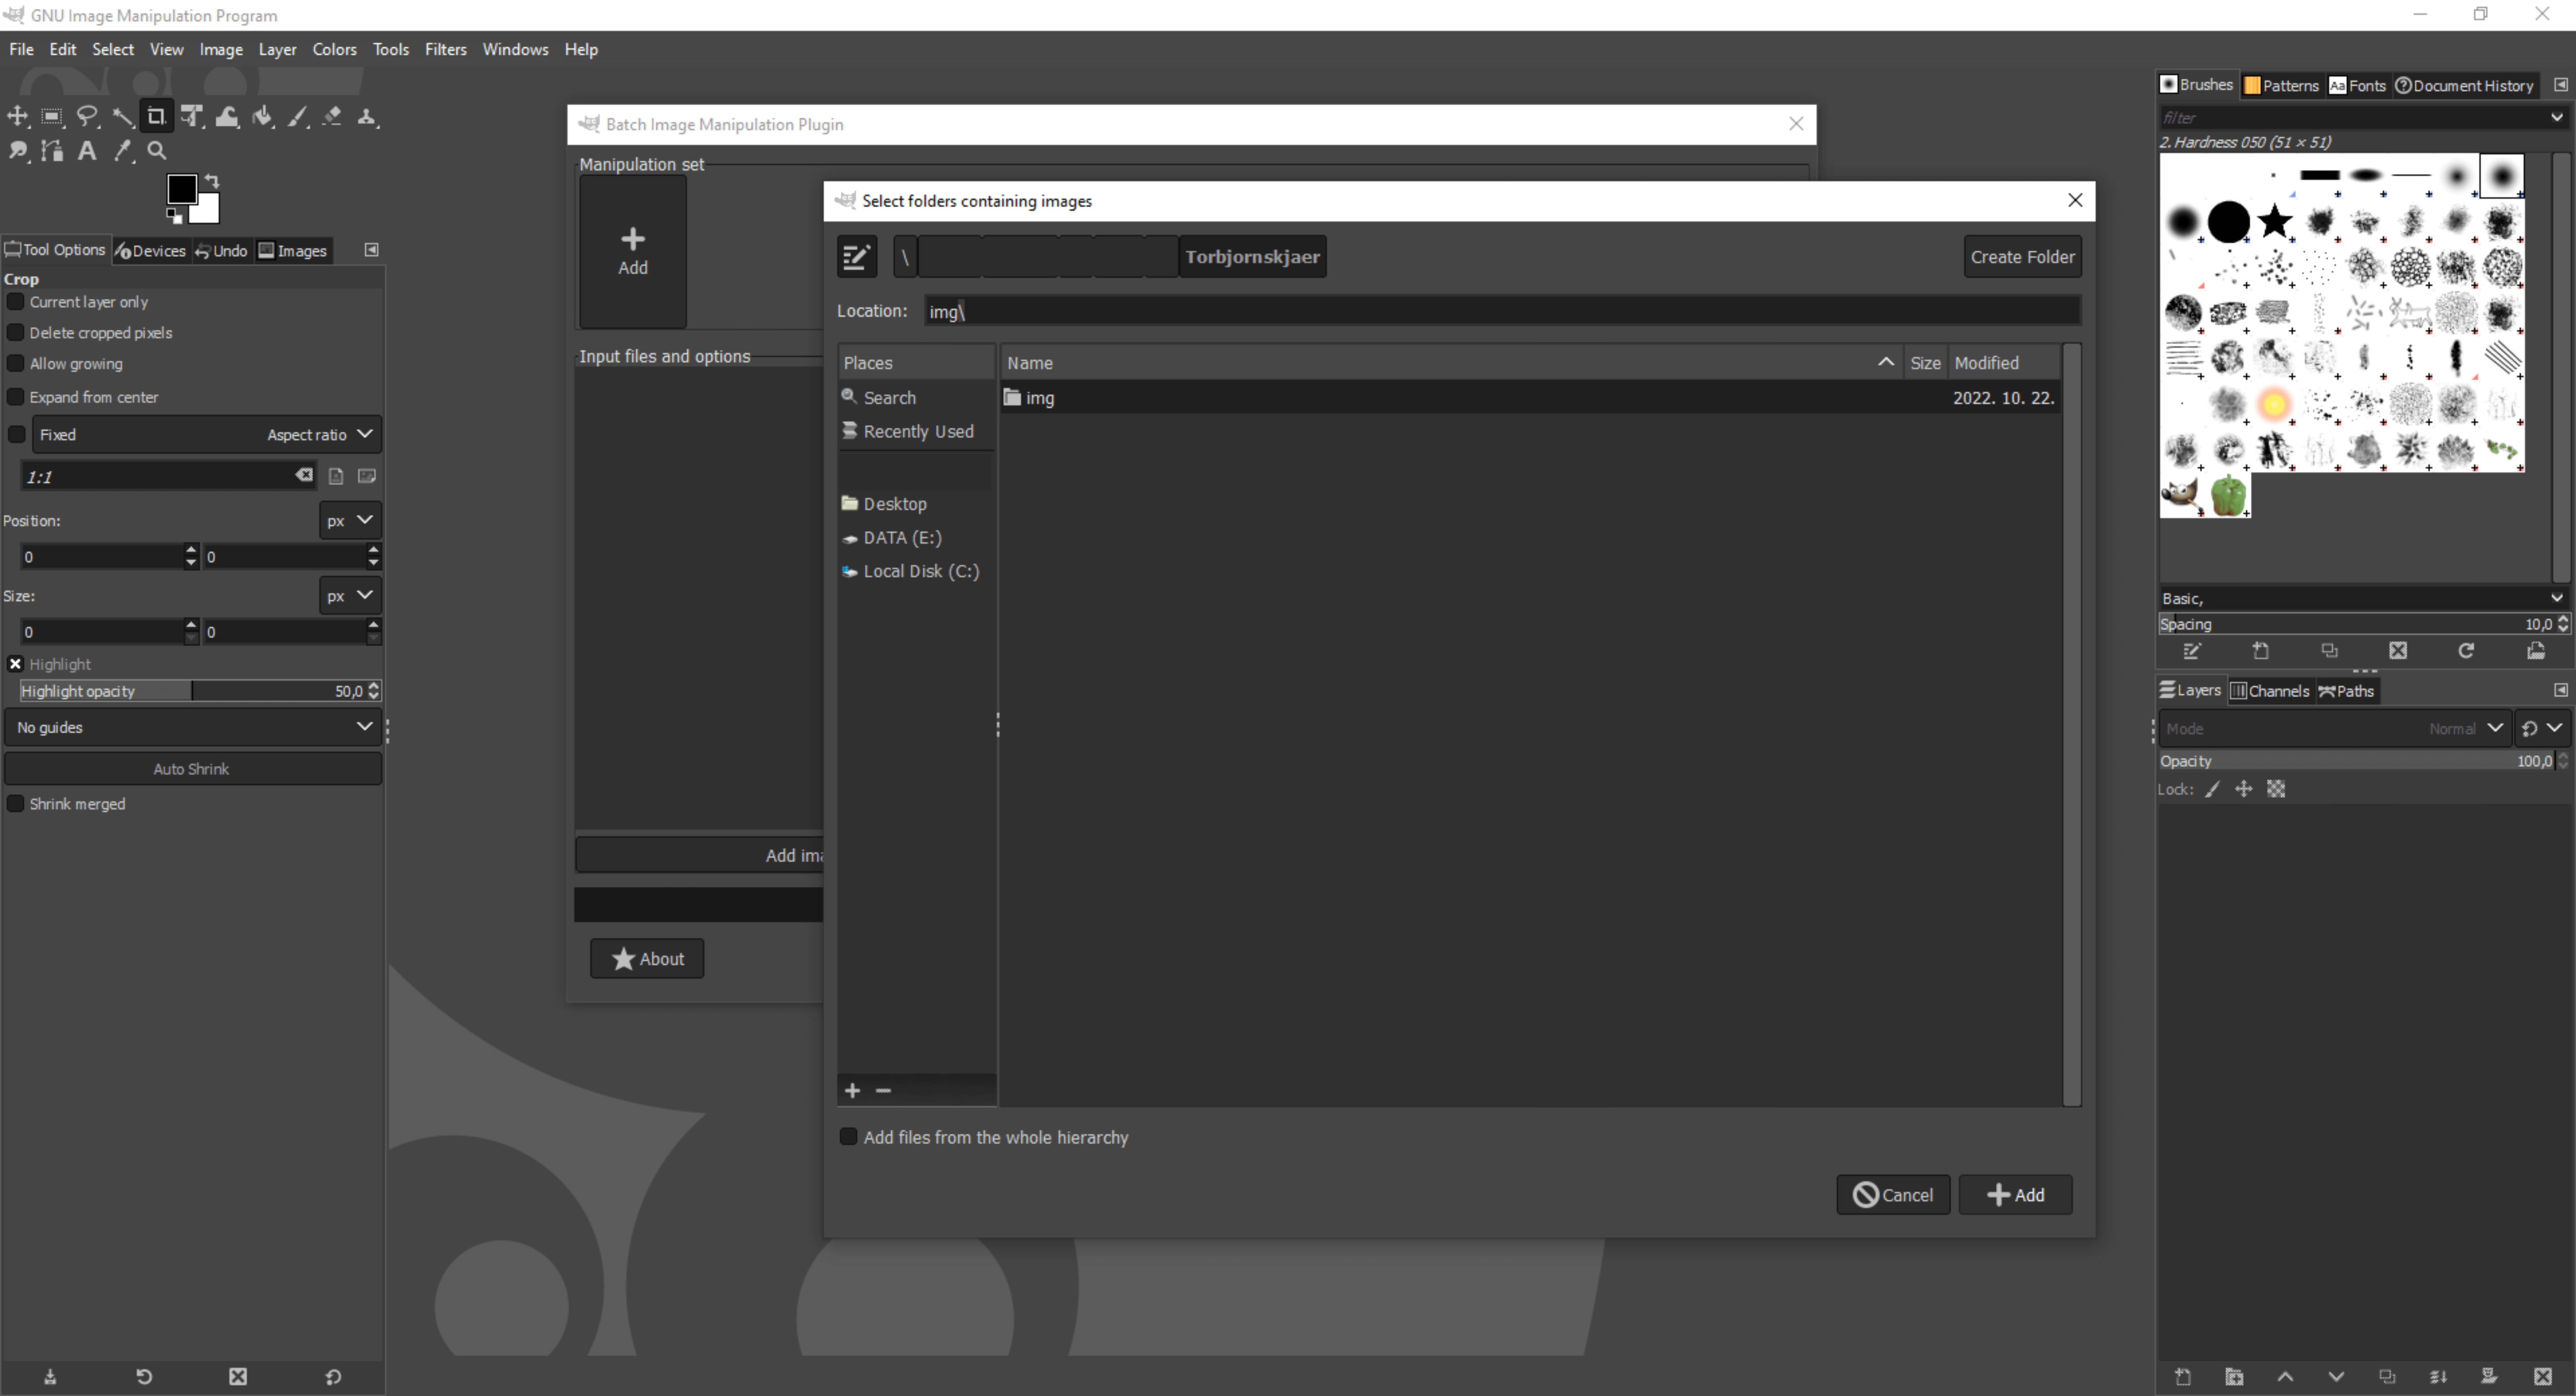
Browse to the folder containing the images and click the “+Add” button at the bottom right.
With this, GIMP has loaded all the images in the selected folder. In the “Manipulation set” ribbon, click the “+Add” button and select the “Resize” option.
In the pop-up window, adjust the “Width” and “Height” parameters of the images as desired so that they are specified as a percentage. You can also change the resolution of the images by selecting the “Change resolution” checkbox and adjusting the DPI per X and Y axes. Press the “OK” button.
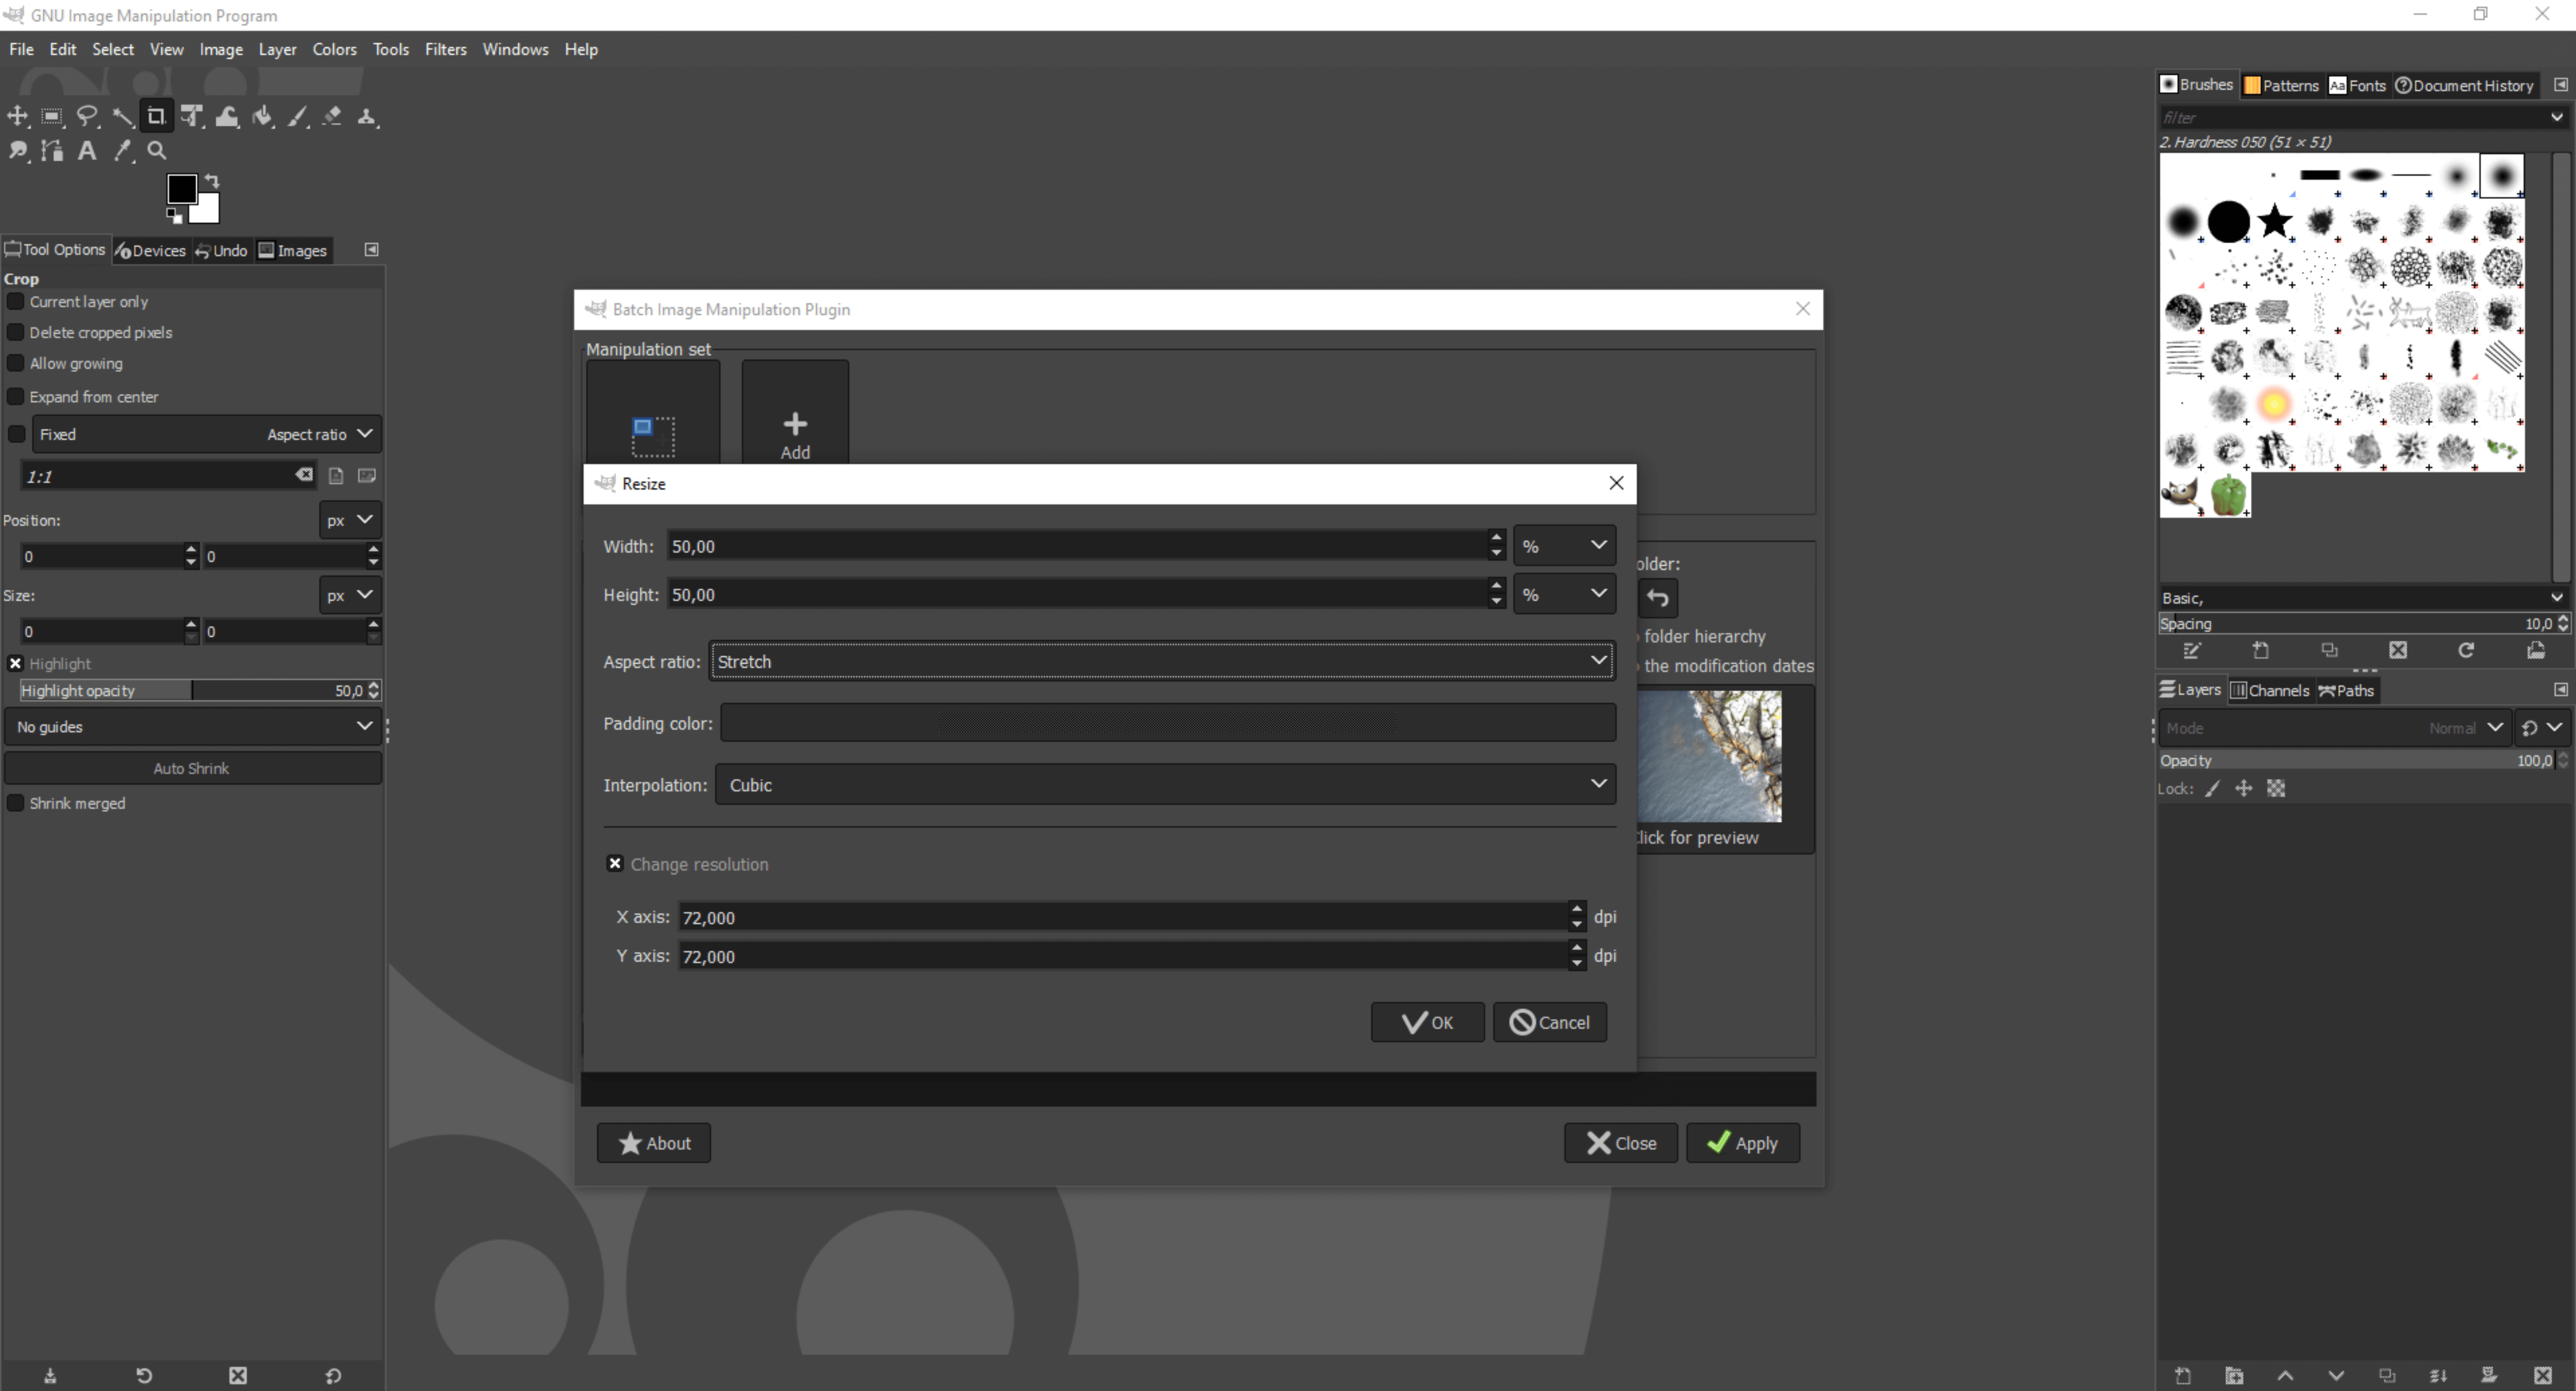
After you’re done, set the location of the output files as well. You can do this under “Output folder:” on the right. If you have also set this, press the “Apply” button in the lower right corner and the automatic processing will start. The images produced in this way will no longer be a problem for WebODM. 🙂
ABOUT WEBODM PHOTOGRAMMETRY PROCESSING SOFTWARE
As I mentioned, we will use Open Drone Map and its web interface: WebODM. We use this to create maps and 3D files. WebODM is an open-source software that anyone can freely install and use. Of course, you can support the developers if you choose to buy the easy-to-install version.
WebODM promises relatively user-friendly and commercial-quality output files. The software creates georeferenced maps, point clouds, height models (DSM, DTM) and textured 3D models from drone aerial photographs.
If you want to try WebODM before installing it, click HERE and see what the software can do.
It is also possible to compare it with various processing software such as Metashape, DroneDeploy, DroneMapper or Pix4D. If you want to see what the WebODM algorithm produces in the case of an orthophoto mosaic or a DSM map compared to the mentioned famous processors, then check this website.
Sidenote: In our previous article we drew attention to the fact that the problem with web-based, automated photogrammetry software is that the results of the individual processing phases cannot be edited manually. This problem occurs in this case too. If you want to learn the basics of photogrammetry processing, WebODM is perfect for this purpose. The output files of the software can be quite good, which makes you want to create drone maps and 3D models.
Minimum system requirements of WebODM:
- Windows 8 or newer operating system
- Processor up to 10 years old (64-bit)
- 20 GB free storage space
- 4 GB RAM
Processable images based on the available memory:
| Number of images | RAM (GB) |
| 40 | 4 |
| 250 | 16 |
| 500 | 32 |
| 1500 | 64 |
| 2500 | 128 |
| 3500 | 192 |
| 5000 | 256 |
Based on the above, it is possible to process a few hundred images with 16 GB RAM, but a CPU with more cores enables faster processing. Although the documentation on the WebODM website still states that the graphics card (GPU) has no effect on performance, the latest version (and the GitHub documentation) includes GPU acceleration. The new version of WebODM supports CUDA-compatible graphics cards.
THE INSTALLATION OF WebODM
Fasten your seat belts and put on your tech glasses, here comes the installation of WebODM! It won’t be as simple as a usual “I agree, Next, Next, Next… Finish”. Don’t worry, I’ll show you step by step how to install the software.
As a first step, you will need a couple of utilities, namely Docker and Git Bash. Let’s see them one by one! Download and install Docker. Start the Docker Desktop application and wait for it to load! This may take a few minutes.
Sidenote: You may need to enable virtualization on your computer. Here is a great article as a guide to solve this.
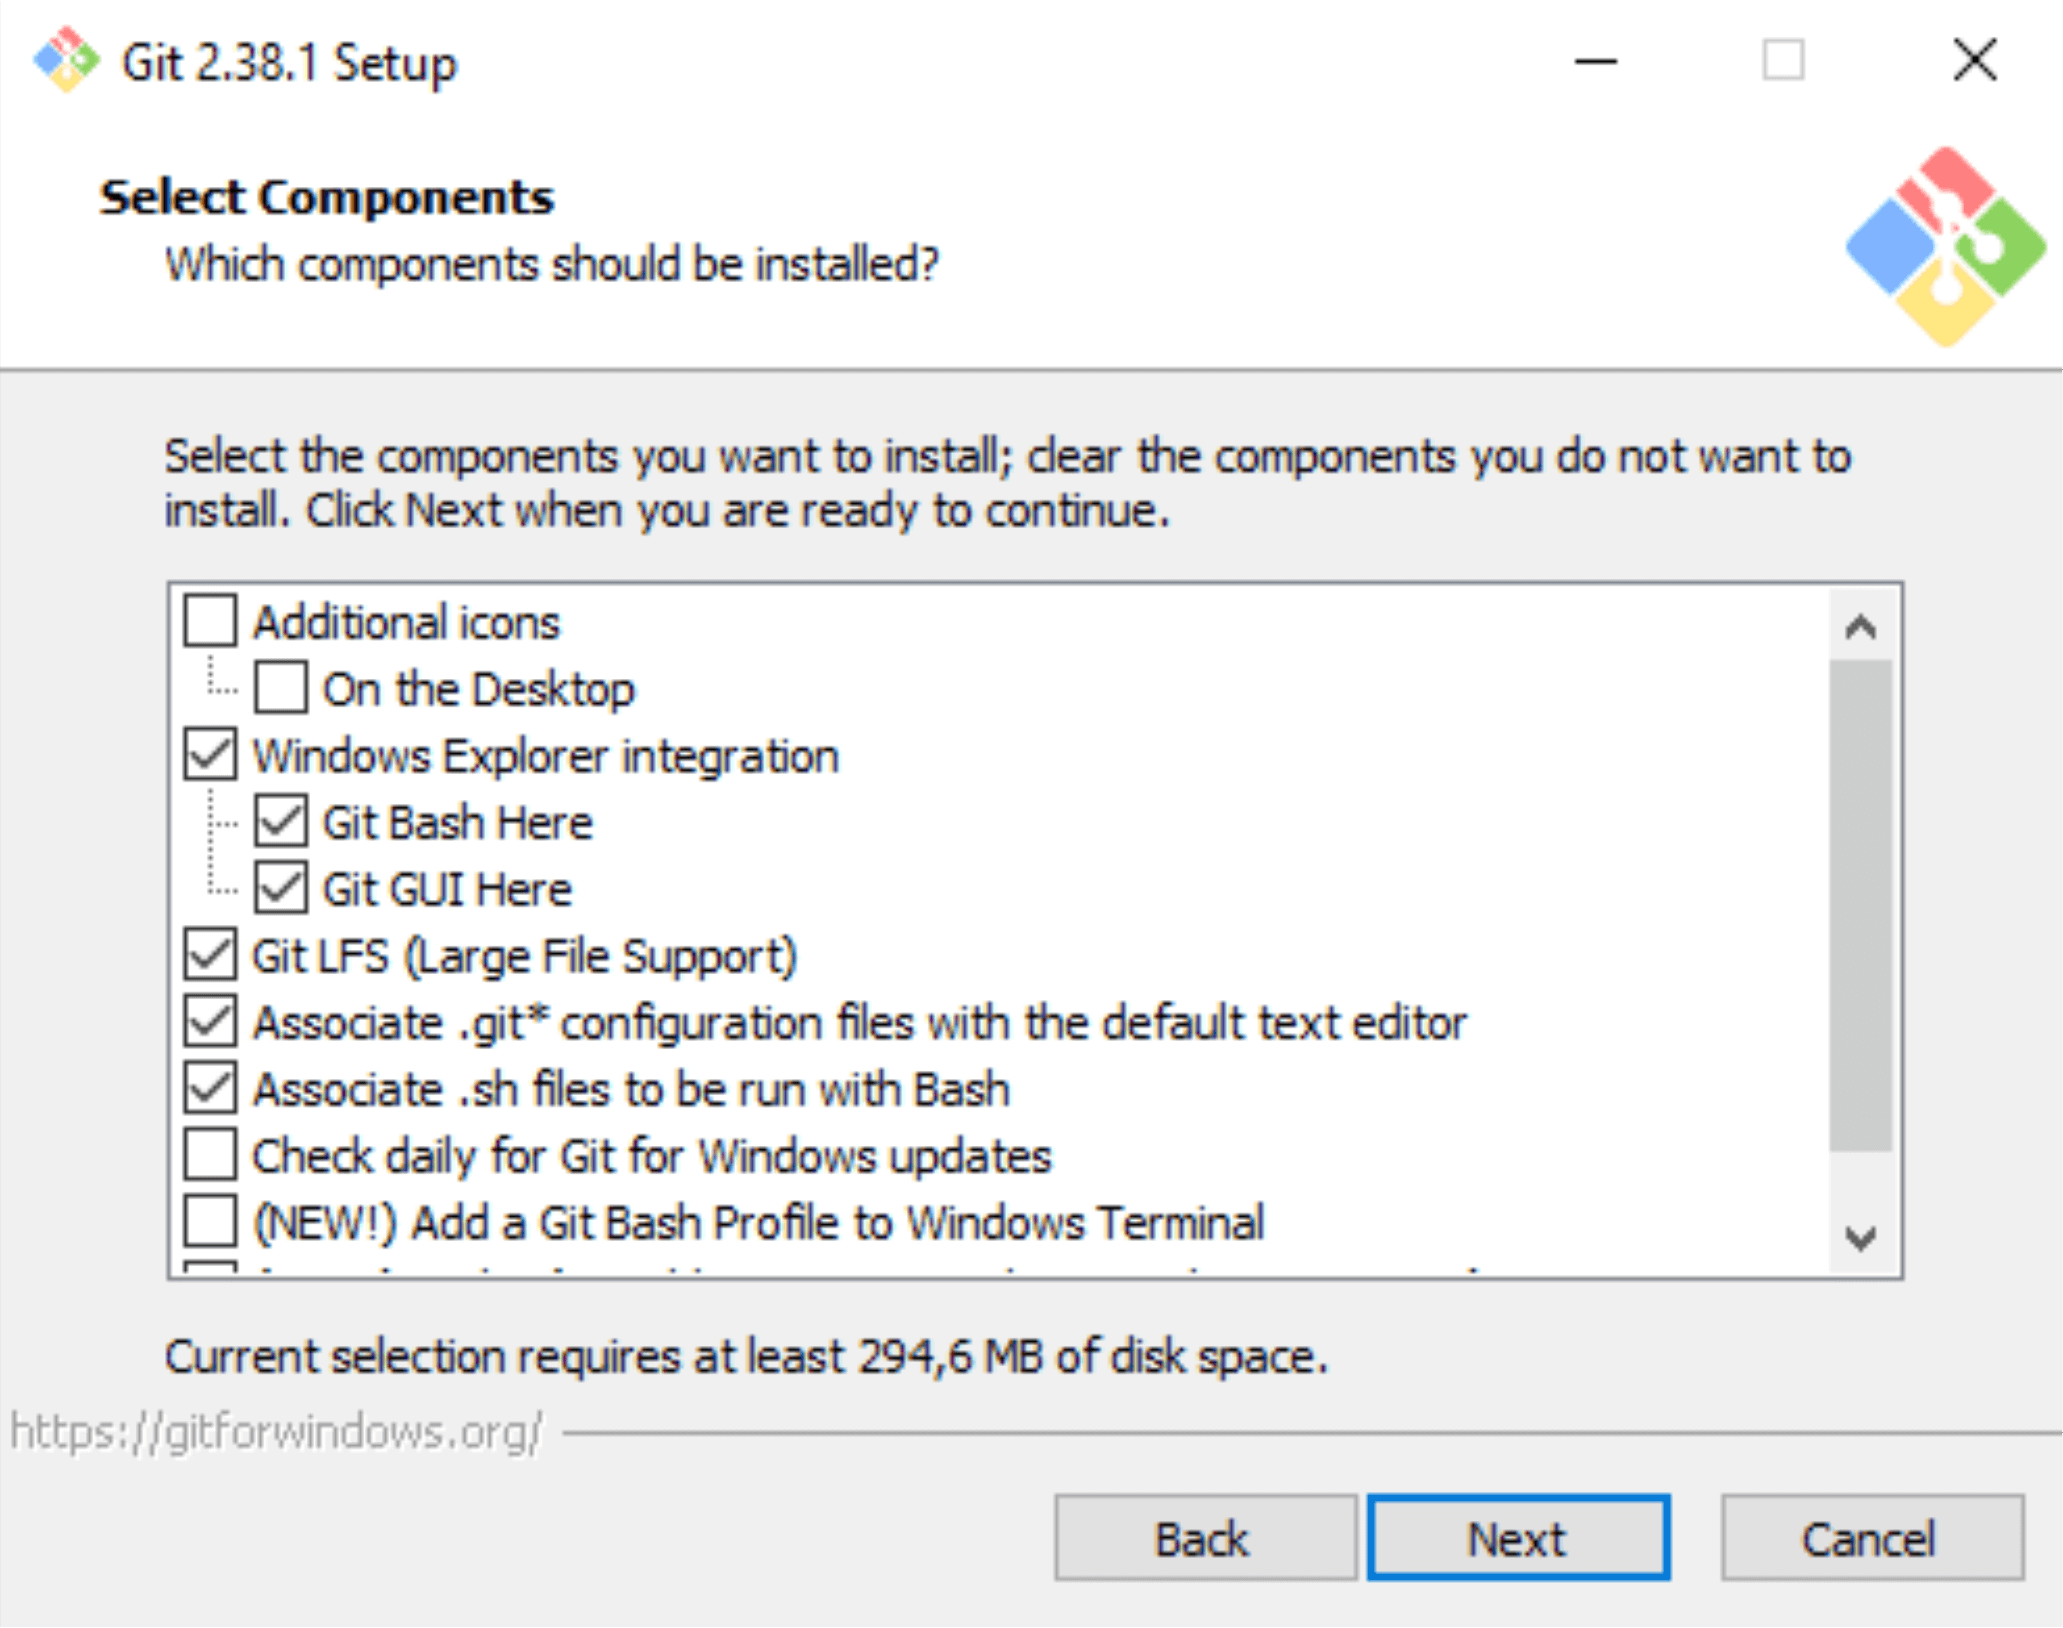
Download Git Bash too and install it with default settings.
Start Git Bash and click on the following link this will redirect you to the WebODM GitHub repository. You can always download the latest version from here.
In Git Bash, copy the first available command line:
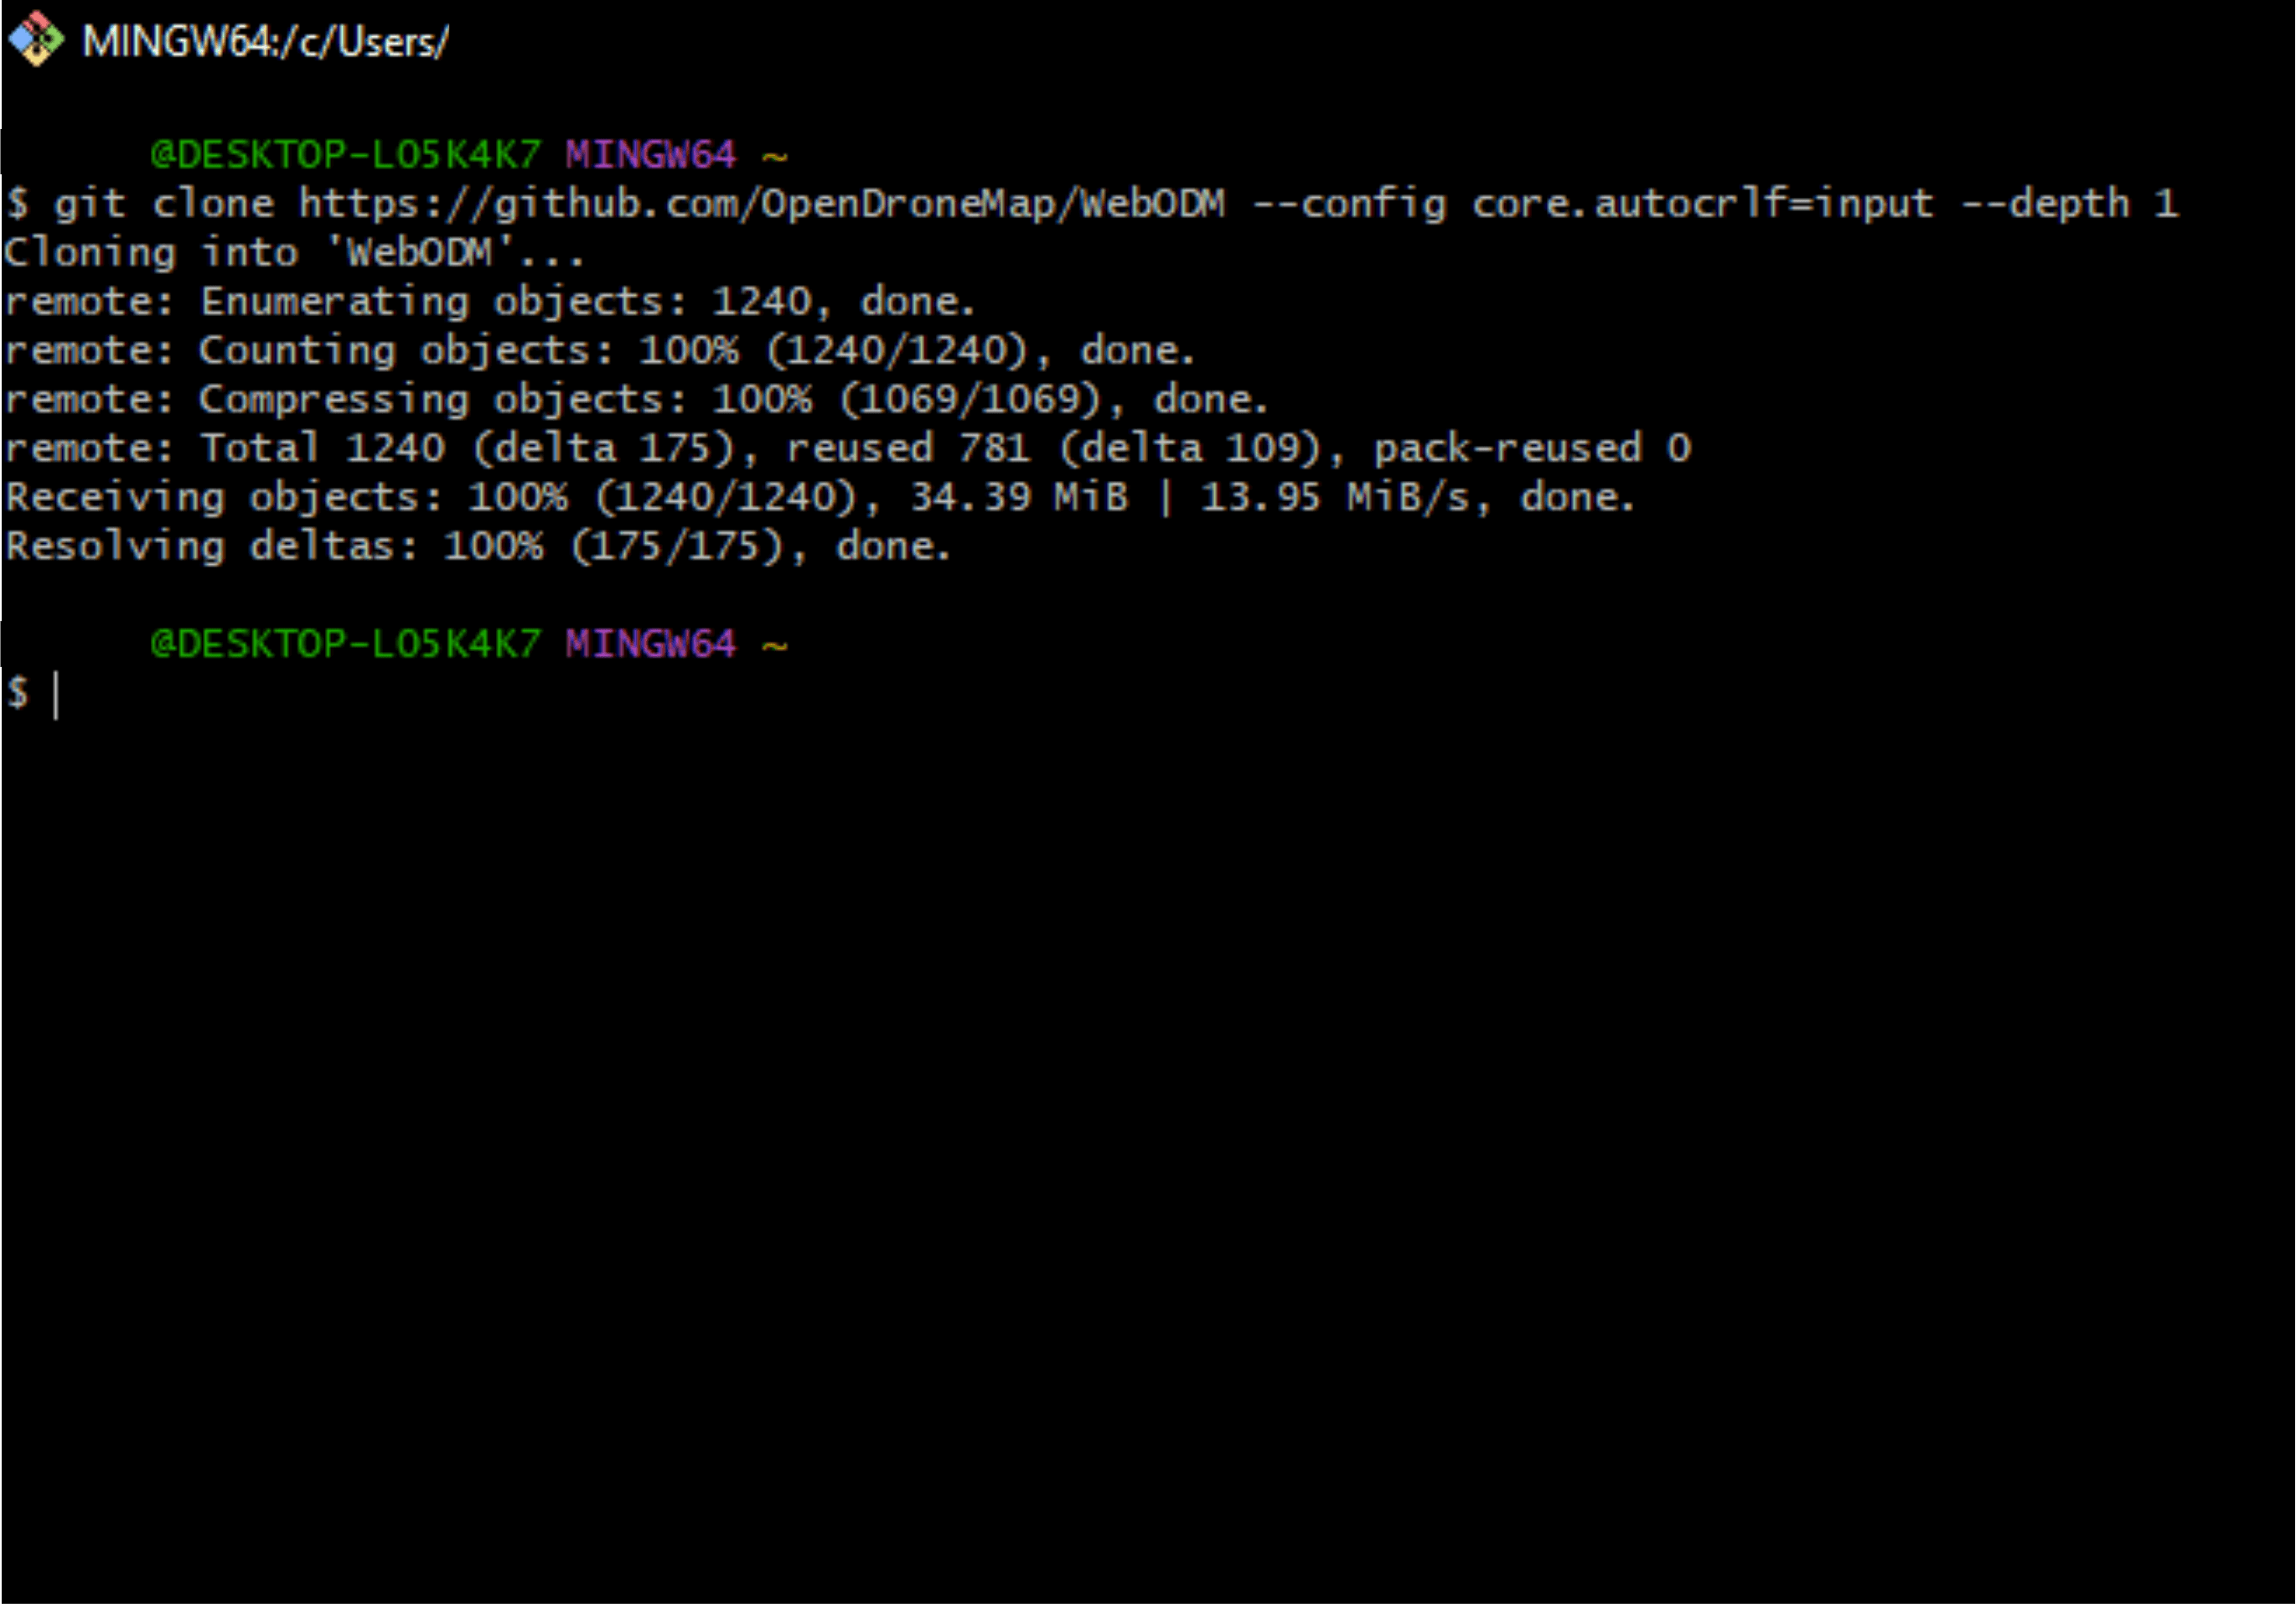
git clone https://github.com/OpenDroneMap/WebODM --config core.autocrlf=input --depth 1
Make sure you do NOT use “ctrl+v” in the Git Bash interface, but right mouse button and then “Paste”.
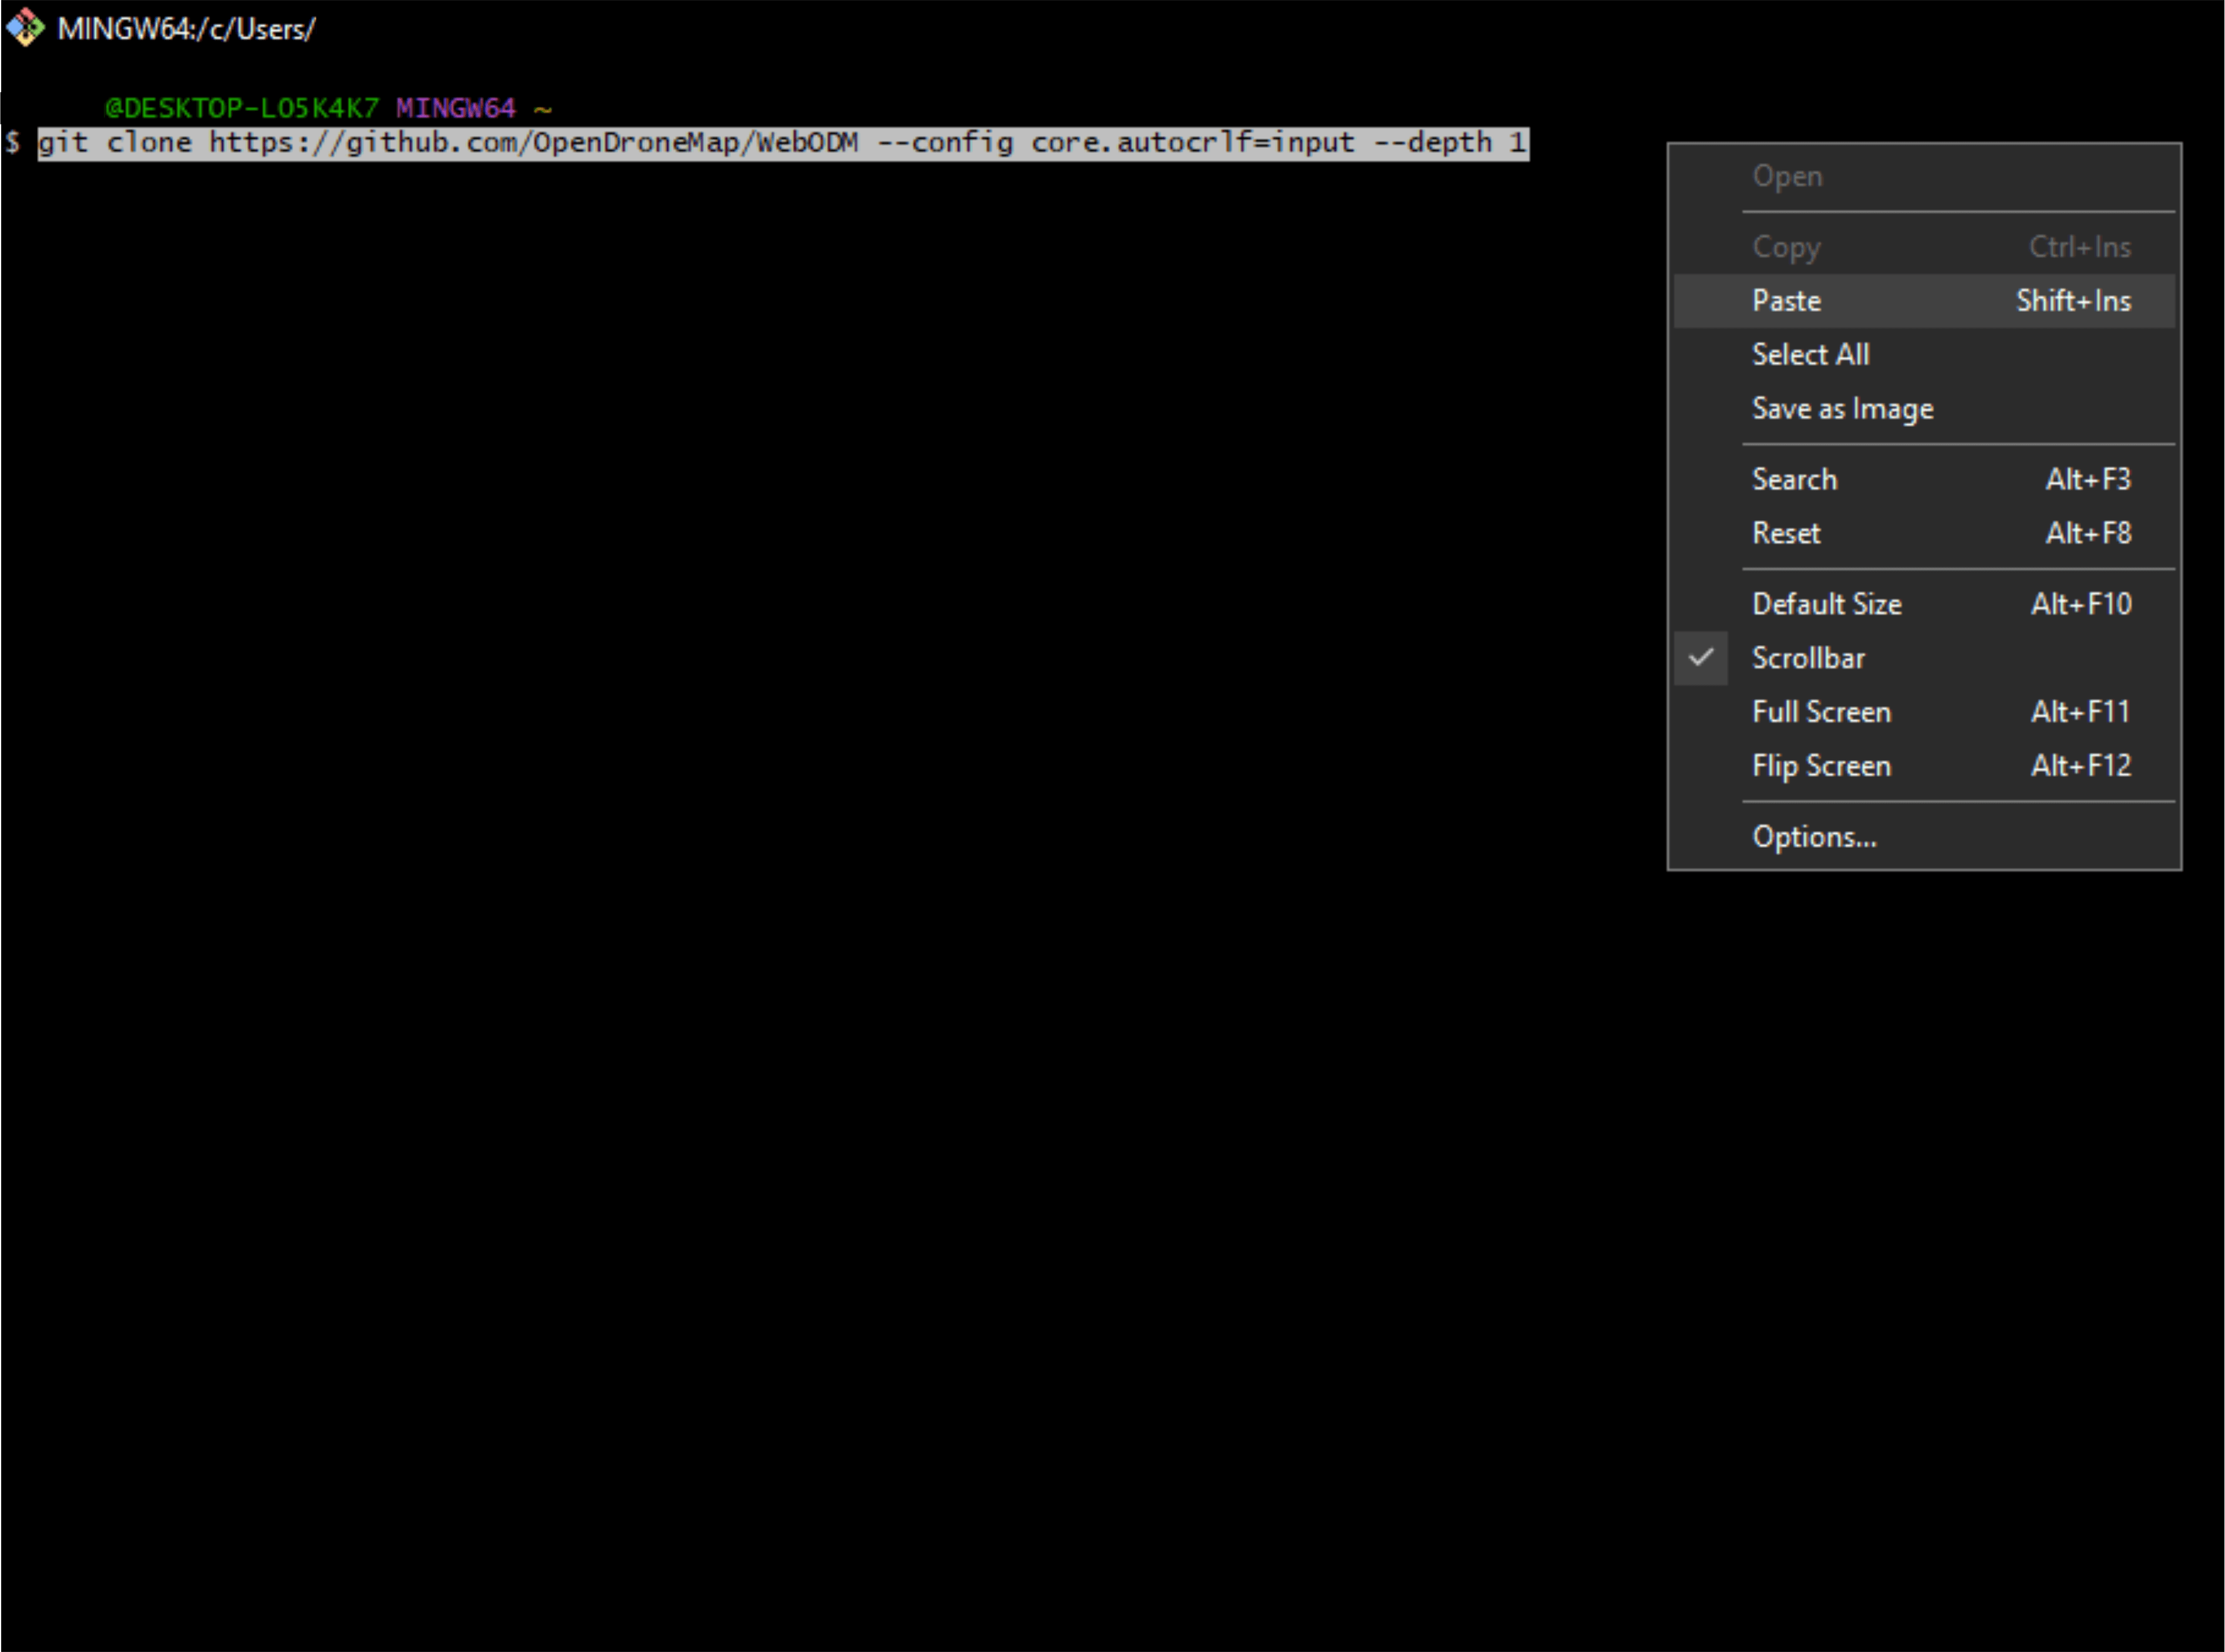
Press “Enter” to clone the code base found in the WebODM GitHub repository, which can now be run on your computer. You should see something like the following image.
Now from the Github page copy the next command, paste it into Git Bash and then press Enter.
cd WebODM
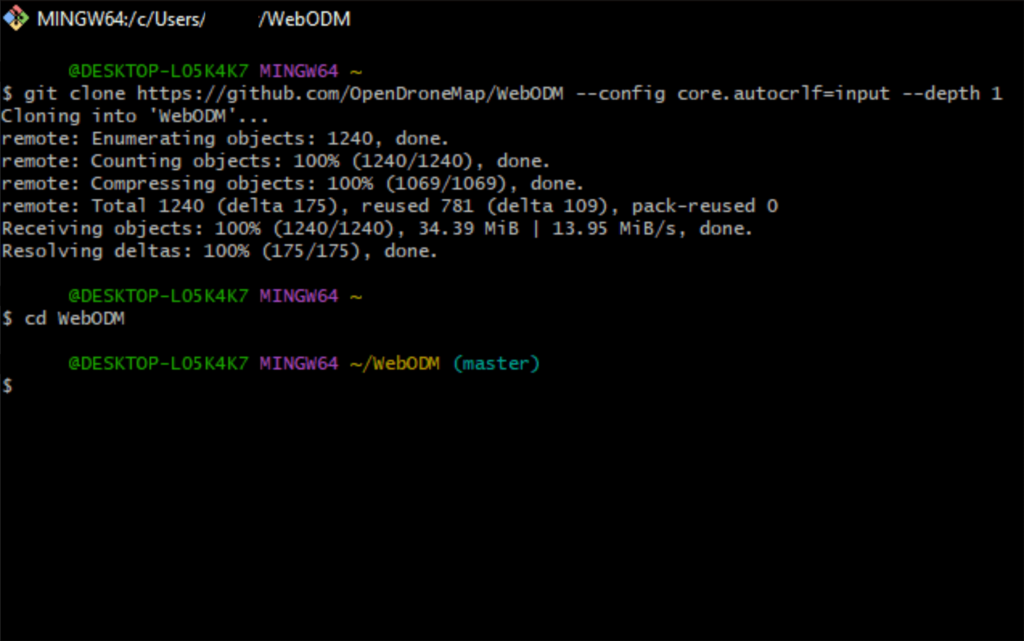
Apparently, nothing has really changed, but that’s not a problem since we just navigated to the WebODM folder.
The next step is to copy the last line and run it in Git Bash. This process may take a few minutes for the first time.
./webodm.sh start
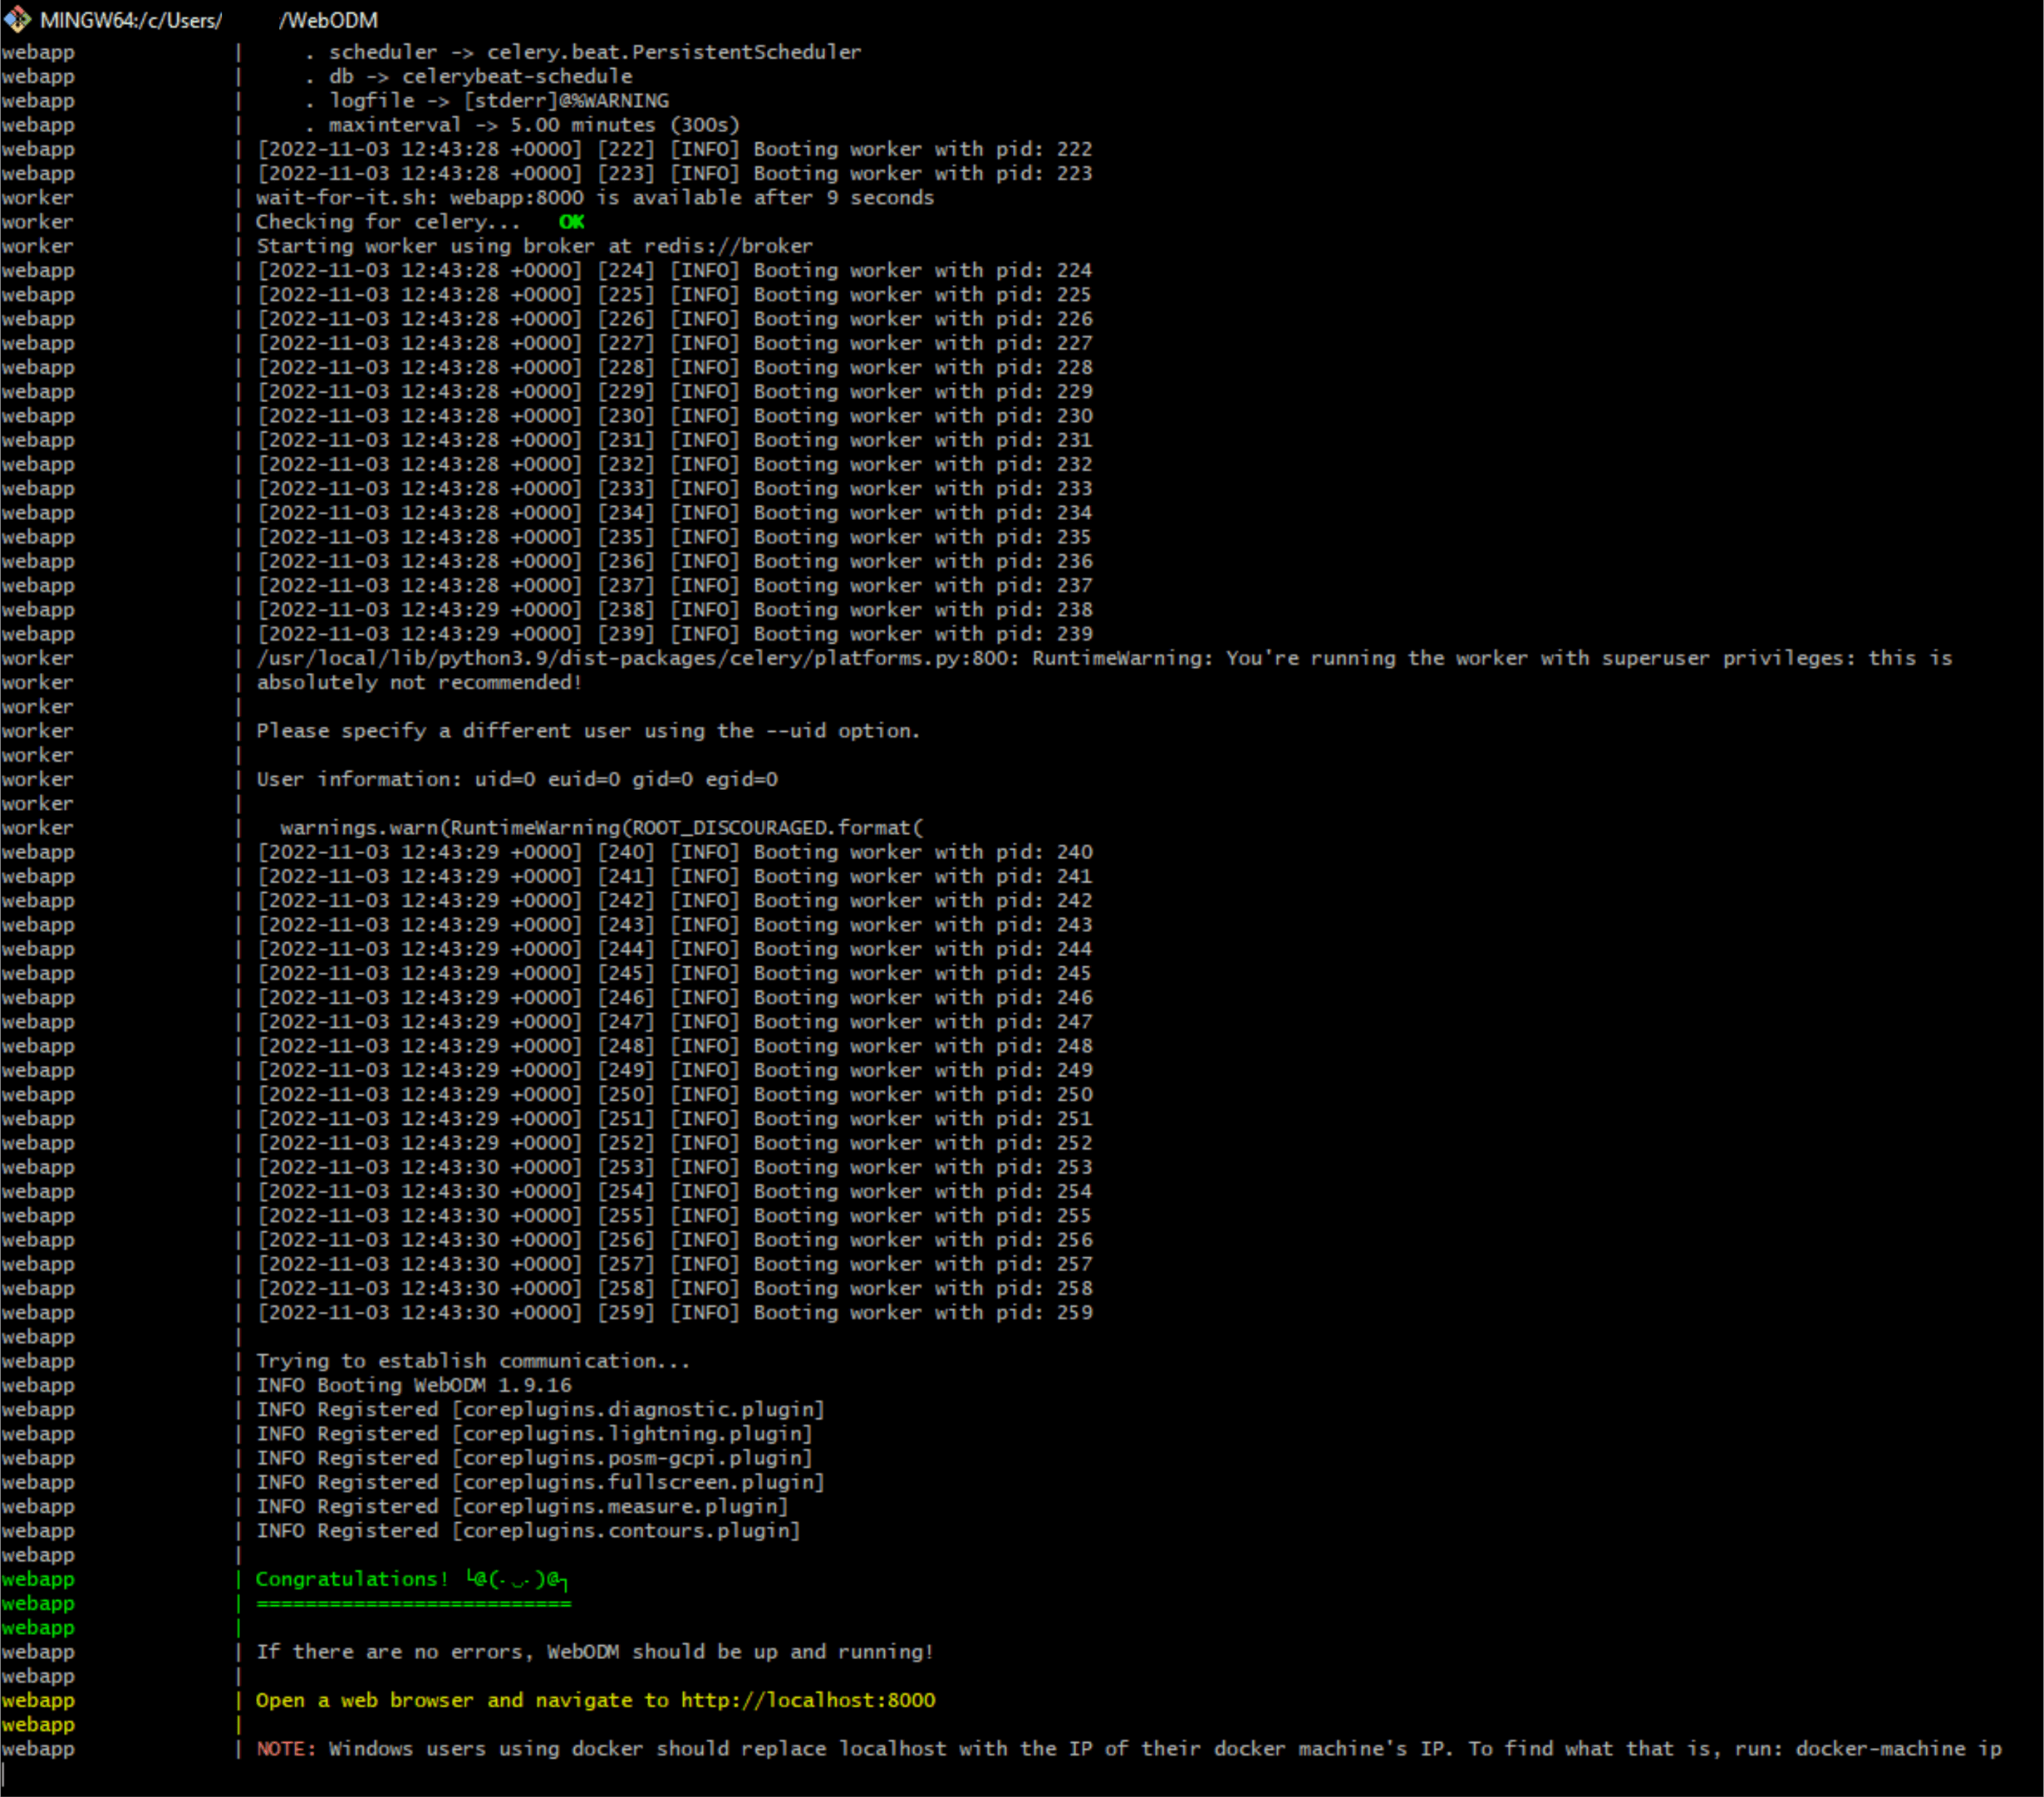
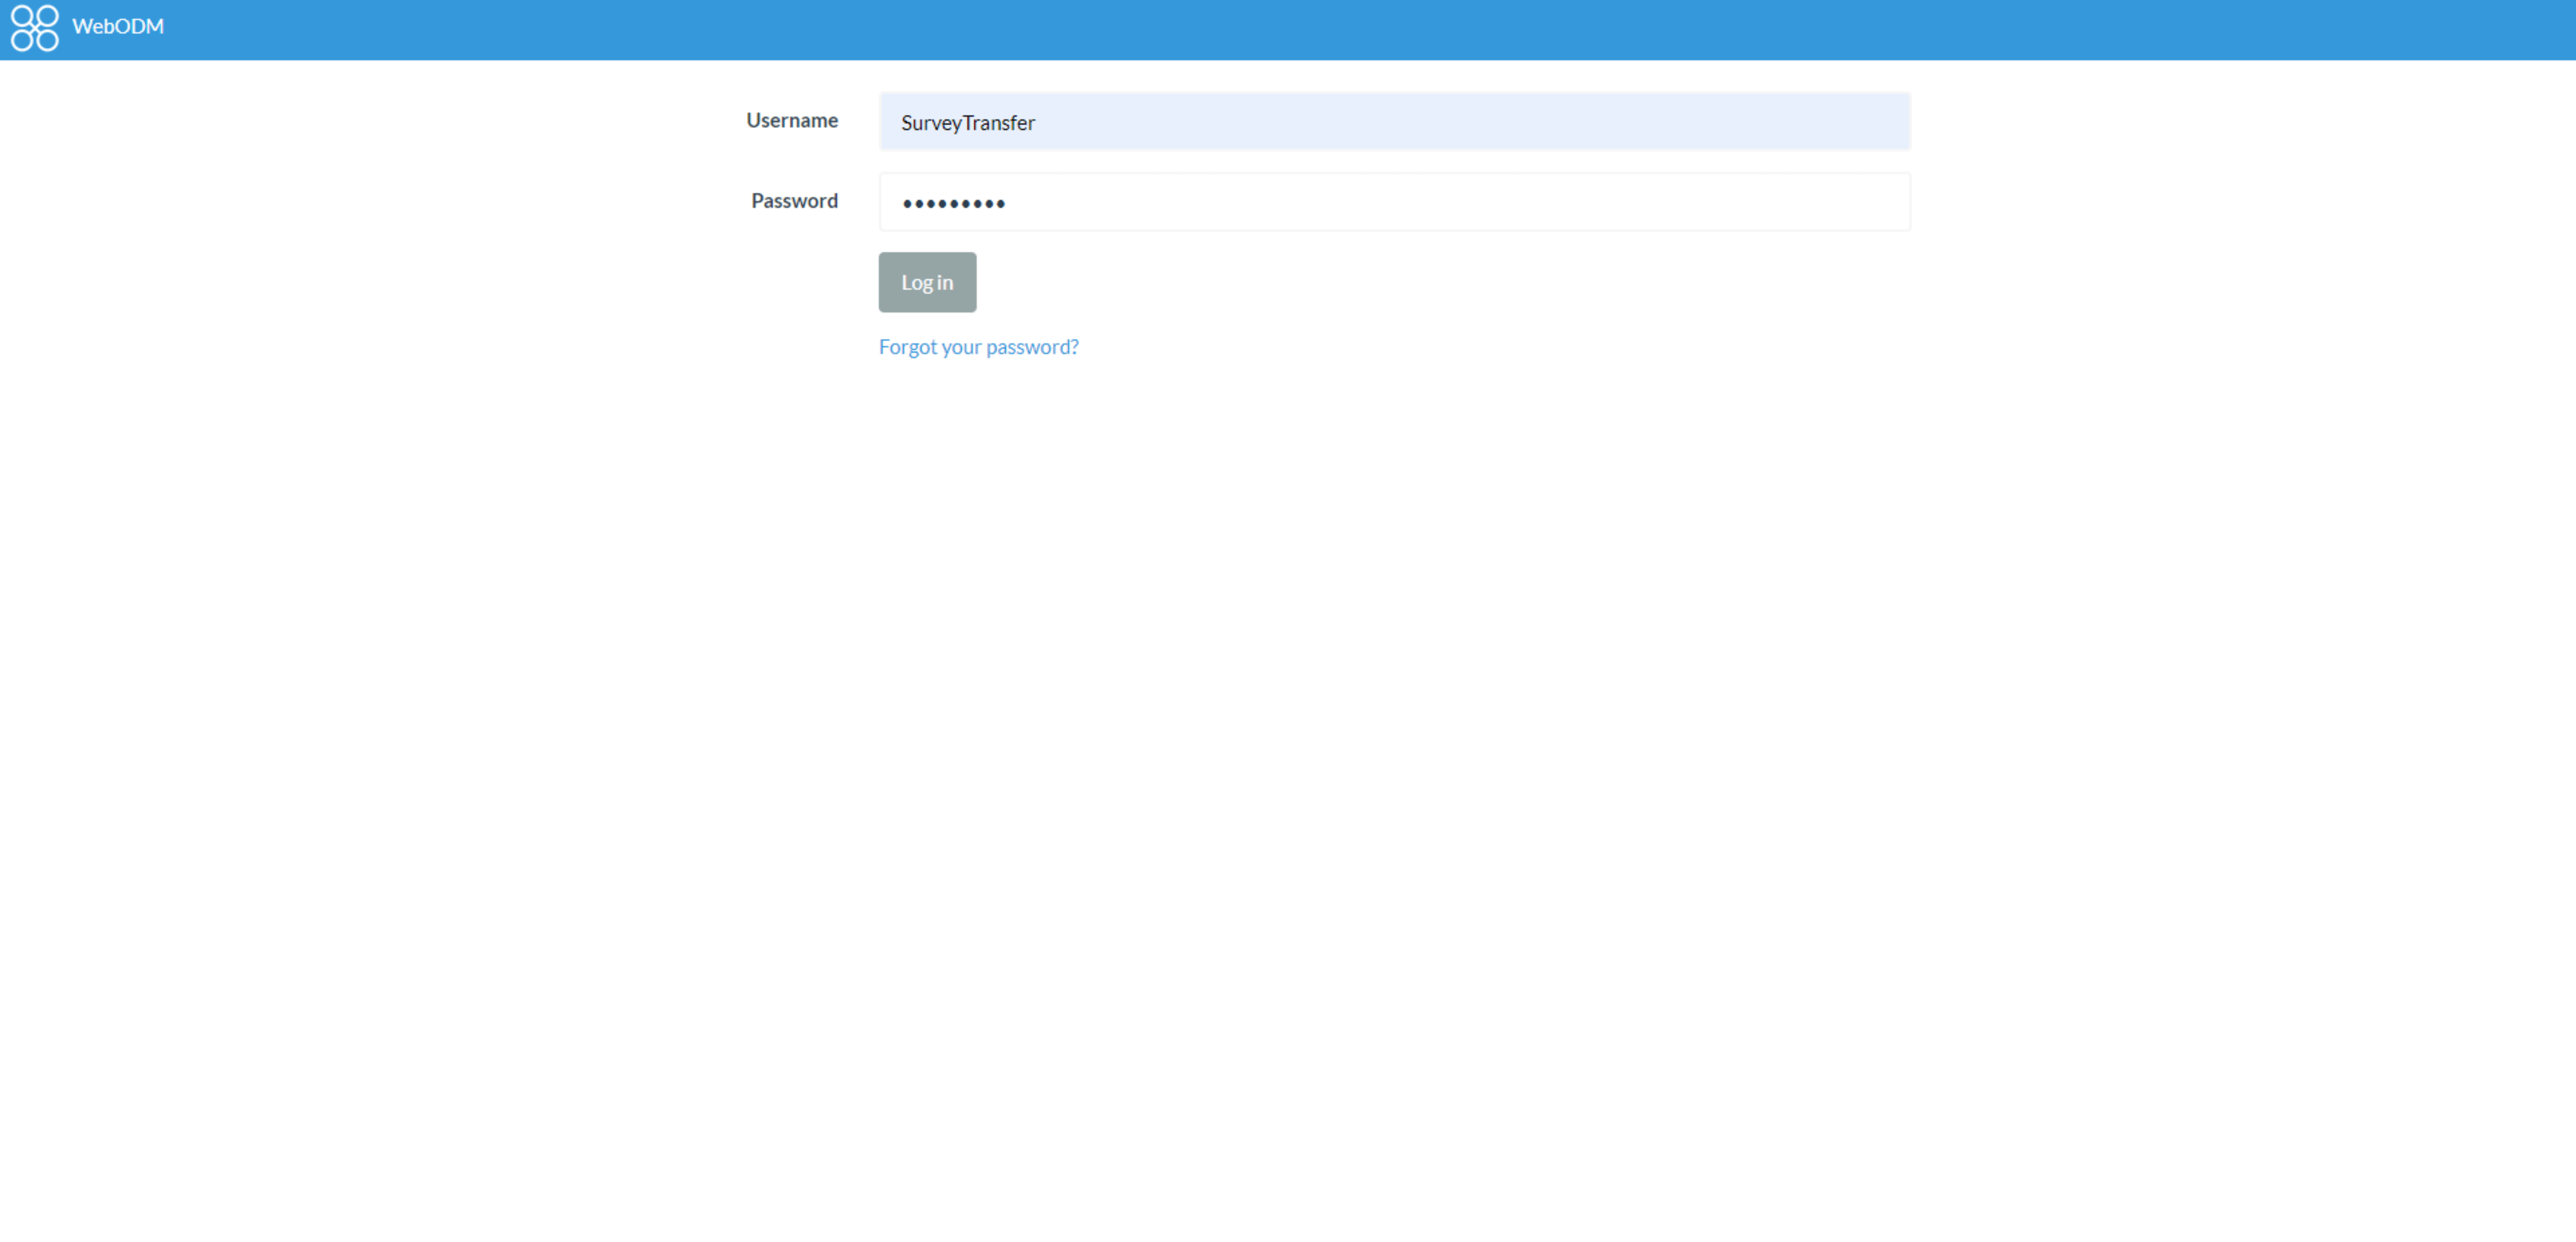
Start your browser and open http://localhost:8000. This website will only be available on your computer, as the web application runs locally. Create a new account by entering your username and password. Next time you will be able to log in and continue working. It is important not to close Docker or Git Bash while you are using WebODM.
Sidenote: You can stop WebODM completely if you stop/close both Git Bash and Docker.
If you want to start the application again later, start the Docker Desktop App first, then run cd WebODM in Git Bash, then ./webodm.sh start.
If you want to update WebODM, type the command ./webodm.sh update in Git Bash after navigating to the WebODM folder cd WebODM.
If you want to permanently delete WebODM, first run the command ./webodm.sh down && docker volume prune –f. Finally, delete the WebODM folder, which you can find by default at C:\Users\[UserName].
CREATING MAPS AND 3D MODELS from DRONE IMAGES
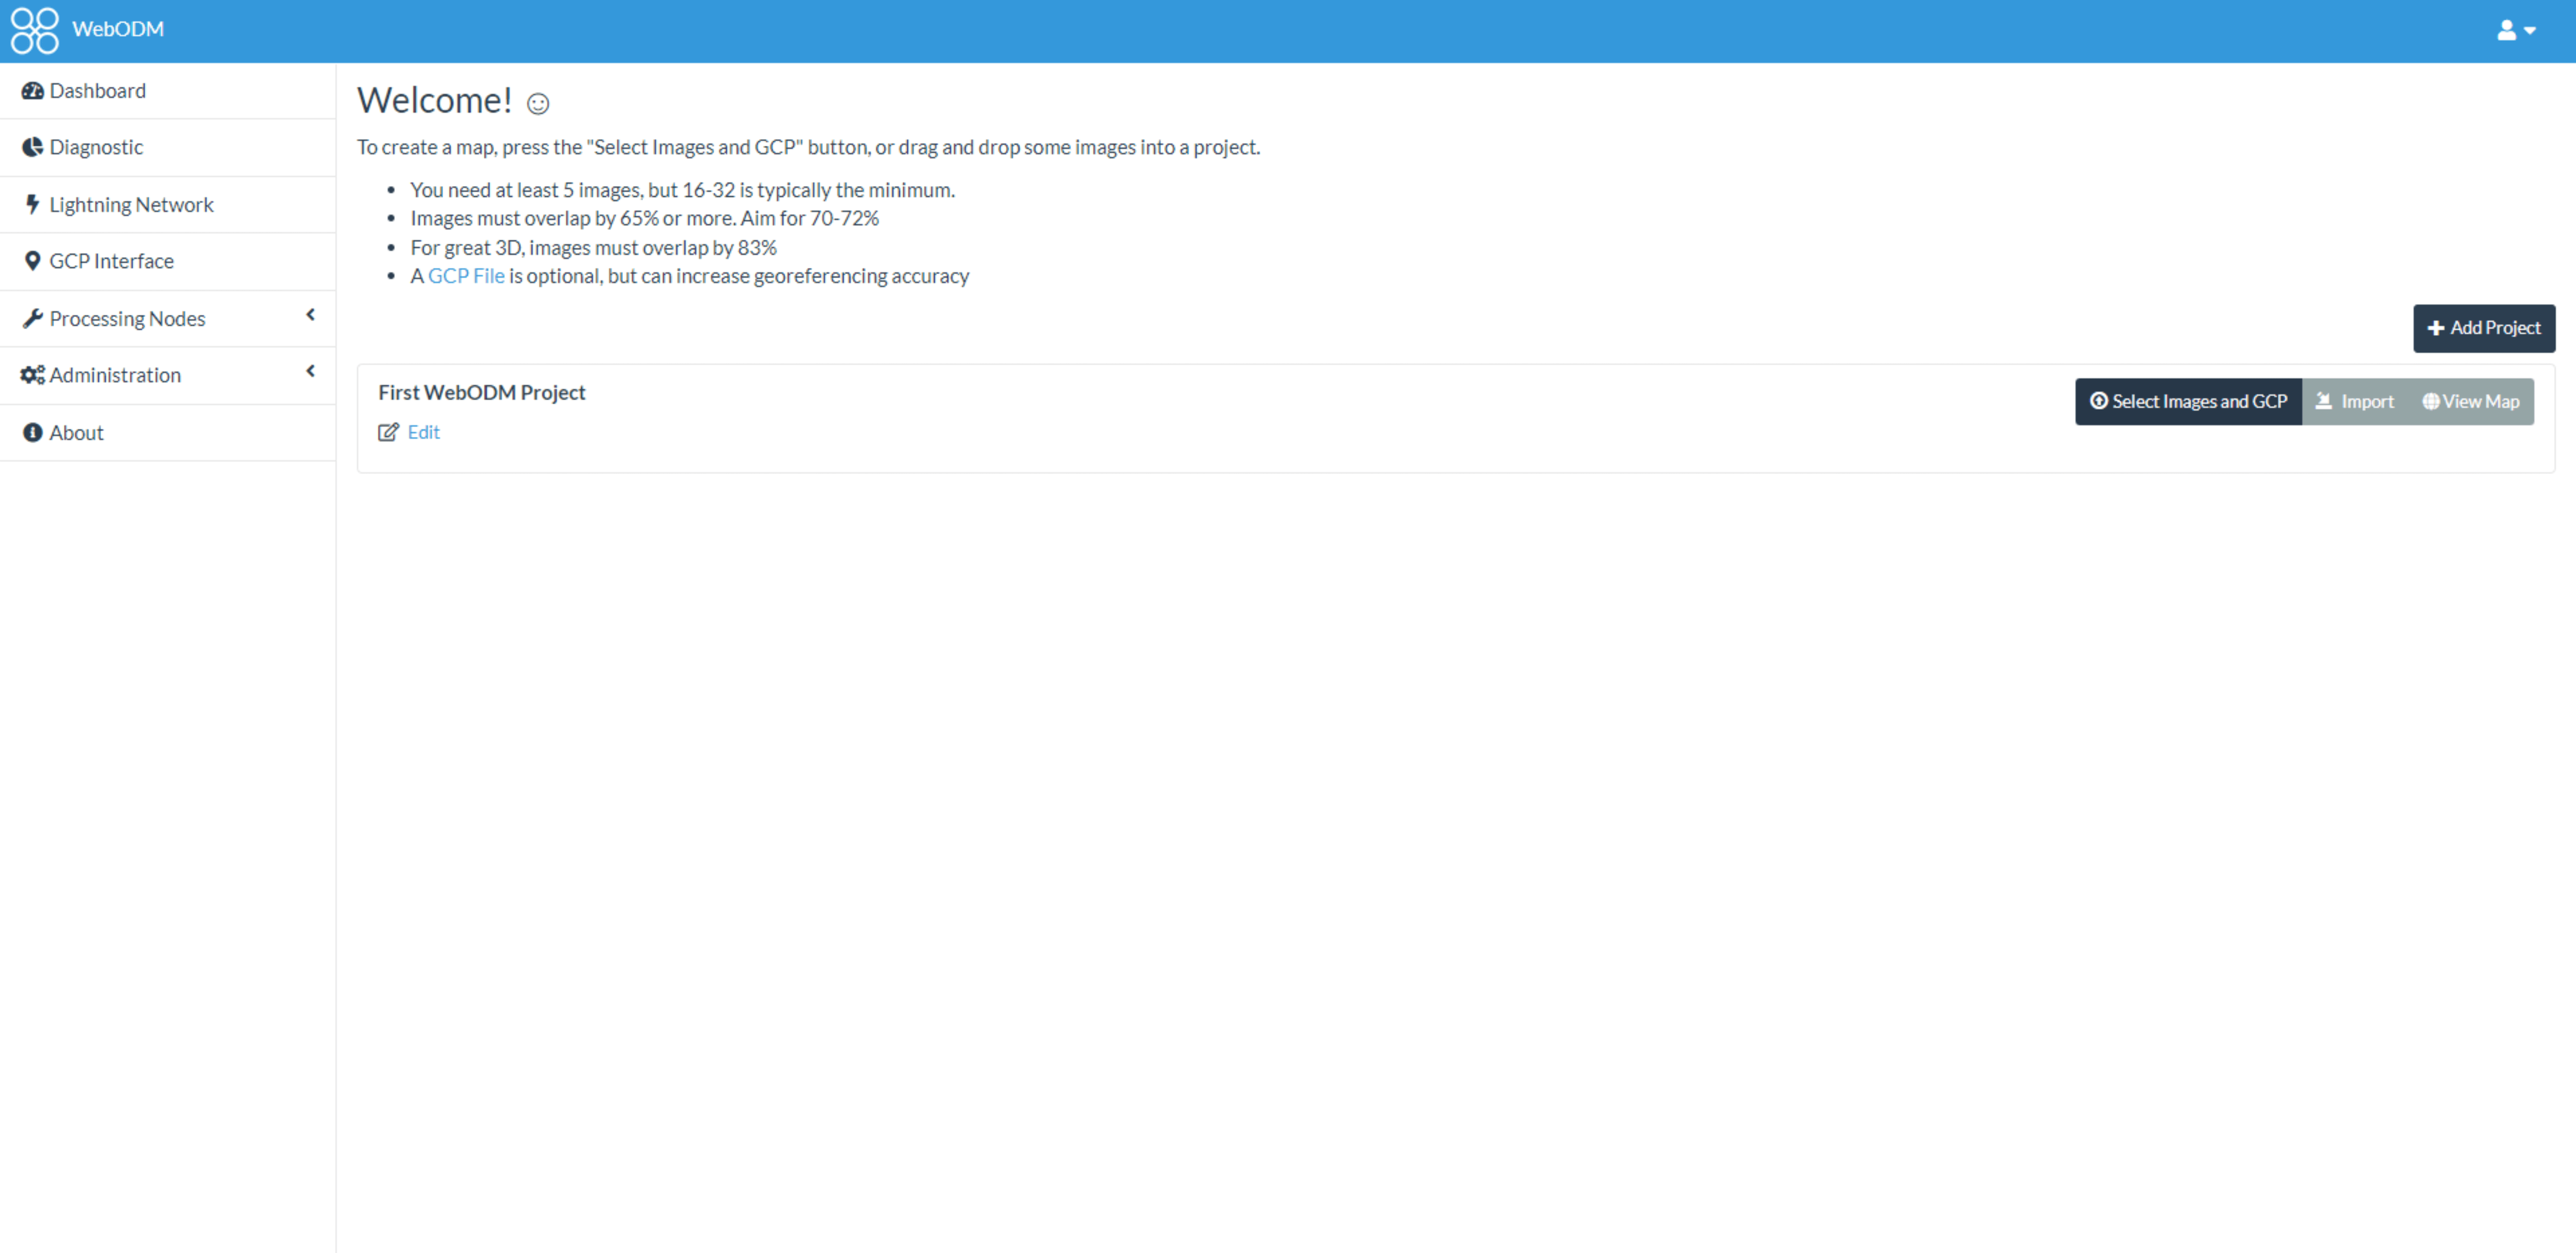
After you have launched and opened WebODM, you can upload the drone images you want to process by clicking the “Select Images and GCP” button.
When processing, you can set many parameters by clicking the “Edit button”. You can also save the set of parameters you have defined by clicking on the arrow on the right side of the “Edit” button. We will not discuss the detailed setting options in this short article (maybe in a next one?), but by clicking HERE you can access the tutorial section from the official documentation of WebODM, where the developers explain everything.
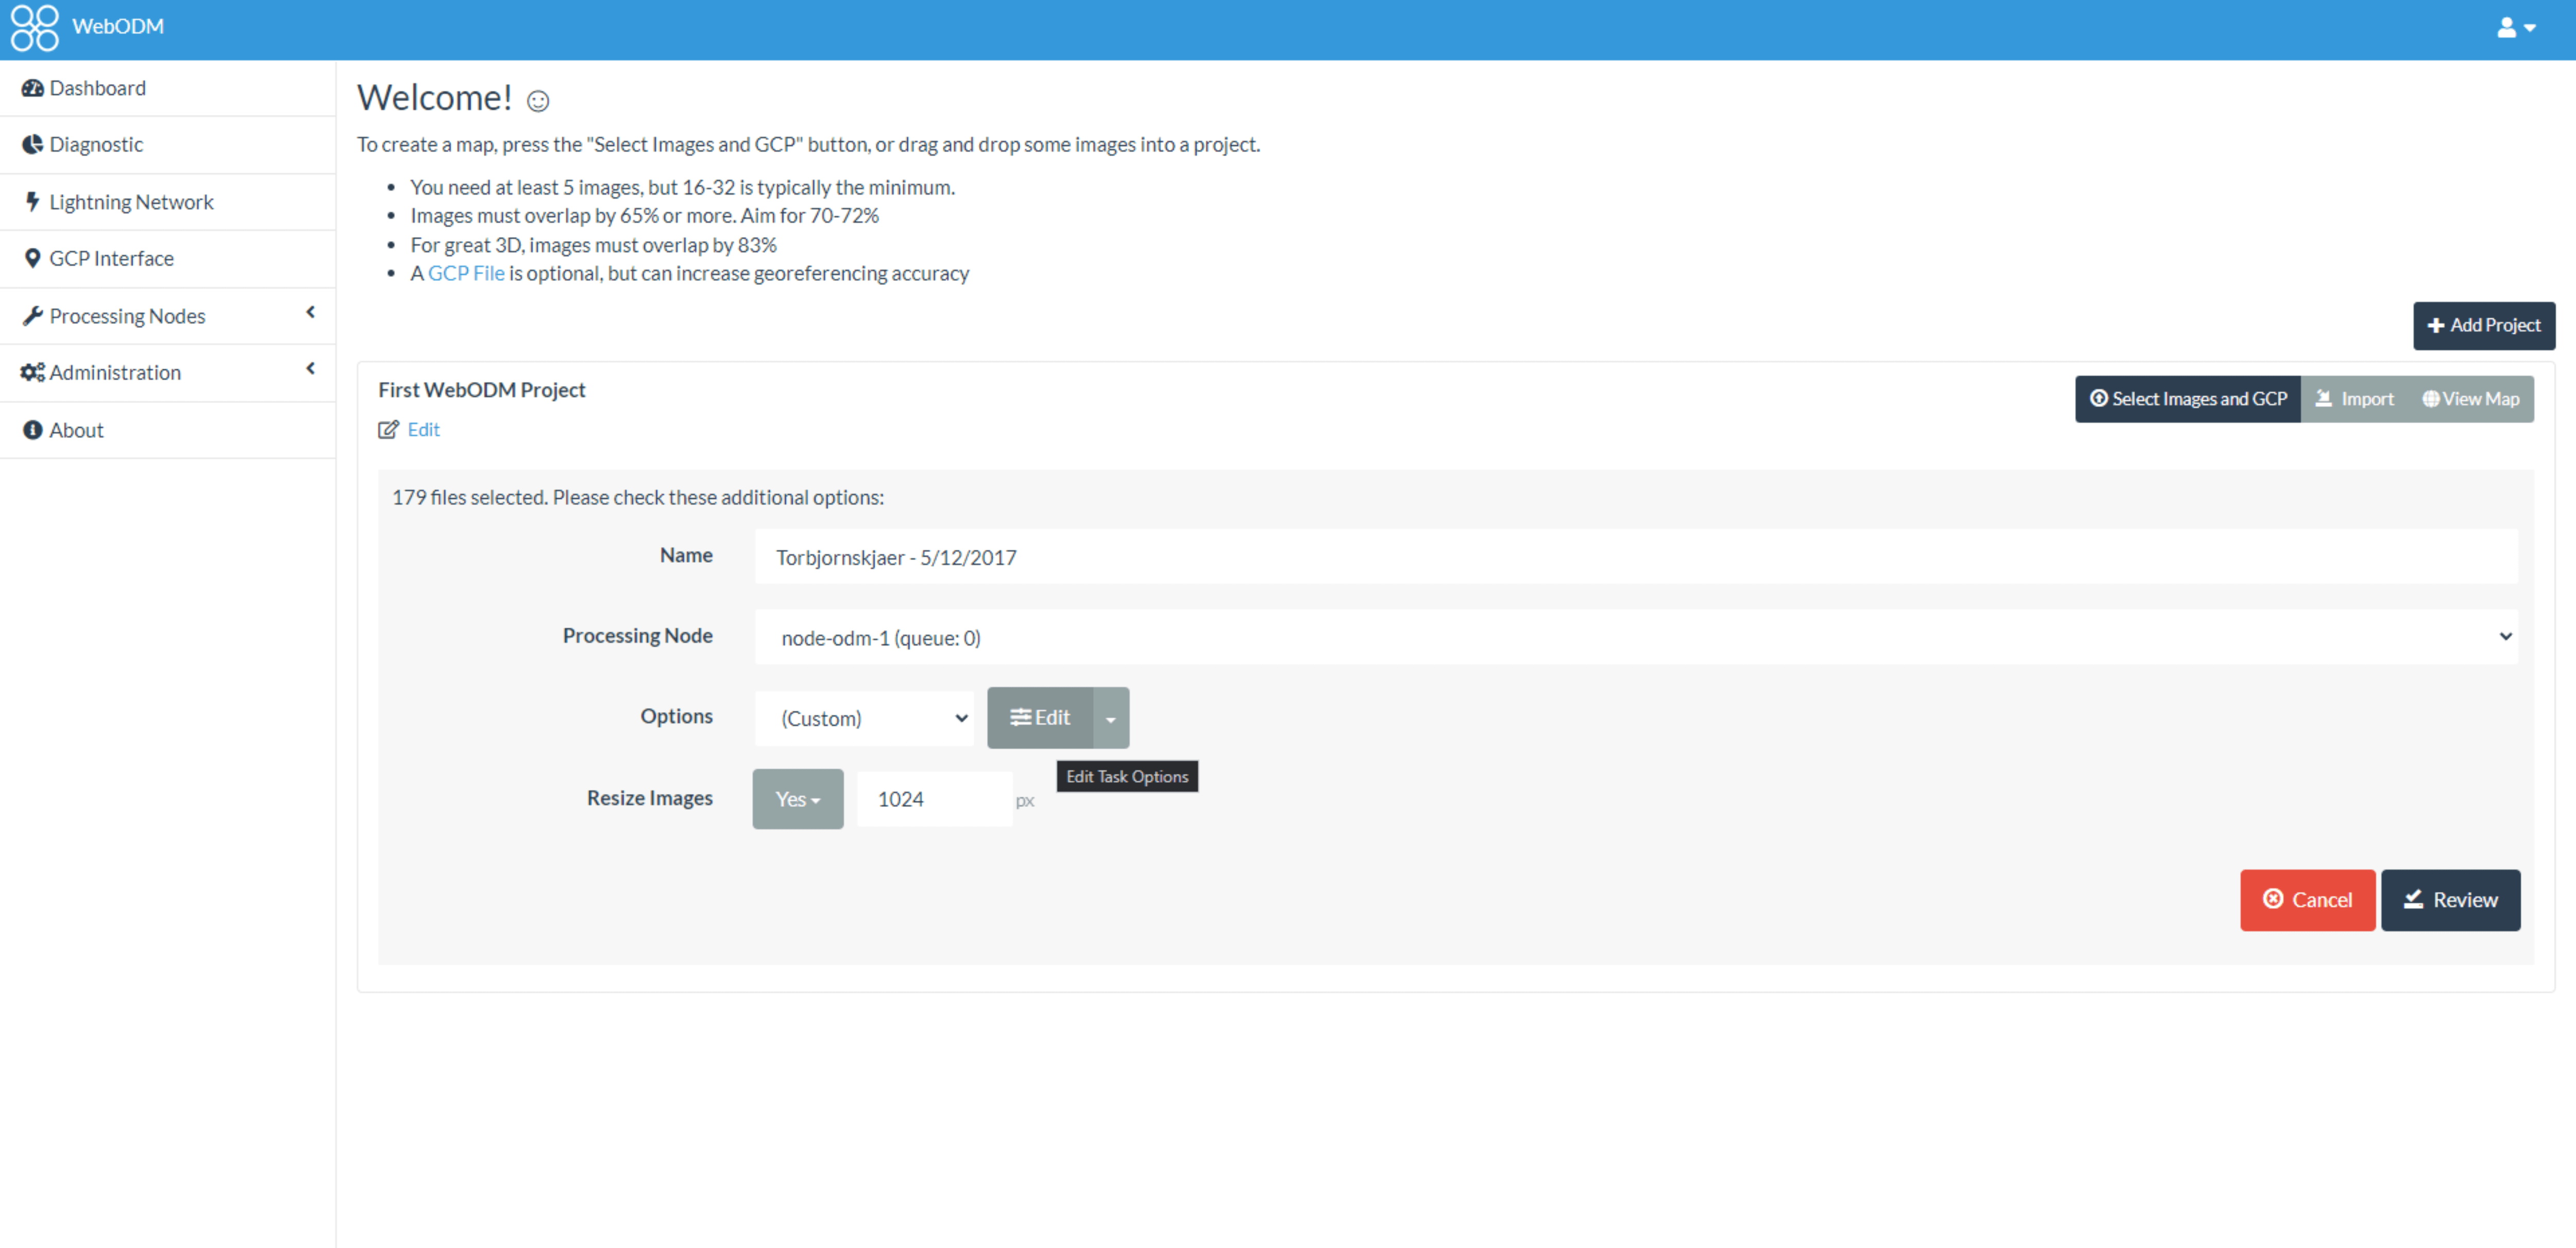
Sidenote: I recommend turning on the “Resize Images” option (1024 px by default) if your computer is not very powerful, because this way the WebODM algorithm can better manage resources. However, the result may be of lower quality.
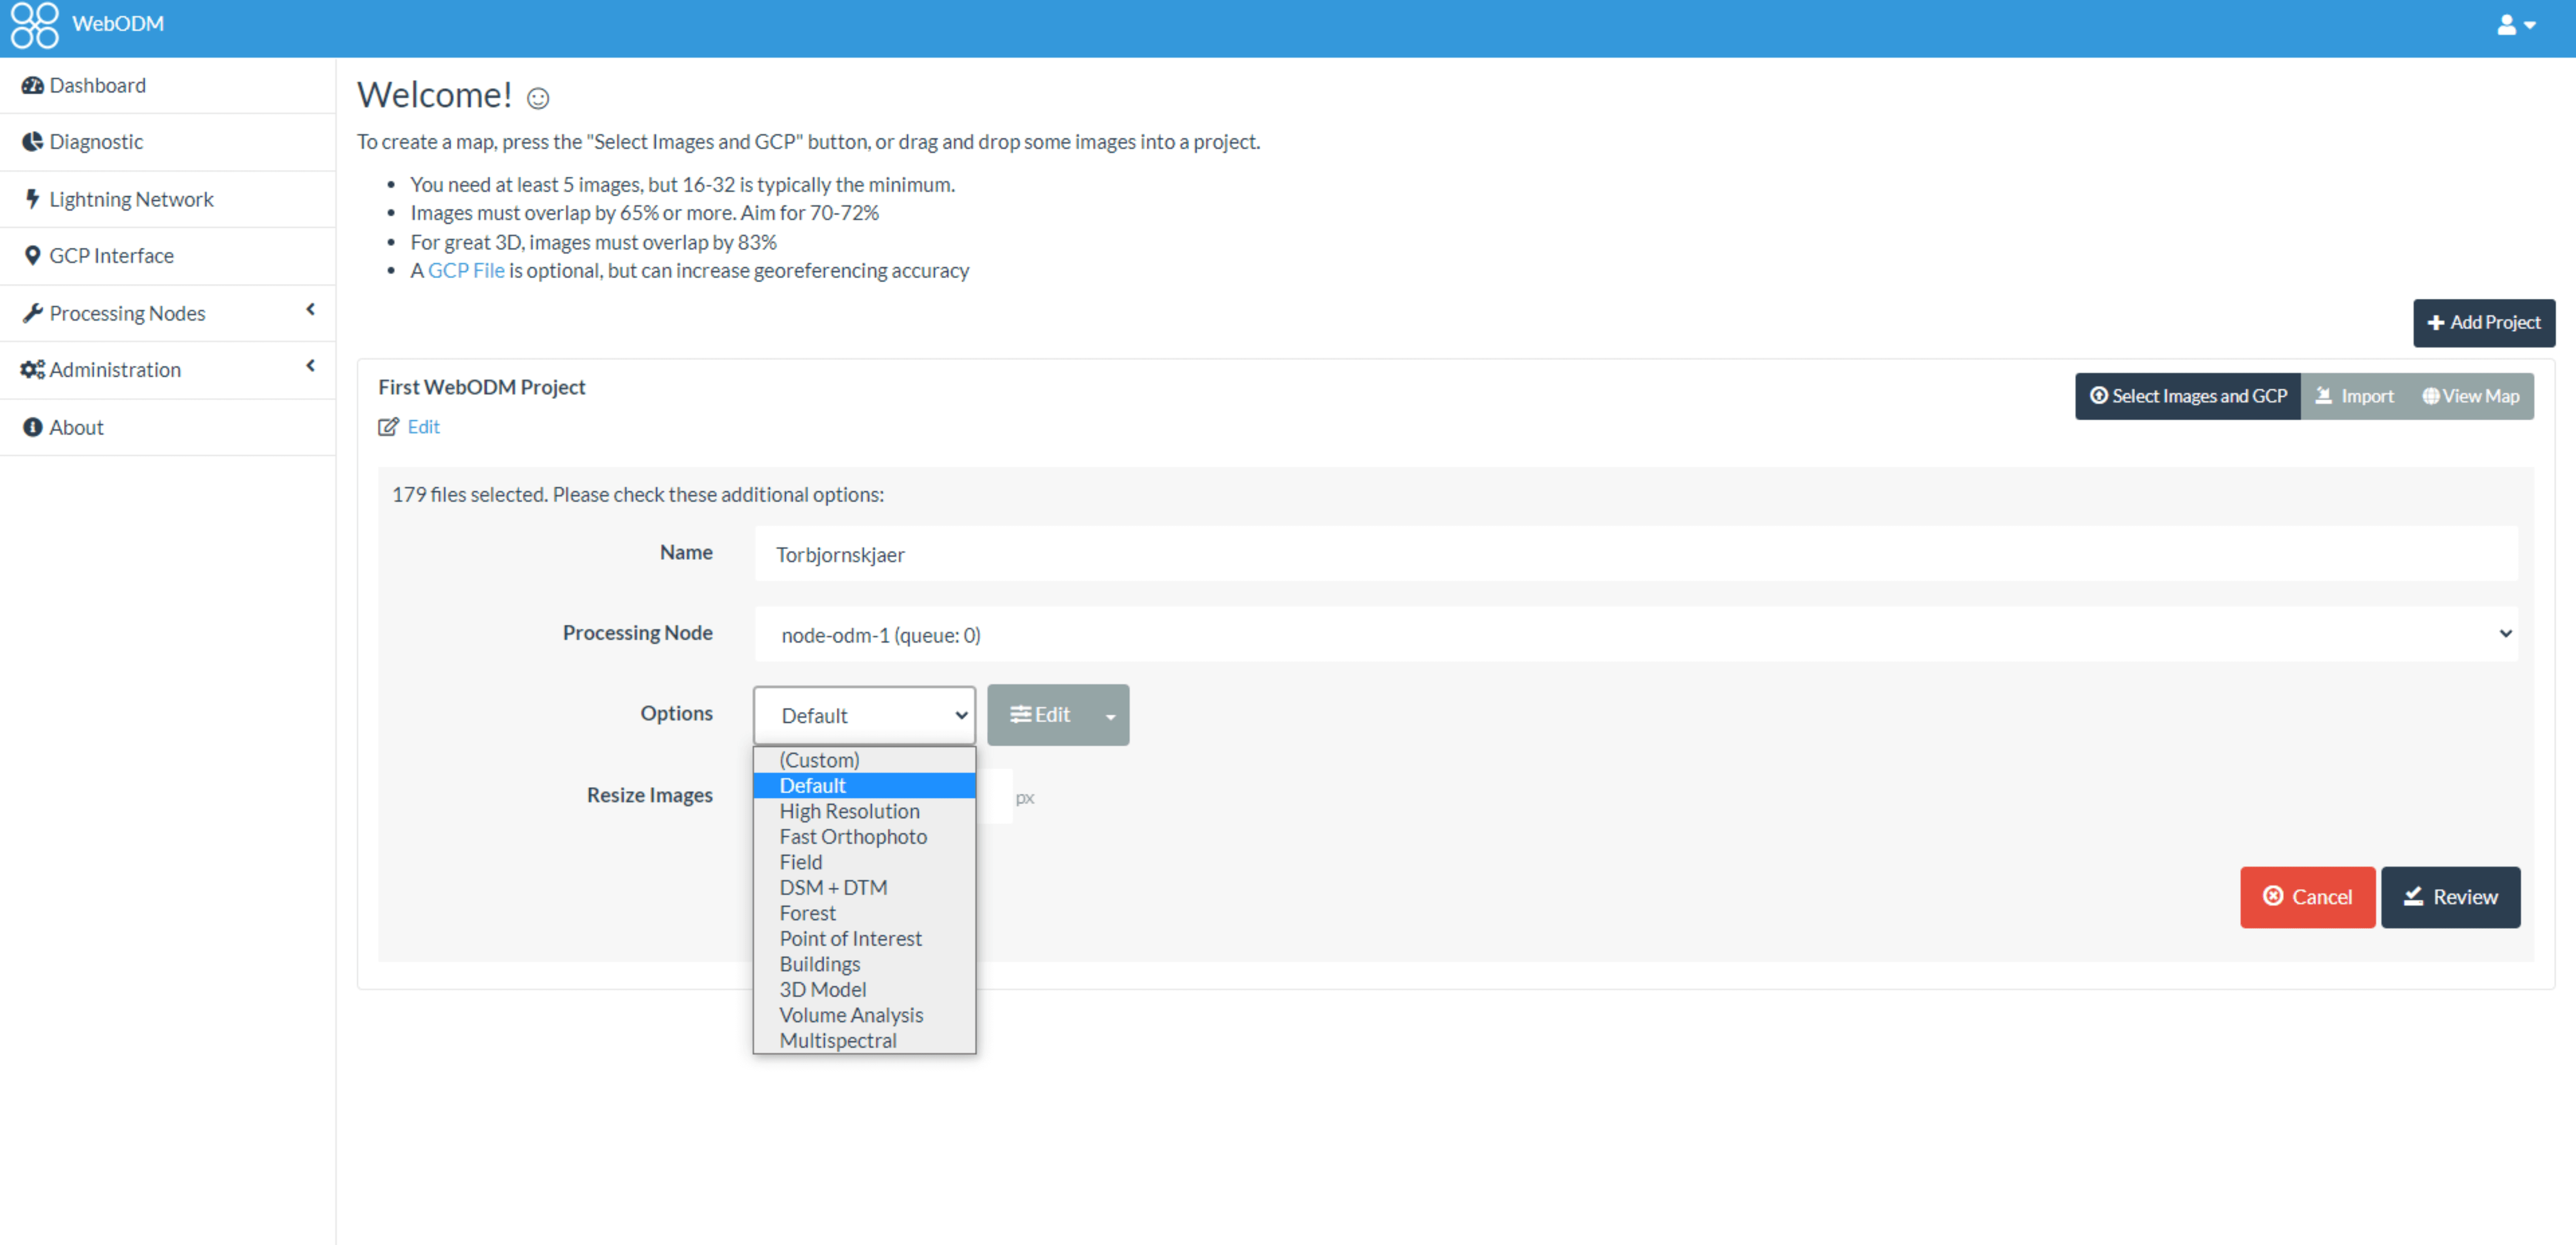
If you would like to try a preset parameter set, select an item from the “Options” drop-down list.
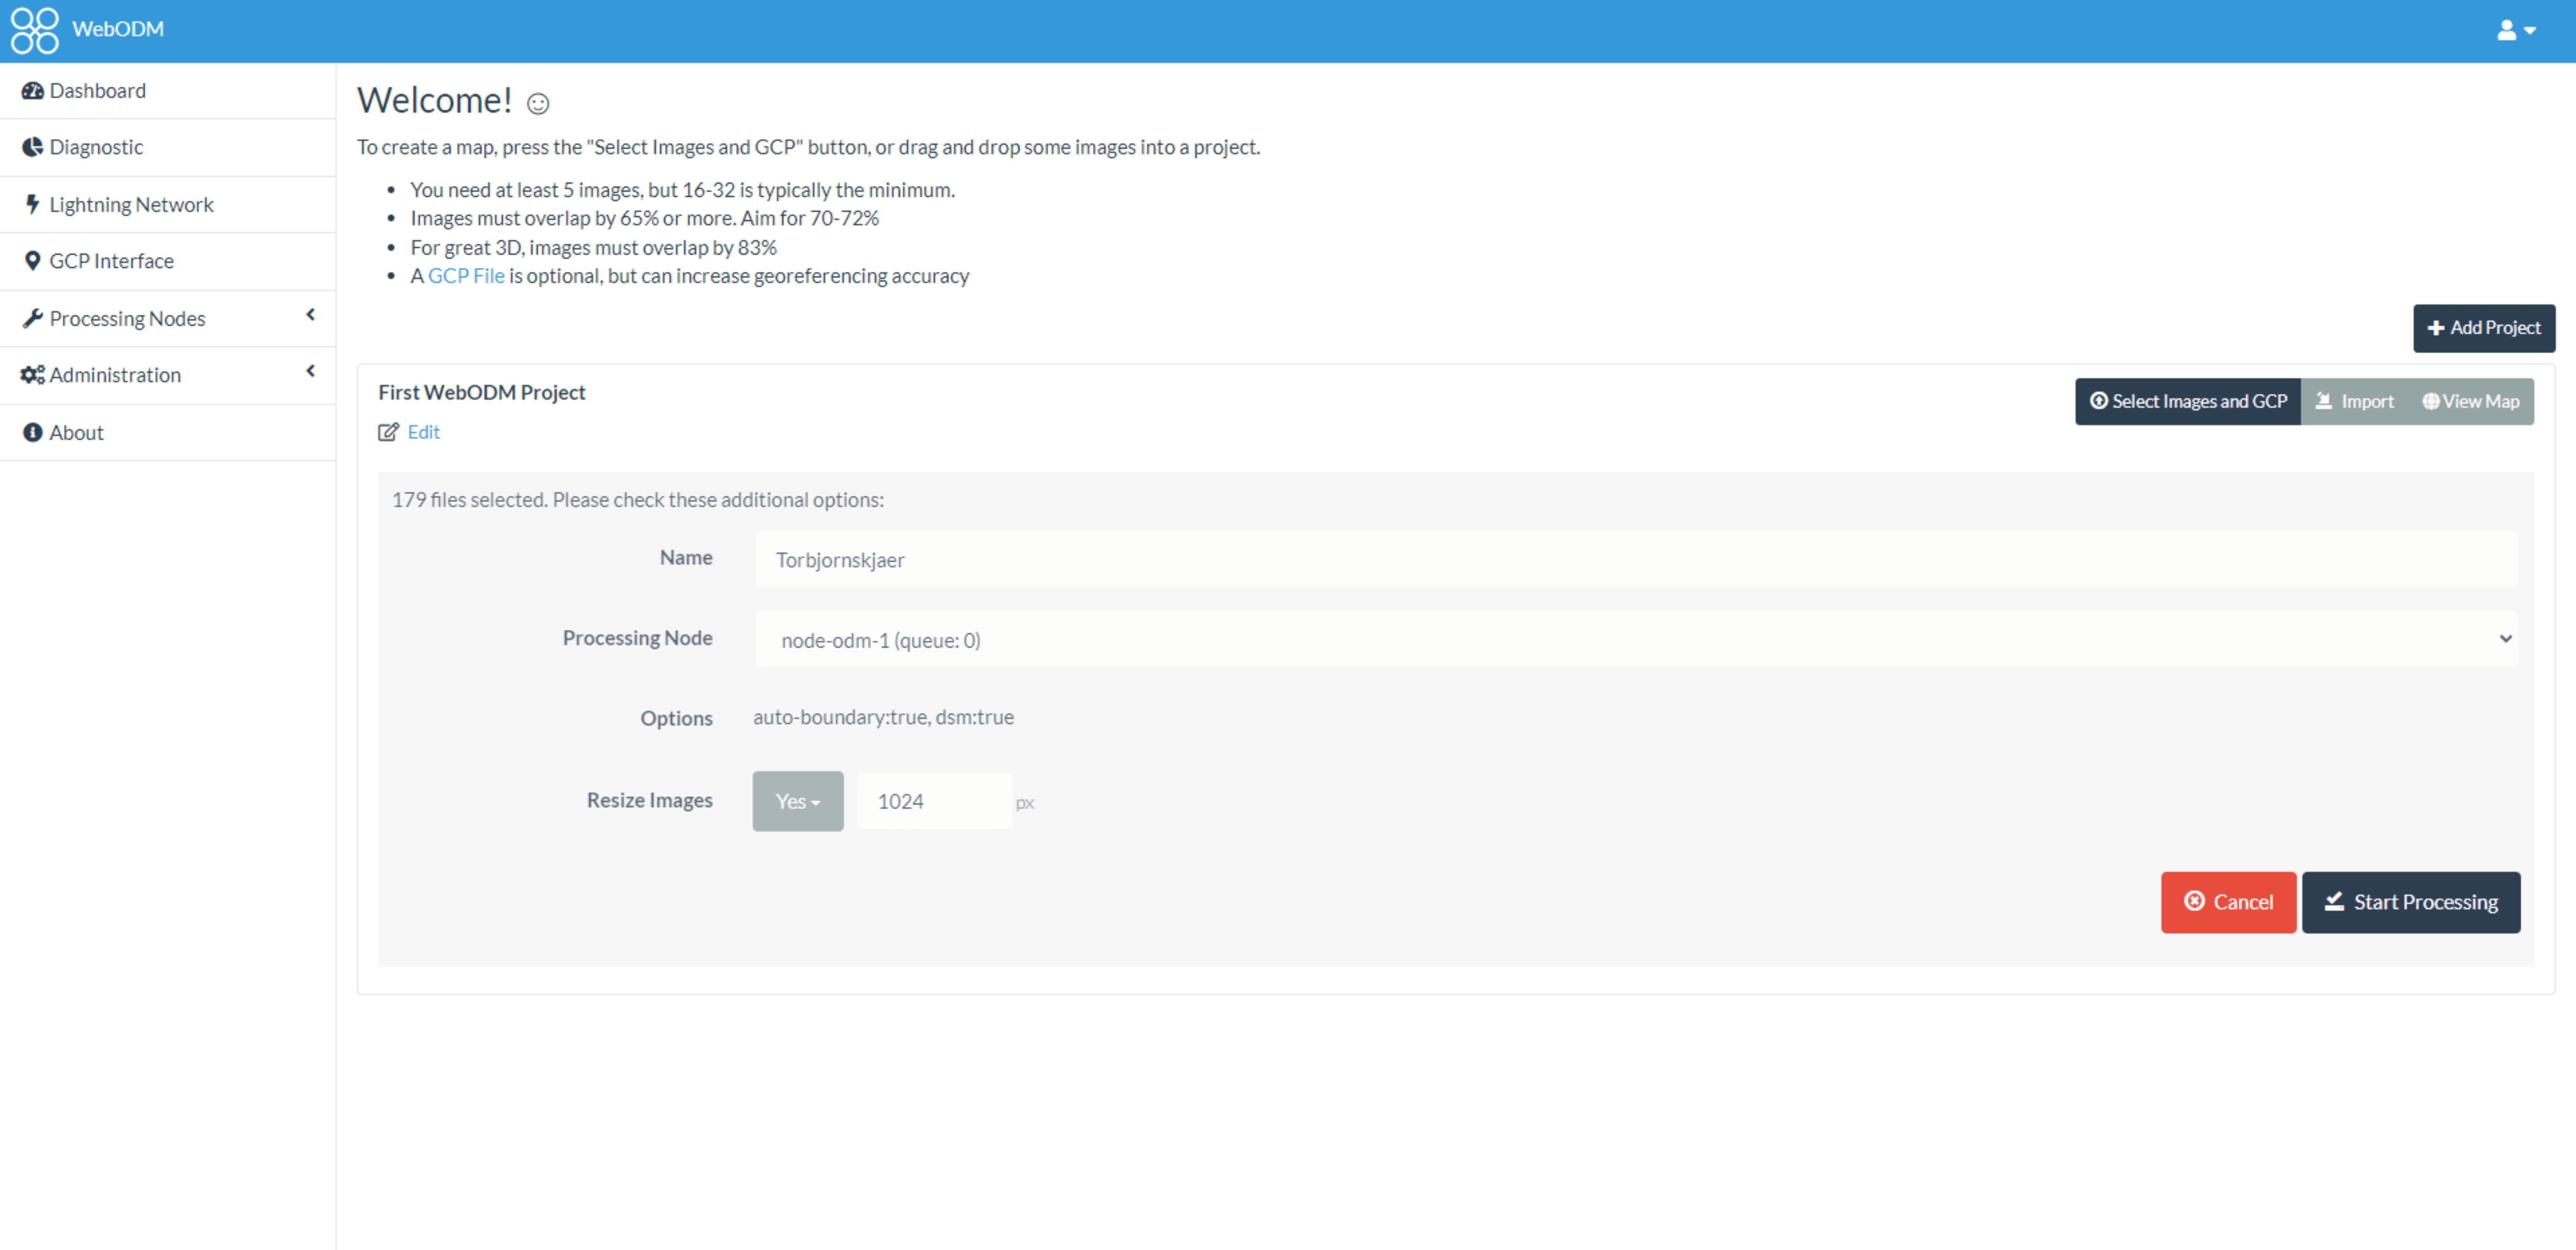
Once you are done with the settings first click on “Review”, then “Start Processing”.
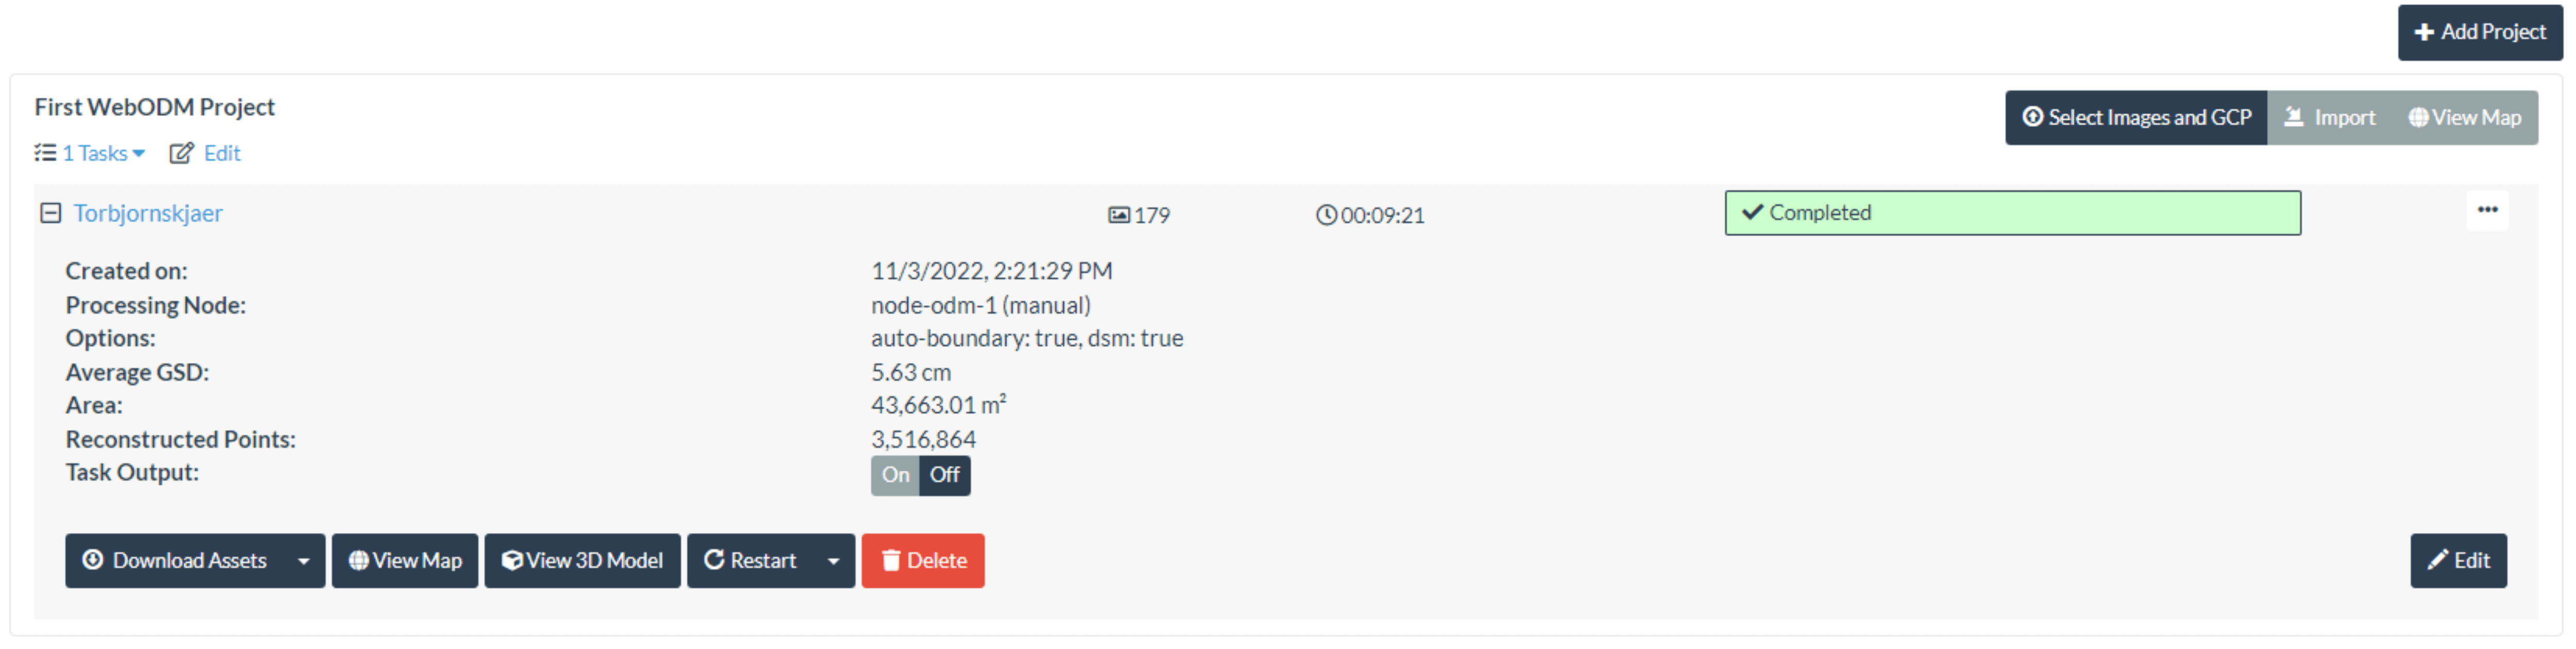
The software will first upload the images and then start the automatic processing. Once the processing has been completed, you can view the results on a map and in 3D. Many measurements are available both on the map and in 3D. Here comes a SurveyTransfer data sharing of the WebODM result:
It is important to mention the processing time. For this article I used a PC with the following specs: an Intel Core i9-10900F CPU 2.81 GHz; 16 GB RAM; with a Radeon RX 570 GPU 4GB GDDR5, so I wanted to take advantage of the CPU performance. Leaving the settings at “Default” and resizing 179 images, the files above were created in 29 minutes and 21 seconds, which can be said to be very fast. 🙂
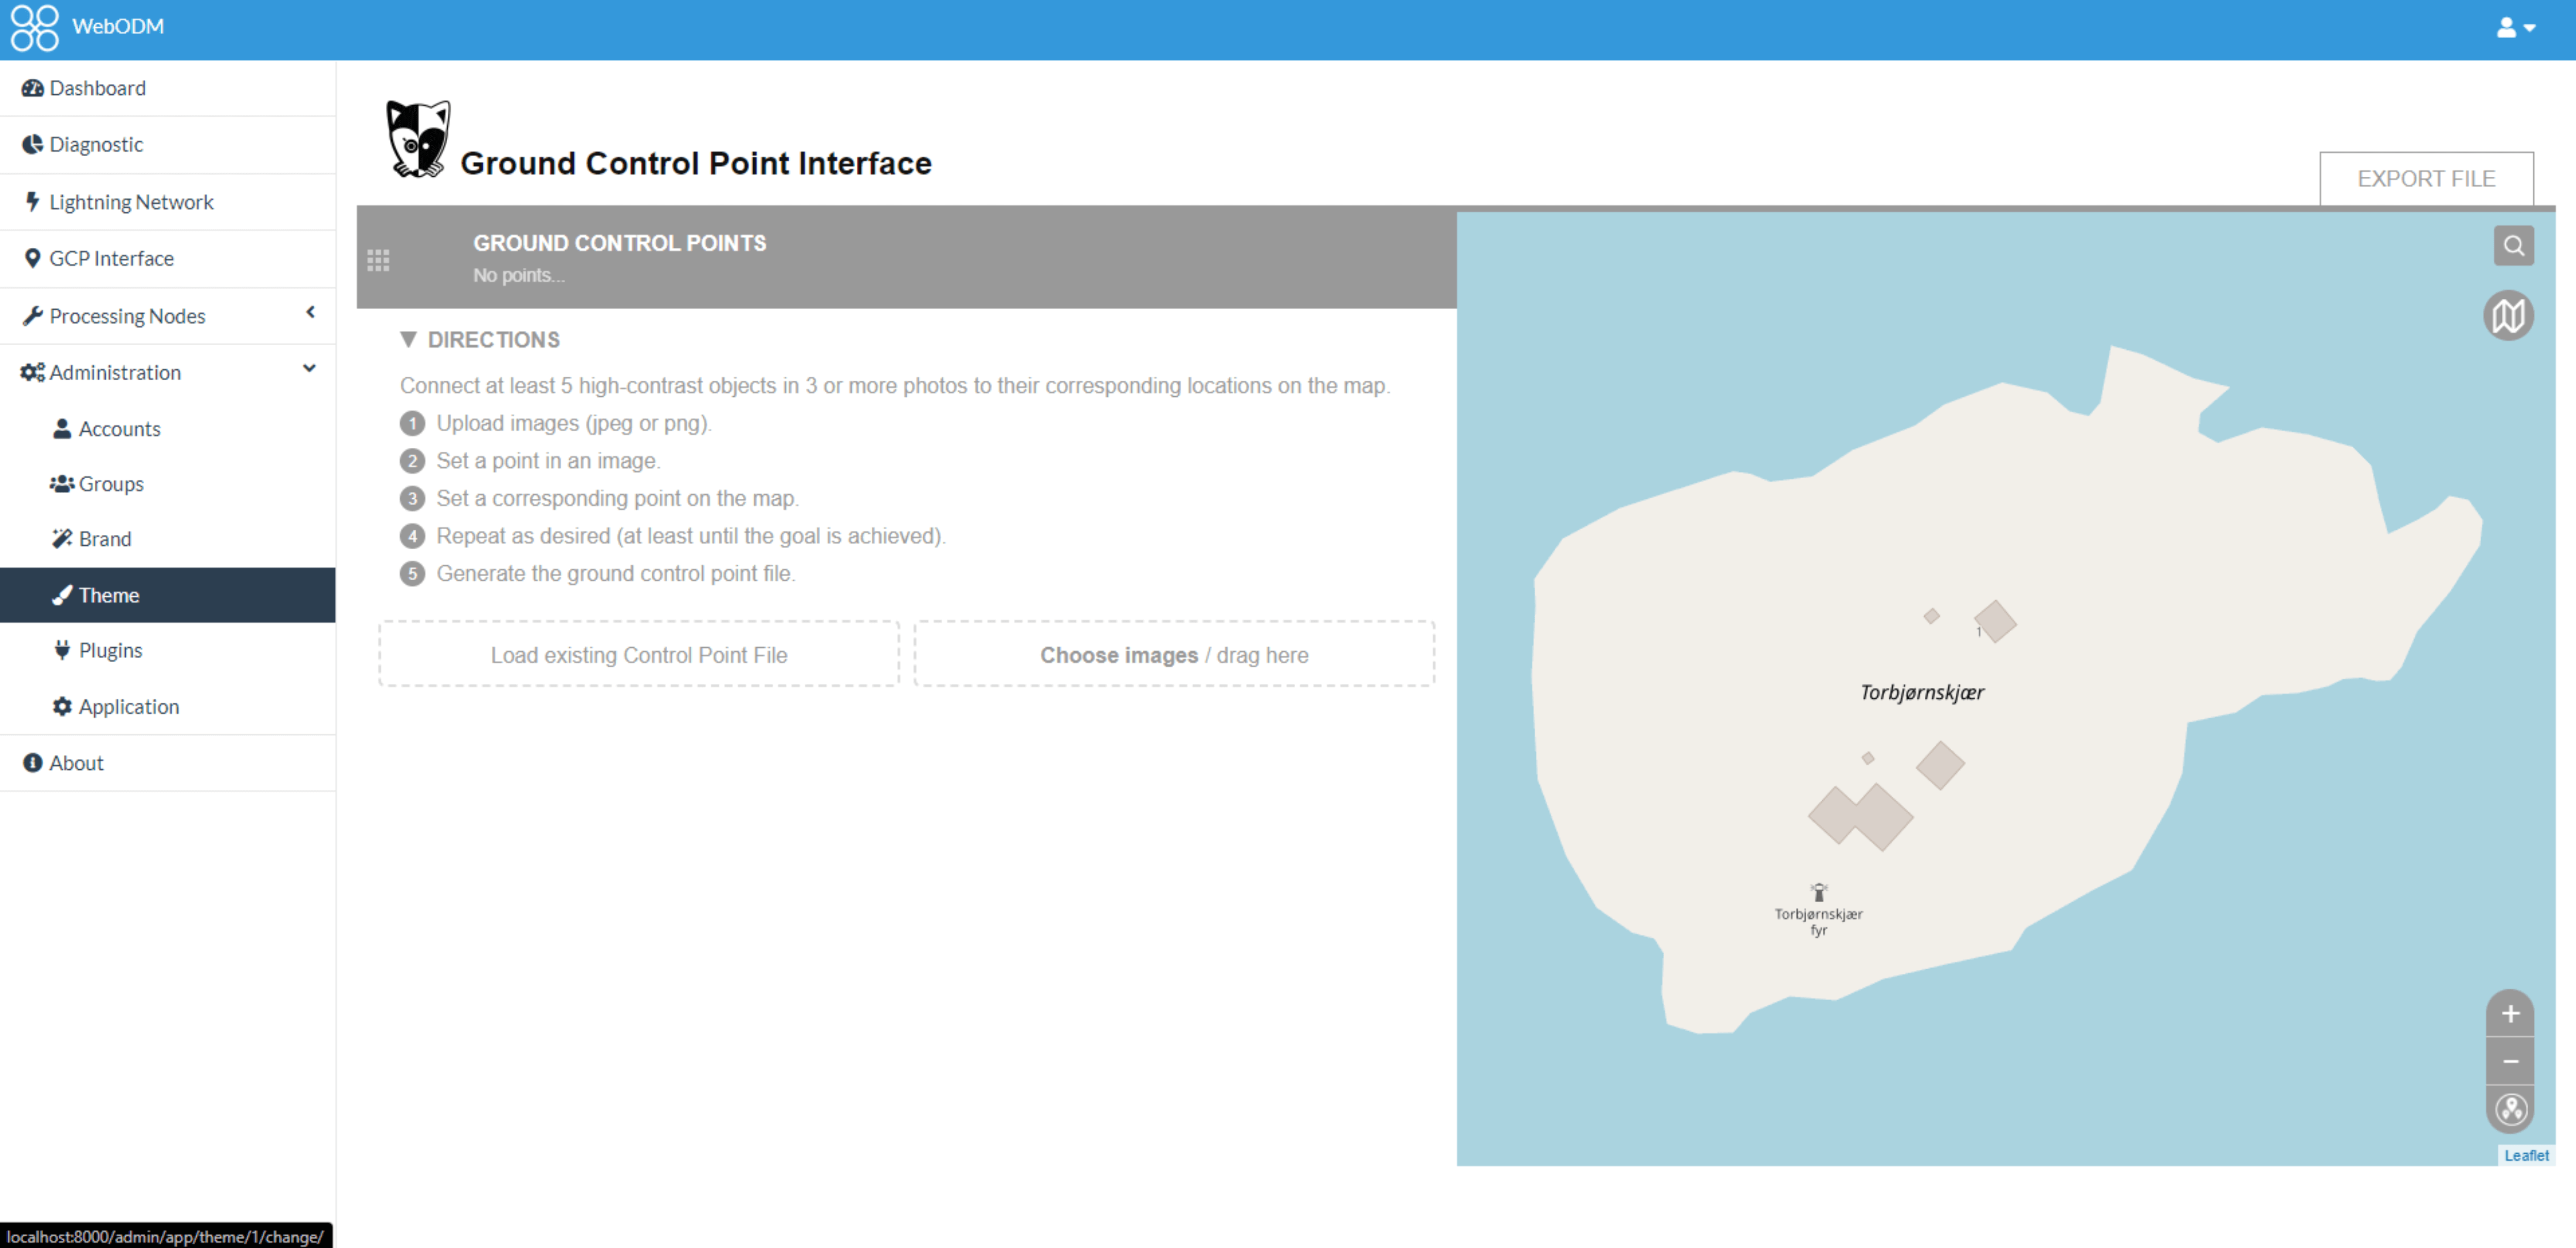
In addition to the “Dashboard” menu item, several others are available in the side menu bar of WebODM. It is worth trying, for example, the “GCP Interface”, where you can georeference images.
There are many practical settings available in WebODM, which we may discuss in more detail in a later article, but I think this blog article will be a perfect kickstart. 🙂
If you really liked what you read, you can share it with your friends. 🙂
Did you like what you read? Do you want to read similar ones?